
How to launch a check In for an Individual User
Check Ins enable managers and employees to cease problematic activities, identify barriers, and eventually work them out better. Additionally, regular check ins with employees can be implemented to maximize their productivity and map their skills and competencies aligned to objectives.
Steps to Create a Check In
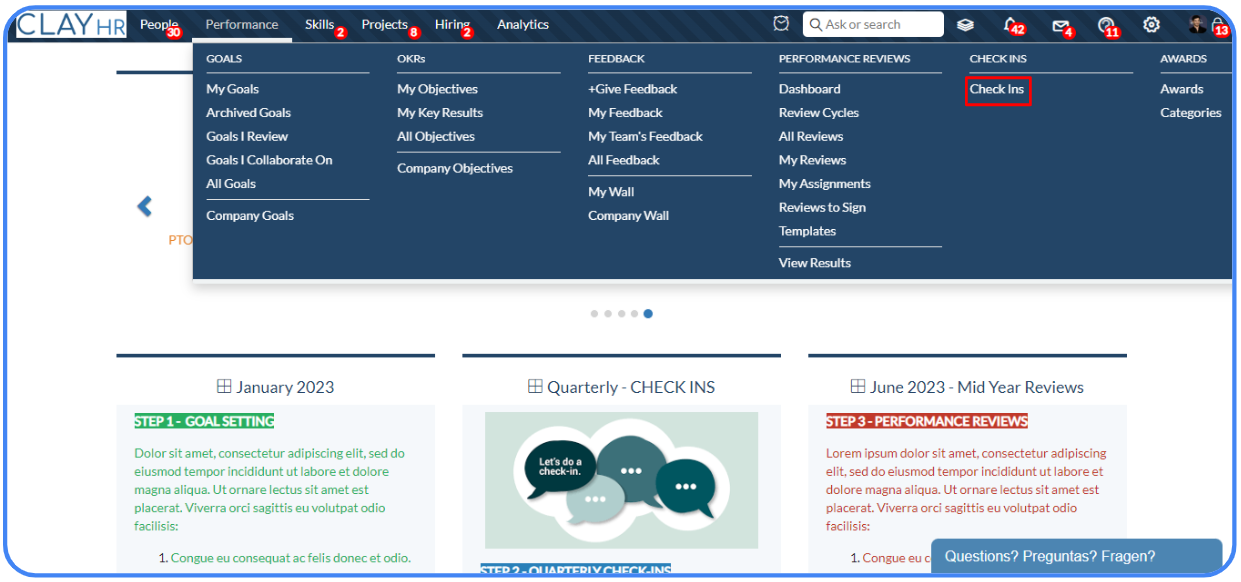
- Go to the “Performance” menu in the navigation bar and click on “Check Ins” under the “CHECK INS” sub-menu.
- You can create a check in for yourself by selecting the "For me" radio button or for any one of your team members by selecting the "For one of my team members" radio button.
- "For me"
The manager's name will be automatically displayed in the adjacent field if the user has only one manager. Otherwise, the user can manually choose a manager's name. The user has the option to select a template from the predefined templates in the dropdown menu.
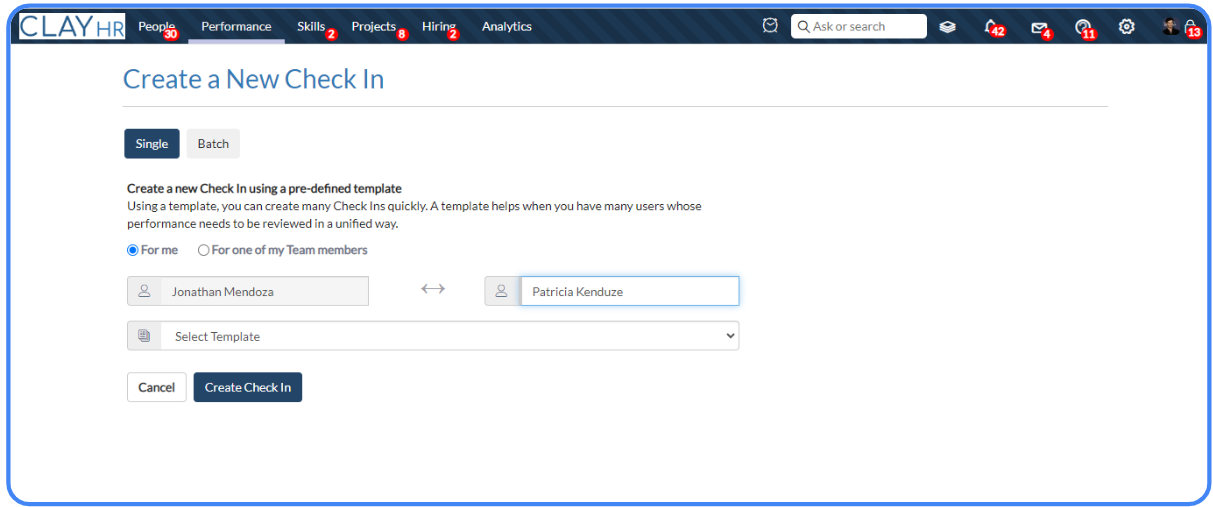
- “For one of my team members “
In the check in for one of the user’s team members, the user will be identified as the manager. The name of the person for whom the check in is to be created can be selected from the adjacent field. The user can select a template from the predefined templates in the dropdown menu.

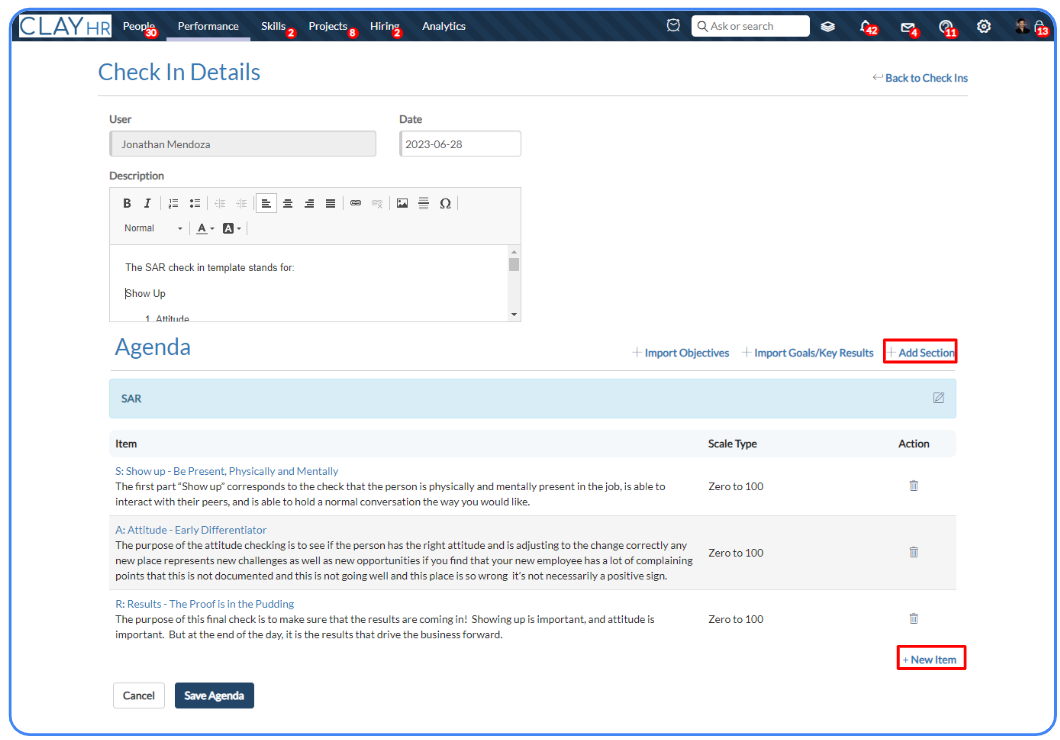
- “Add Sections” and “New Items” to customize the Agenda
Based on the template selected, sections and metrics will appear. The agenda can be customized by adding more sections and items from the “+Add Section” and “+New Item” links.
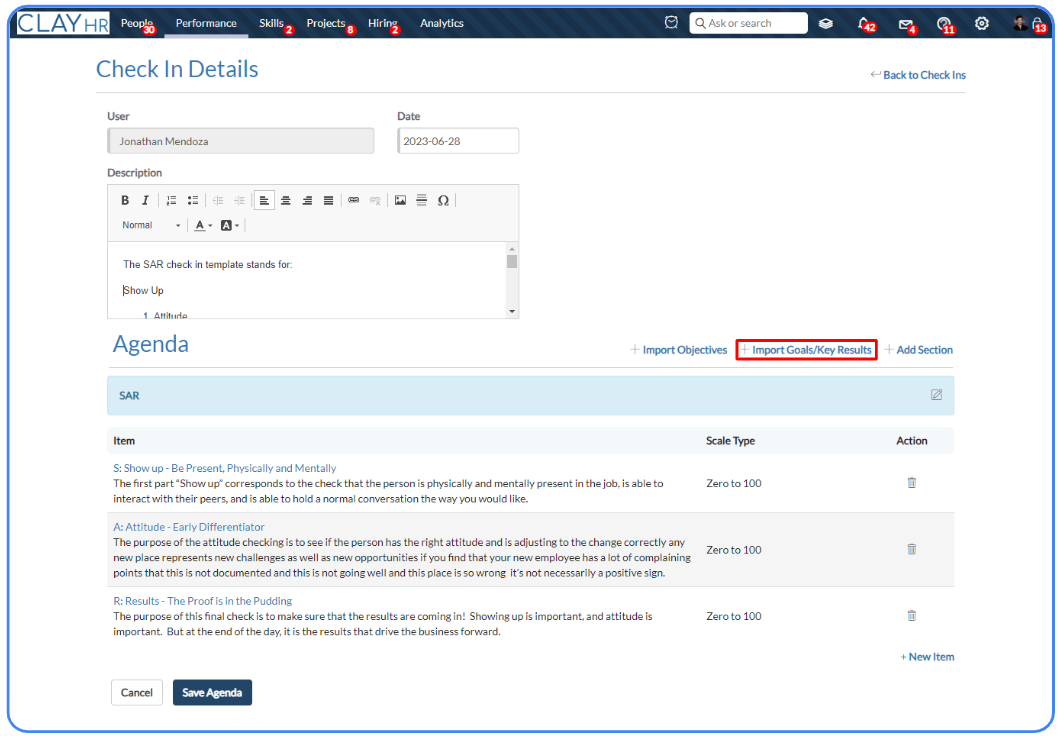
- “Import Goals/KeyResults" in Check Ins
The user can also import goals by clicking on the “+Import Goals/Key Results” link.
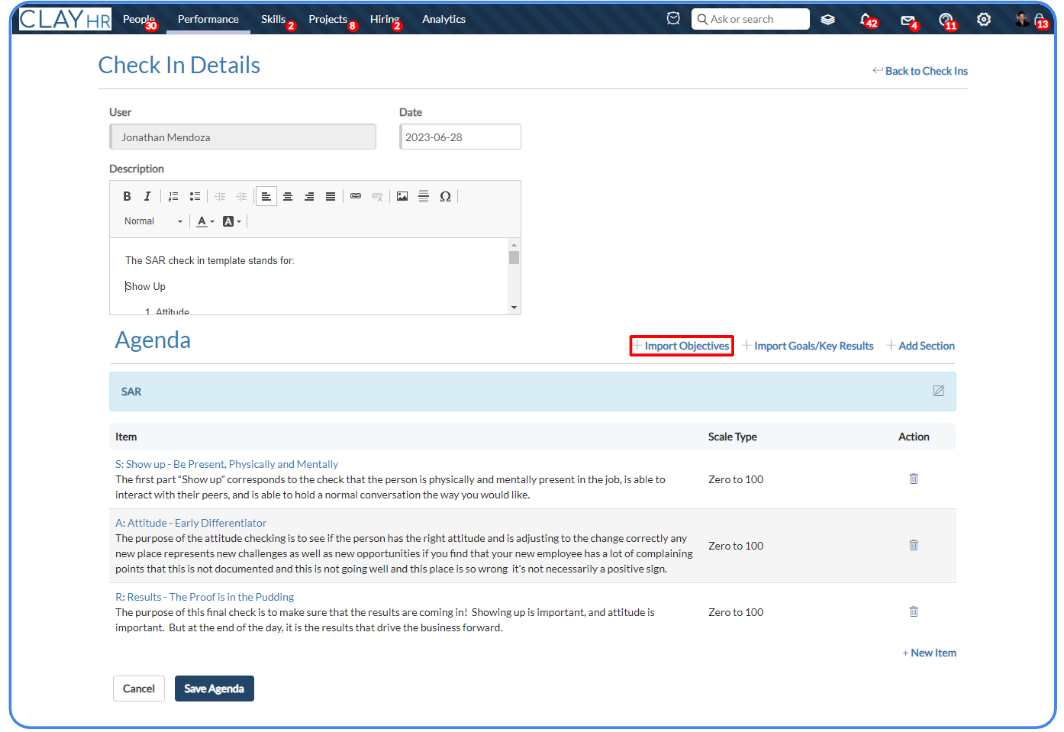
- “Import Objectives” in Check Ins
Similarly, the user can import objectives by clicking the "+Import Objectives” link.
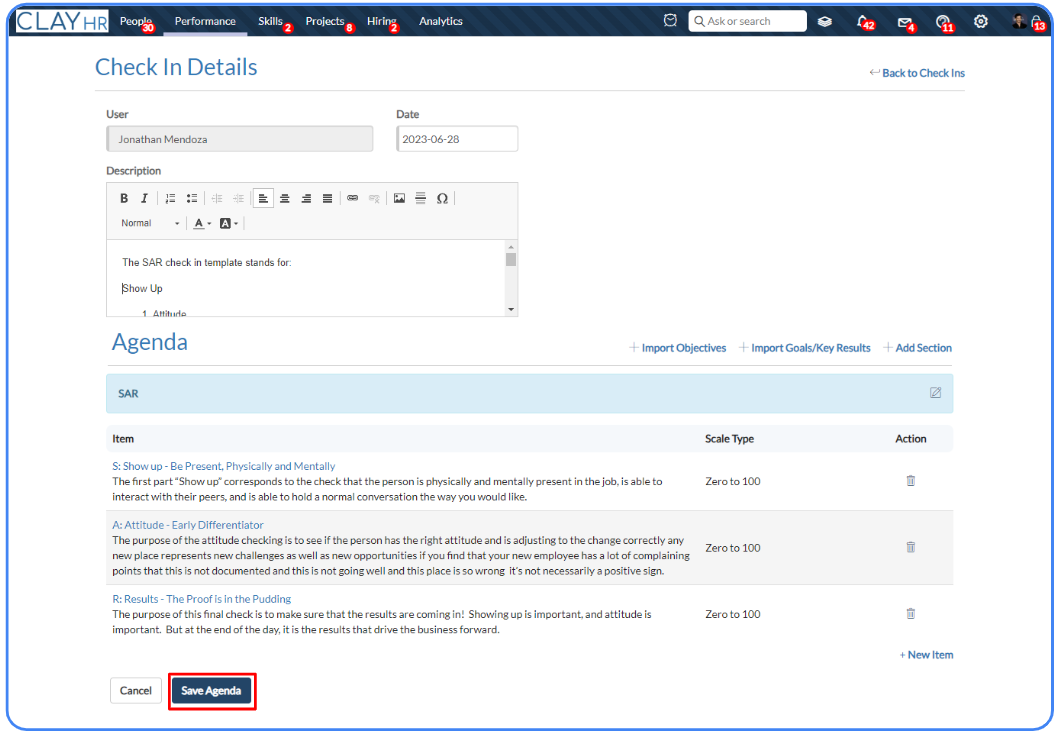
- Click on the “Save Agenda” button to save the details and proceed further.


.png)
