
Timesheets – Create, Approve, Reset and More!
ClayHR offers employees seamless timesheet creation to track and manage the employees’ working hours. Employees can easily submit their weekly/biweekly/monthly timesheets for approval using an incredibly easy-to-use interface.
Users can effortlessly create a timesheet either by manually adding timecards or by Clocking In to the system.
By Adding Timecards
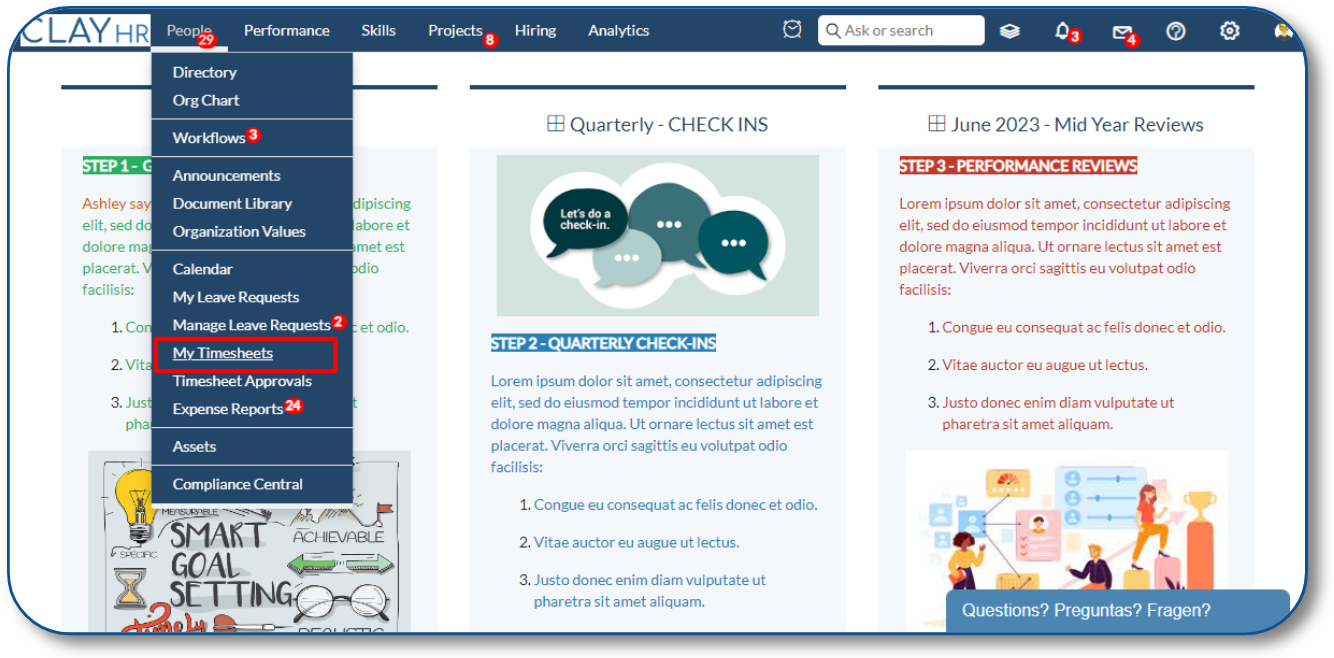
- Go to the “People” tab and select “My Timesheets” to create a new timesheet.
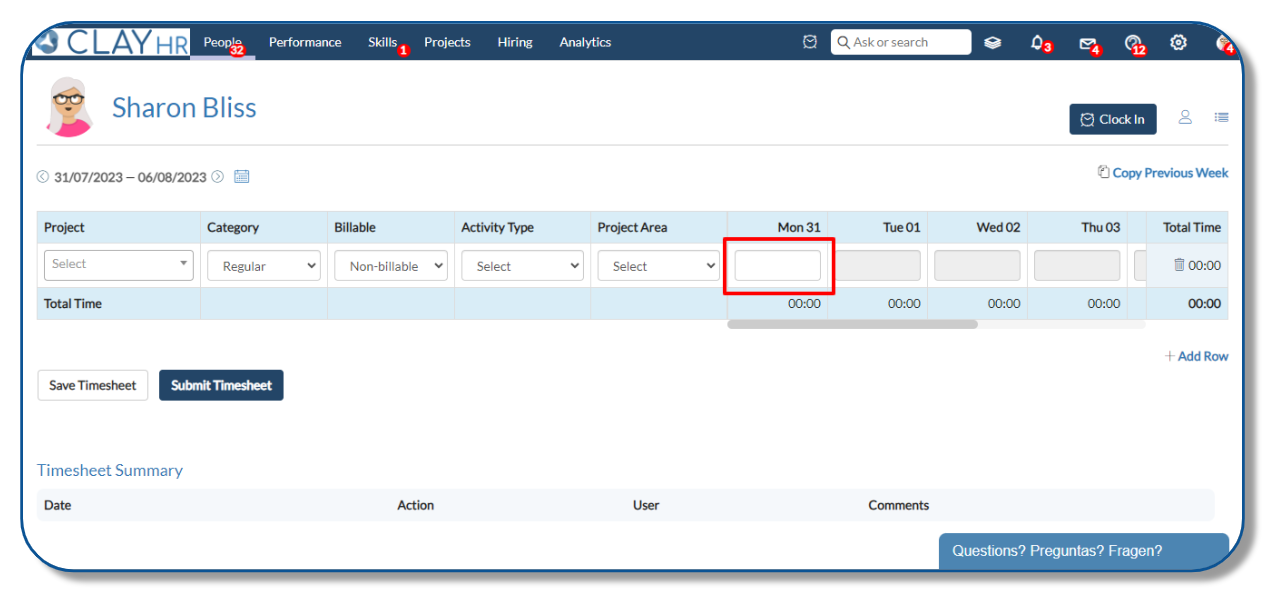
- On the Timesheet View Page, users can add a timecard by clicking on the new timecard input box under the specific day of the week.
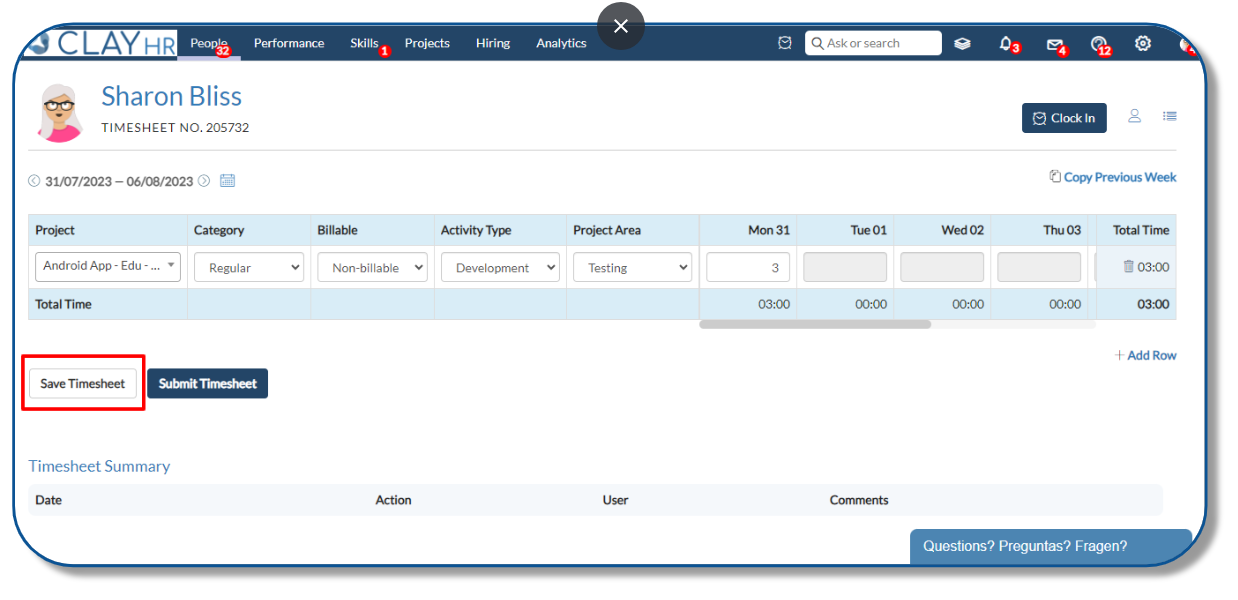
- Now users can select Project, Category, Project Area, or Activity Type and add required hours, provide additional details such as Descriptions and Notes and then click on the “Save Timecard” button to save the timecard.

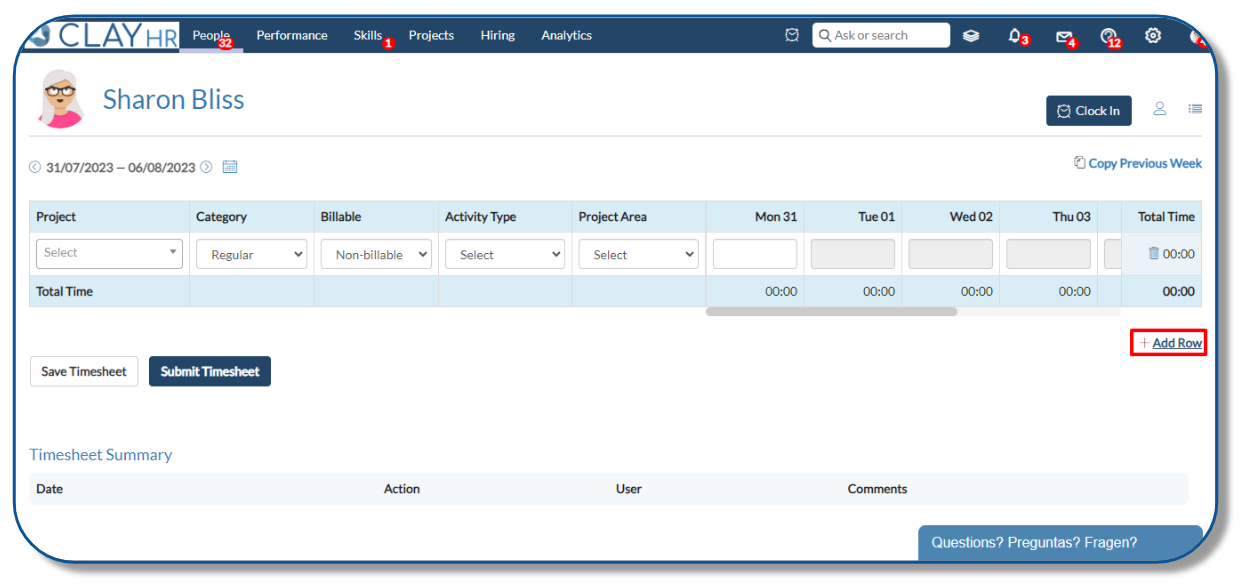
- Users can also add timecards for multiple projects by clicking on the “+ Add Row” button and filling in the necessary details.
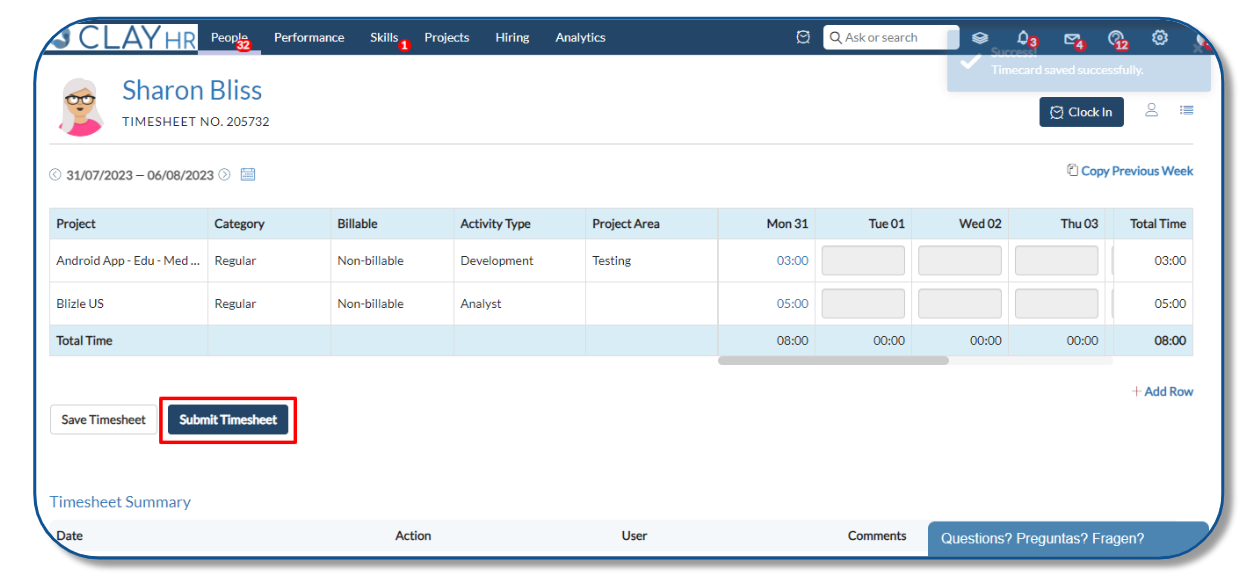
- To maintain a record of your timesheets, simply click on the "Save Timesheet" button.
- Click on the “Submit Timesheet” button to submit the timesheet for approval.
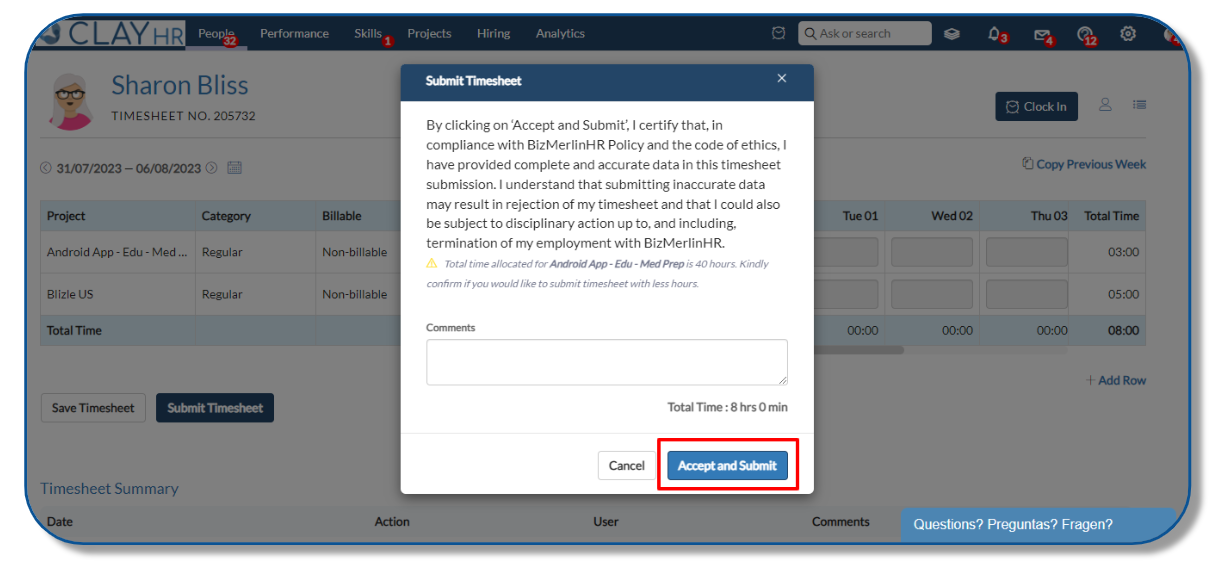
- After this, a confirmation pop-up will appear for timesheet submission. Please note that once the timesheet is submitted, it cannot be modified. Click on the “Accept and Submit” button to submit the timesheet.
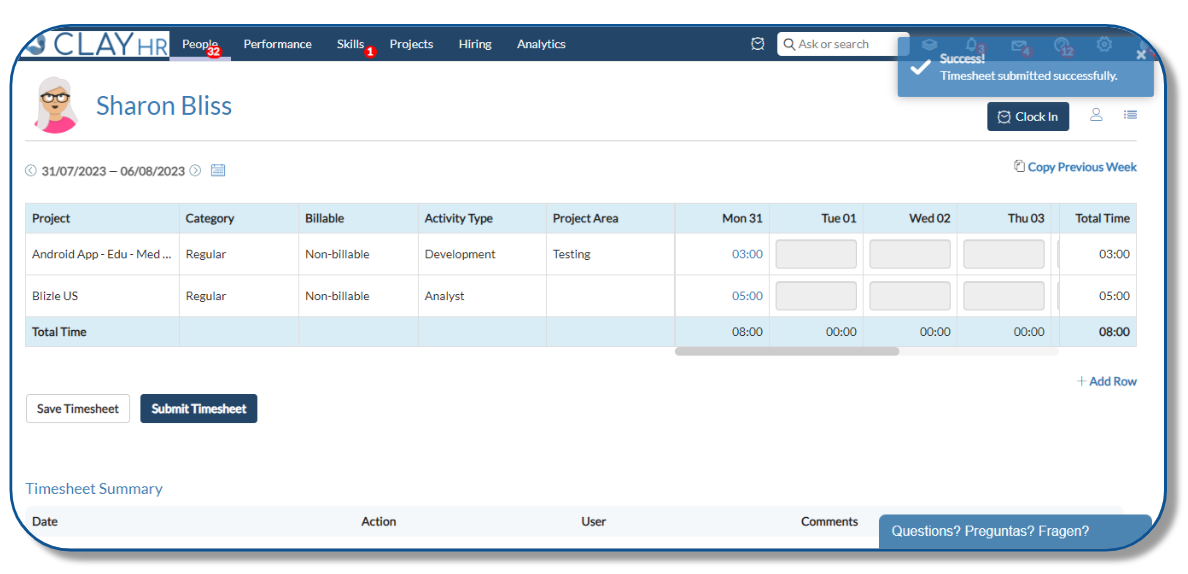
- The timesheet is submitted successfully.
By Clocking In and Out
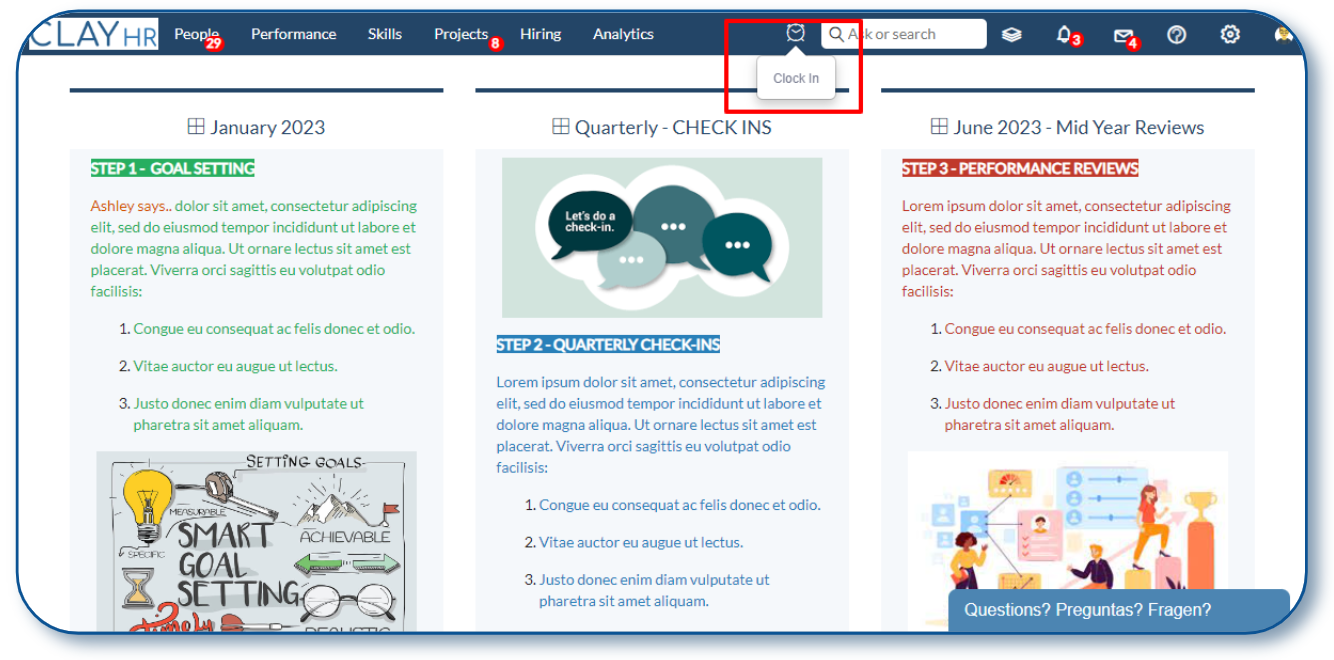
- Users can also create a timesheet by Clocking In and Out. To Clock In, simply click on the clock icon located in the page header.
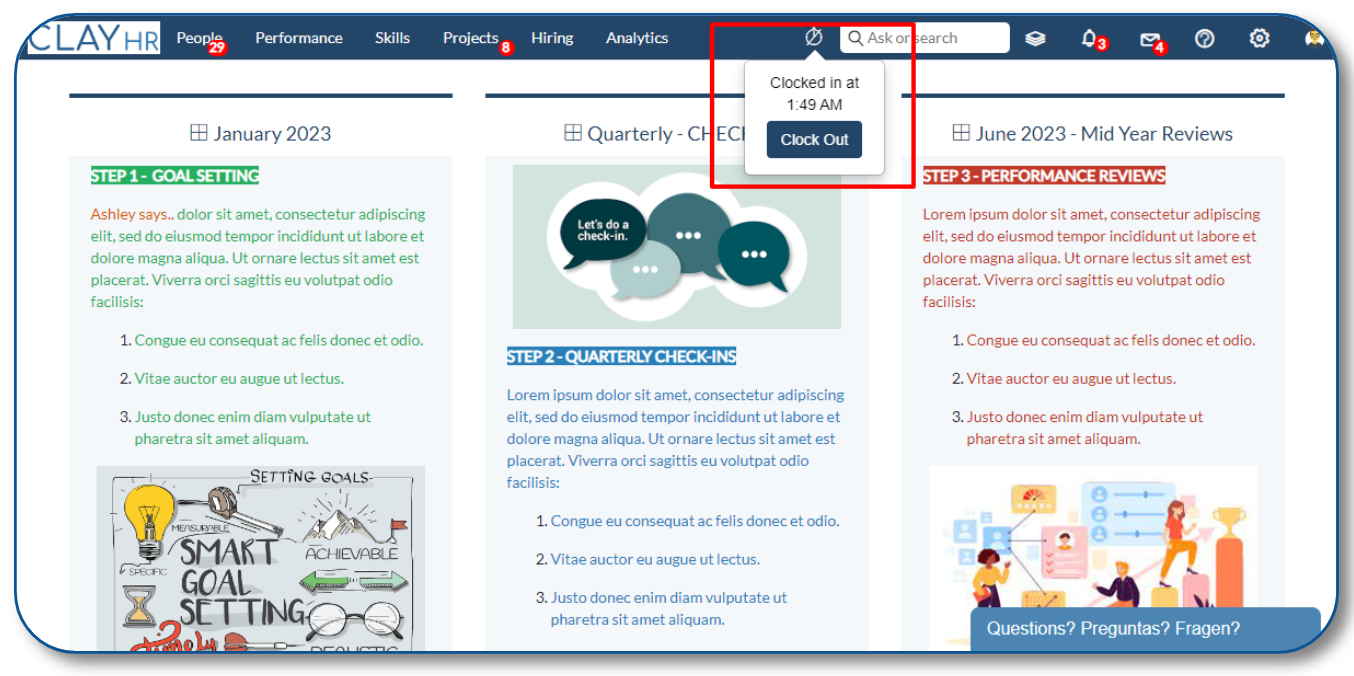
- To Clock Out, click on the clock-out icon located in the page header.
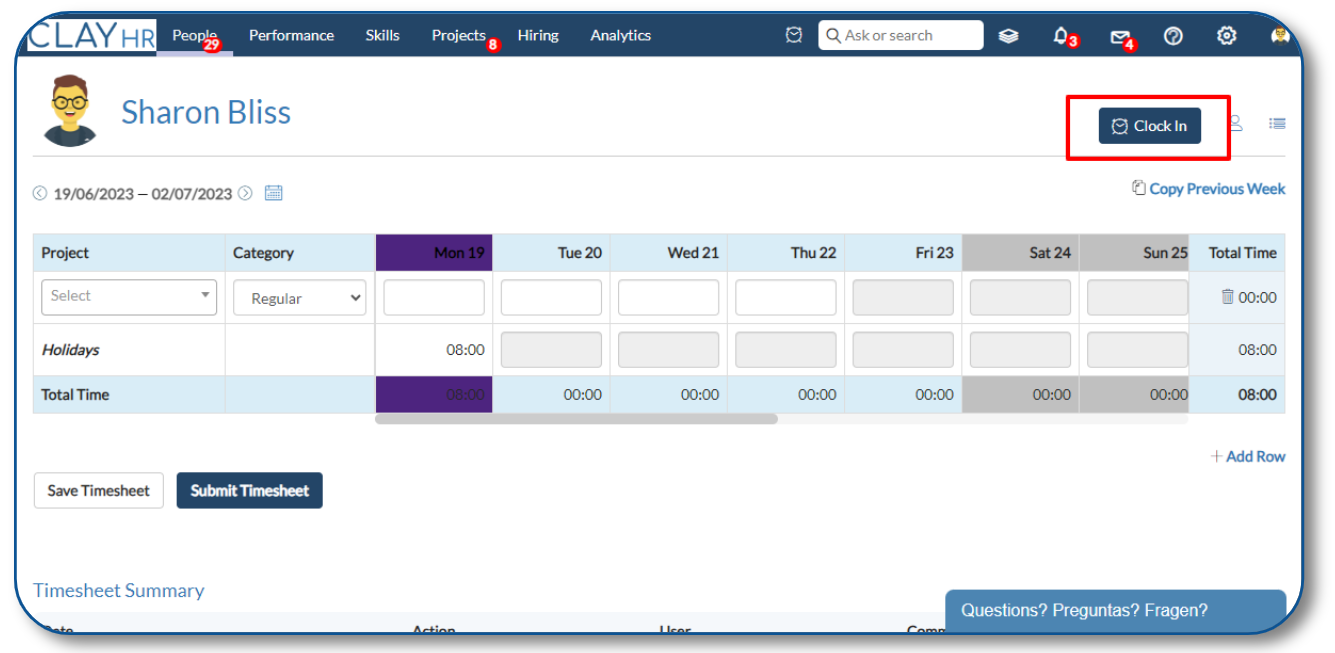
- Users can also Clock In or Clock Out from the “My Timesheets” page. Go to the “People” tab on the header and select “My Timesheets”.
- Click on the “Clock In” button.
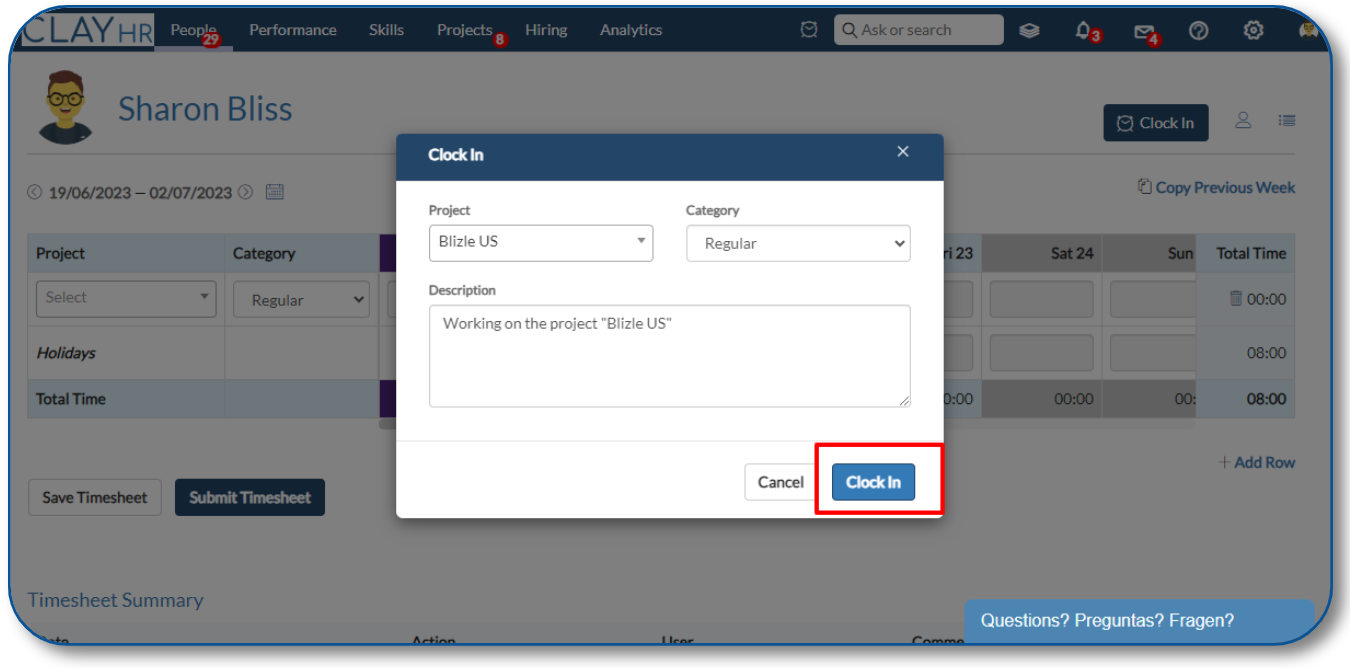
- Once the Clock In popup appears, users can select the Project, Category, and other required details and then click the “Clock In” button.
- To Clock Out, click the drop-down icon and then select “Clock Out”.
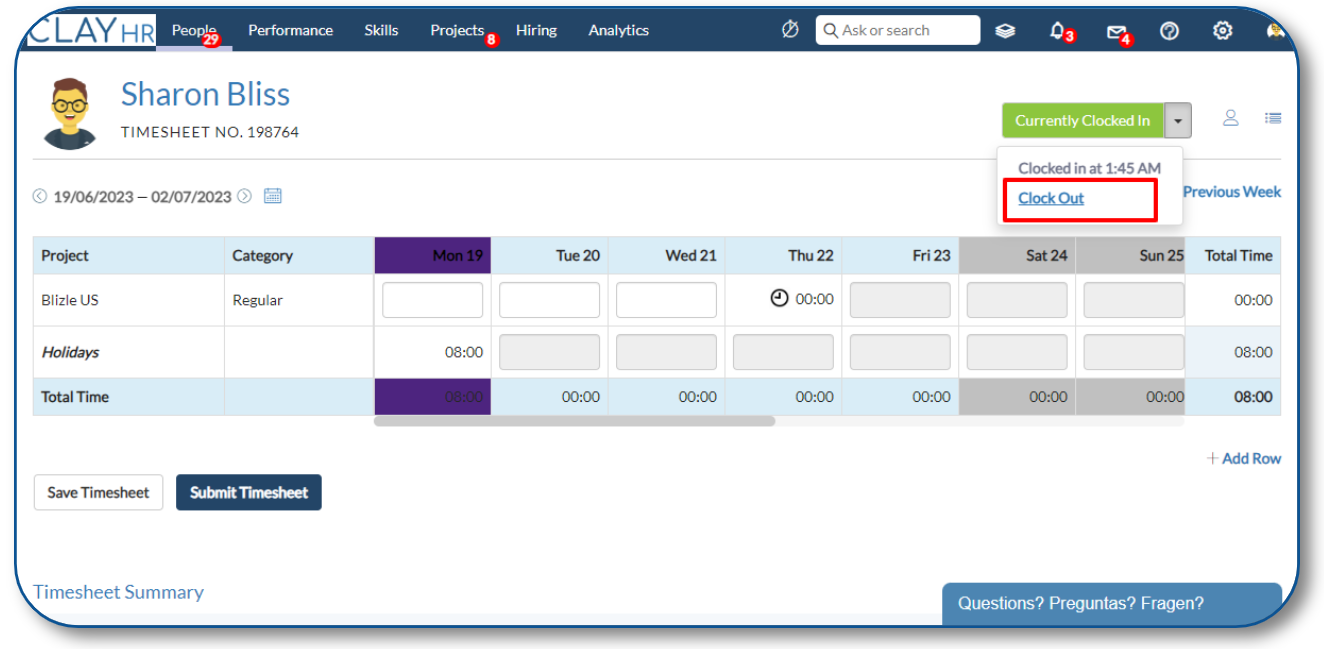
- After Clocking Out, the timecard for the respective project and details will be displayed on the Timesheet View Page.
- Users can add timecards for a number of projects by Clock In and Clock Out and then click on the “Submit Timesheet” button to submit the timesheet as described earlier.
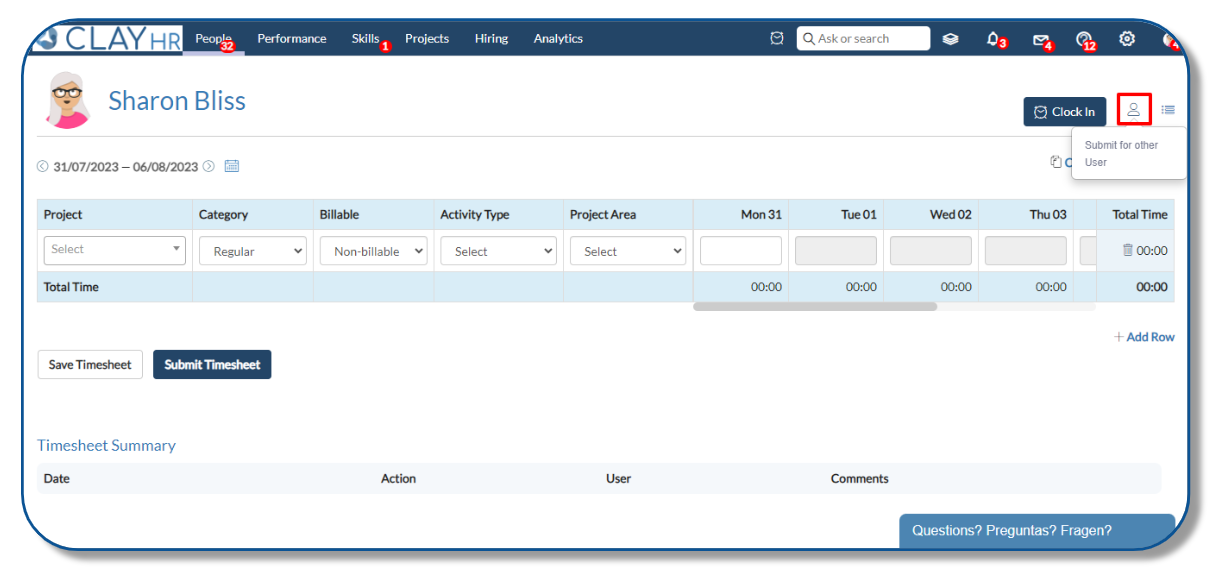
Submit Timesheet For Other User
Users who have been granted the "Add Timecard For Others" permission can create and submit timesheets on behalf of other users as well.
To submit a timesheet for another user, follow the mentioned steps:
- On the Timesheet View Page, go to the top-right corner and click on the user icon.
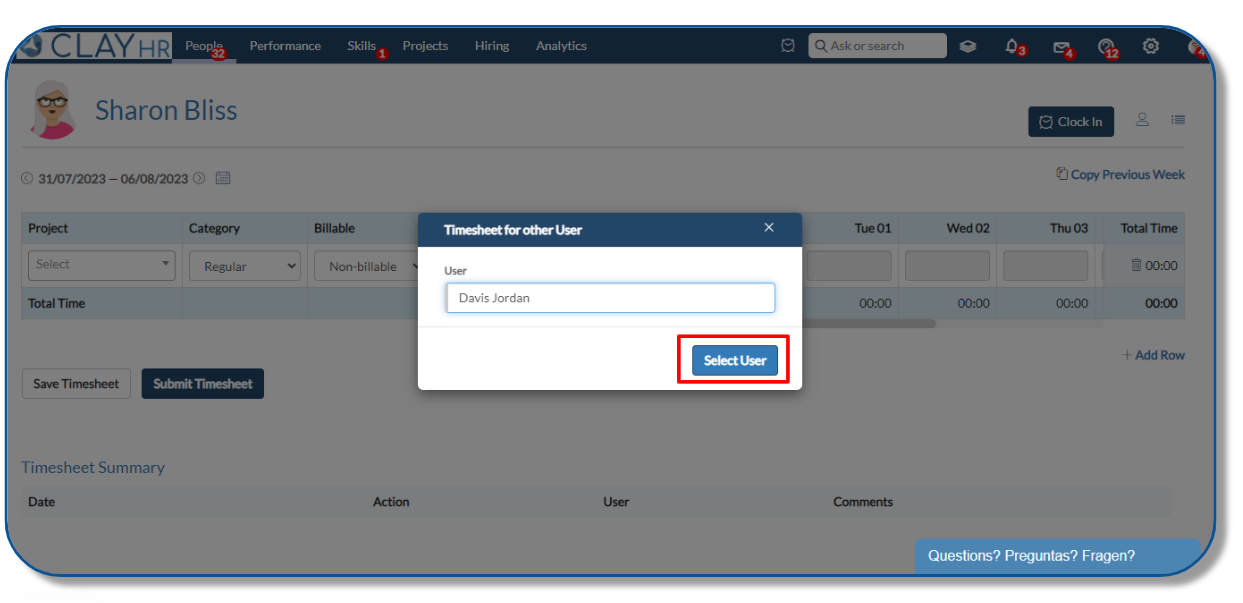
- Select the user for whom you want to create a timesheet.
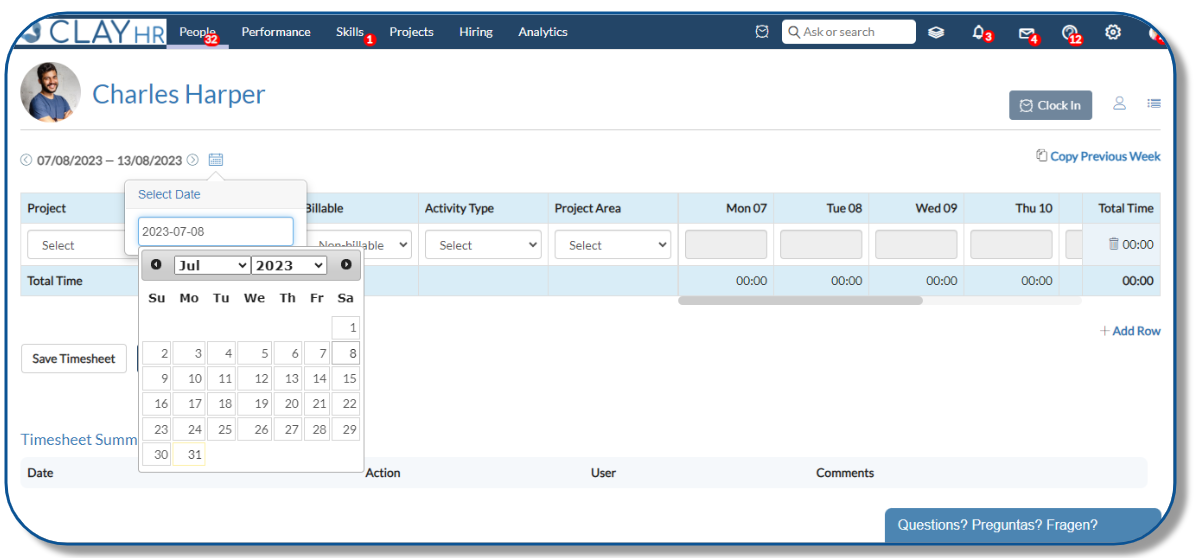
- Select the desired date range and fill in all the necessary details for the timesheet.
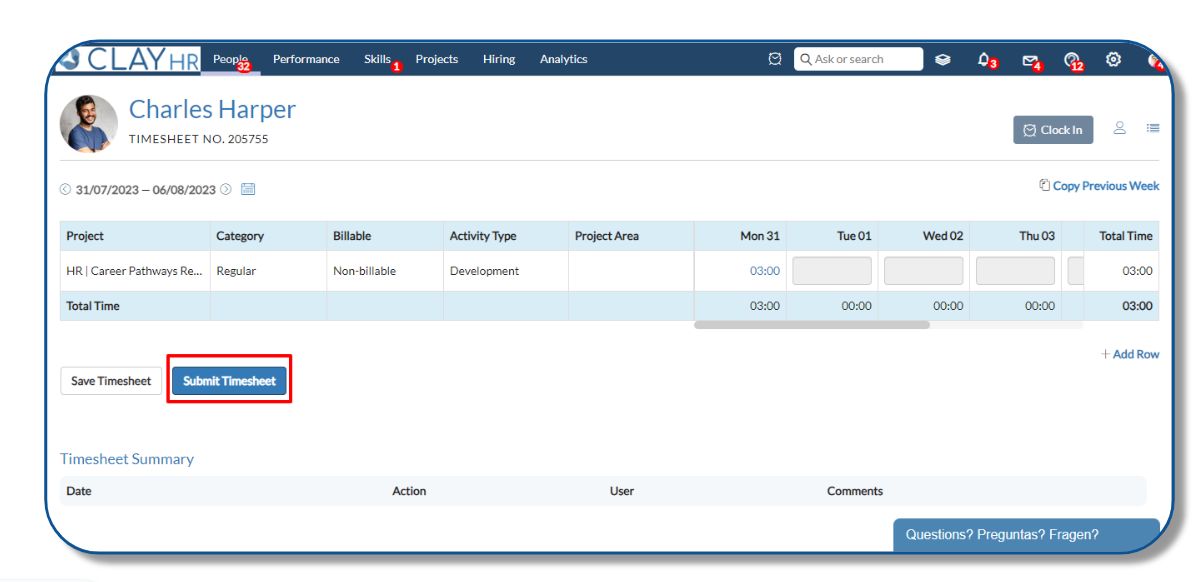
- After filling in the necessary details, click on the “Submit Timesheet” button to submit the timesheet.
View a list of all your Timesheets
- On the Timesheet View Page, go to the top-right corner, and click on the “My Timesheets” icon.
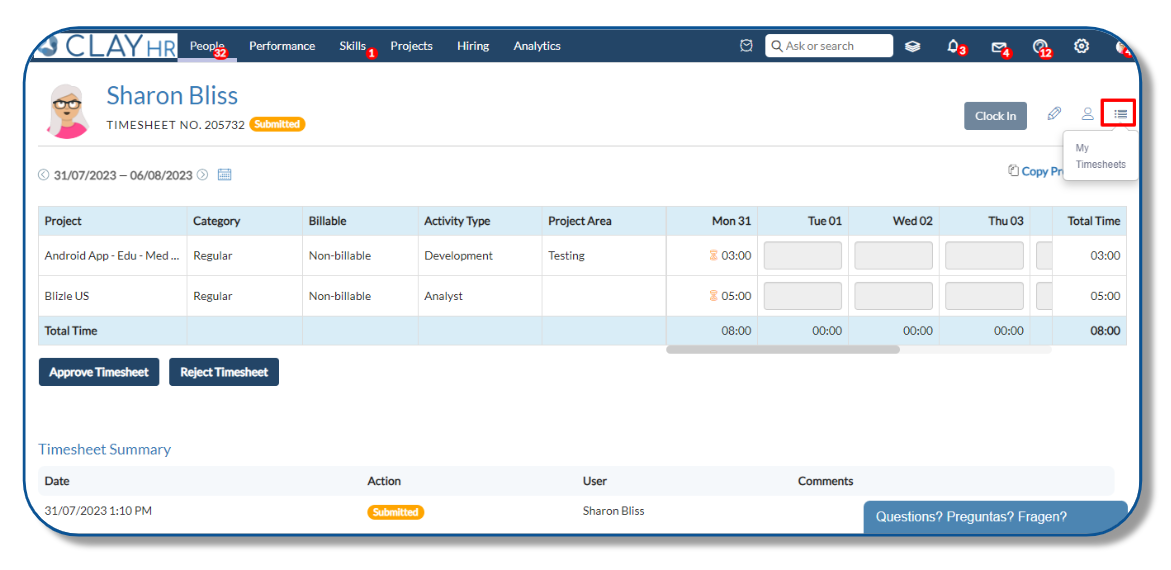
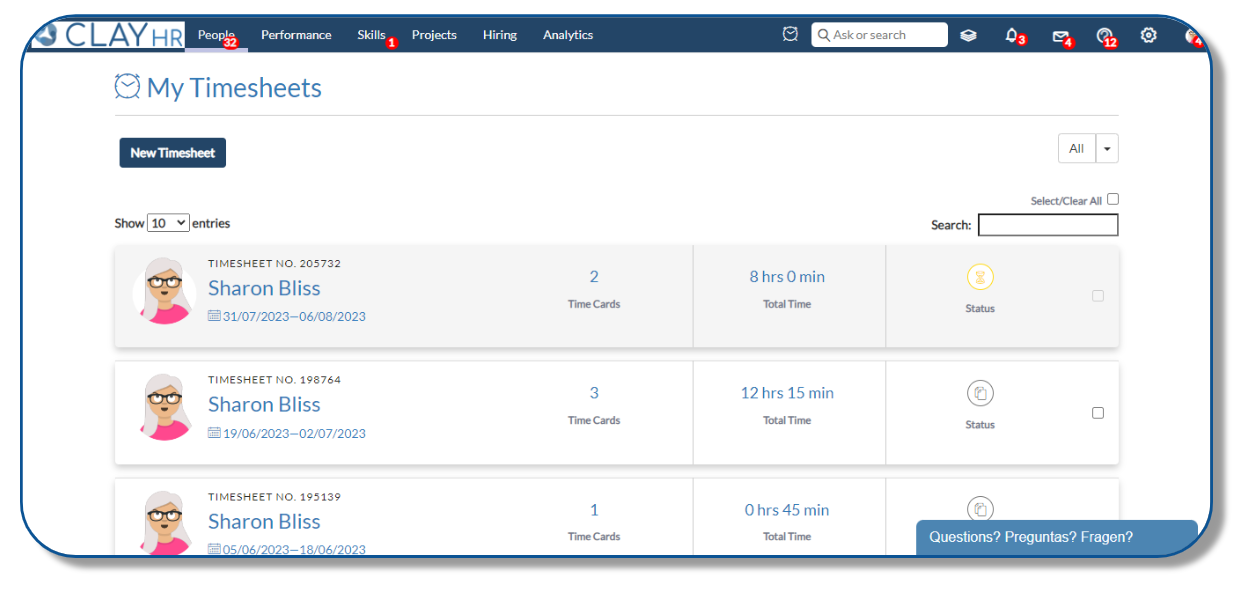
- This will redirect the user to the “My Timesheets” Page where the users can view all of their timesheets at once.
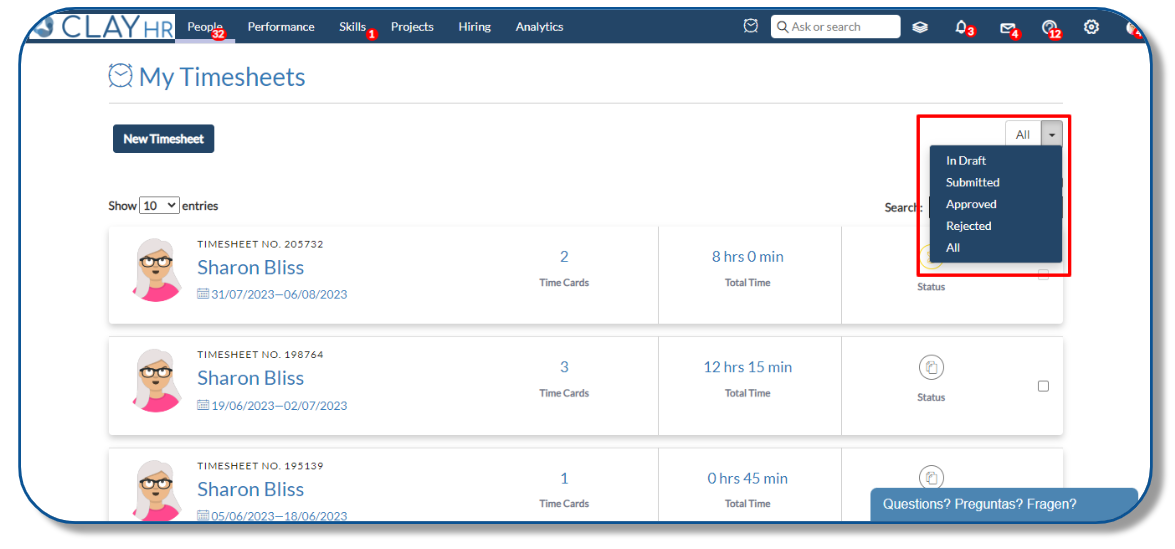
- You can also use the following status to filter out Timesheets (All, In Draft, Submitted, Approved, Rejected).
Learn more: How to Approve / Reject Timesheets?


.png)
