
Set up Azure Application for Microsoft Calendar Integration
Overview
To integrate Microsoft Outlook Calendar with ClayHR, you first need to create and configure an Azure application in your Microsoft 365 tenant. This guide walks Azure Admins through registering the app and setting it up to allow ClayHR to sync events like leaves and announcements.
Step 1: Register a New Application
- Sign in to the Azure Portal.
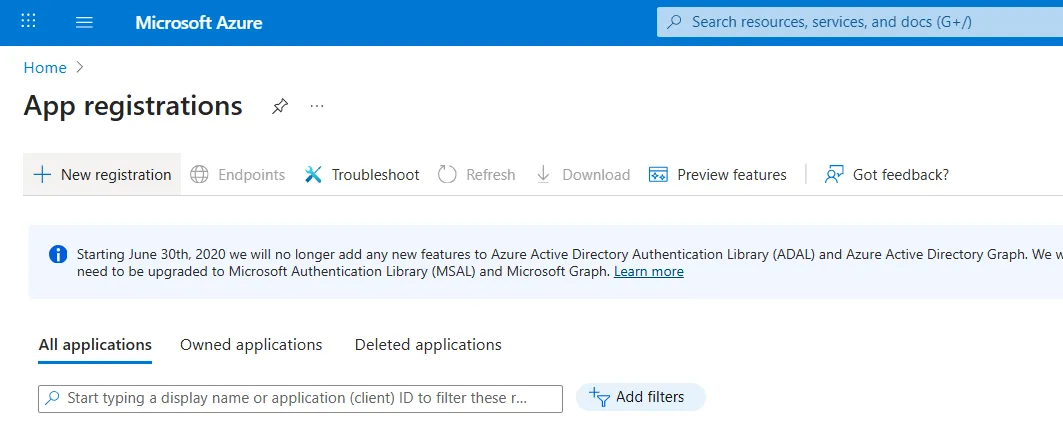
- Search for App registrations in the top search bar.

- Click + New registration.
- Enter a name like ClayHR Calendar App.
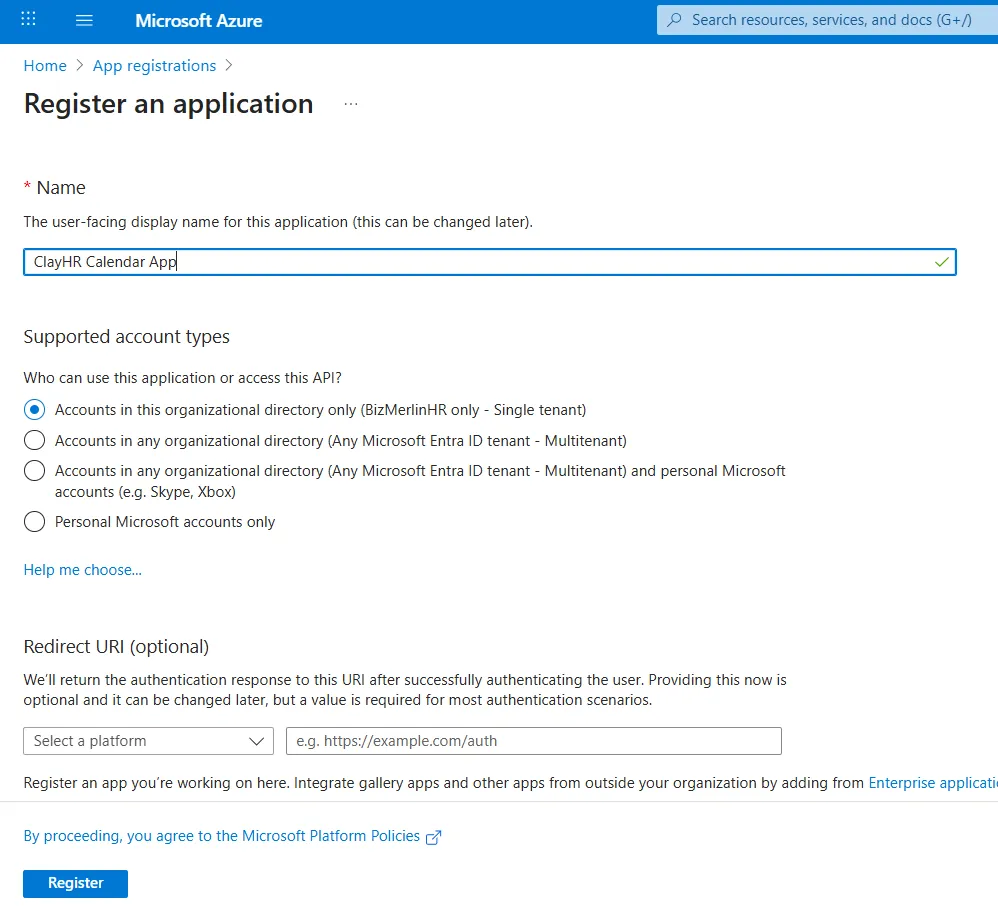
- Leave redirect URL blank.
- Click Register.
- After registration:
- Note down the Application (client) ID for later use.
- Note down Directory (tenant) ID
- You'll need these in the ClayHR integration setup.
- After registration:
Step 2: Generate a Client Secret
- Go to Certificates & secrets in the left panel.
- Click + New client secret.
- Add a description like Calendar Integration Key.
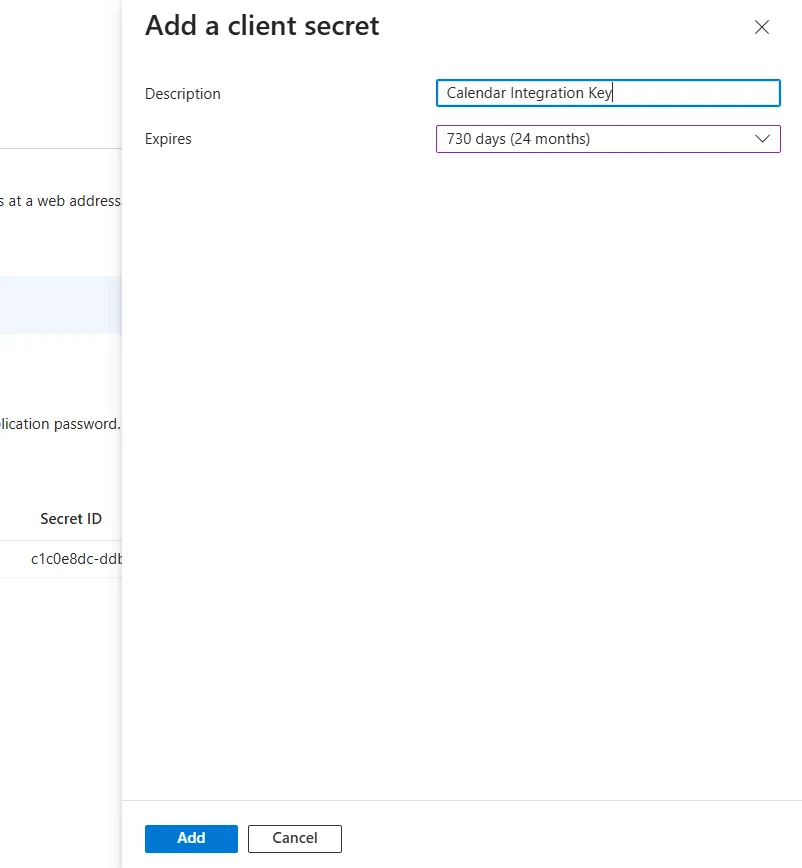
- Choose an expiration duration (e.g., 24 months).
- Click Add.
Make sure to note down the Value of the secret immediately — it will only be shown once.
Step 3: Grant Microsoft Graph Permissions
- Click API permissions in the left panel.
- Click + Add a permission → Select Microsoft Graph.
- Choose Application permissions and add:
- Calendars.Read
- Calendars.ReadBasic.All
- Calendars.ReadWrite
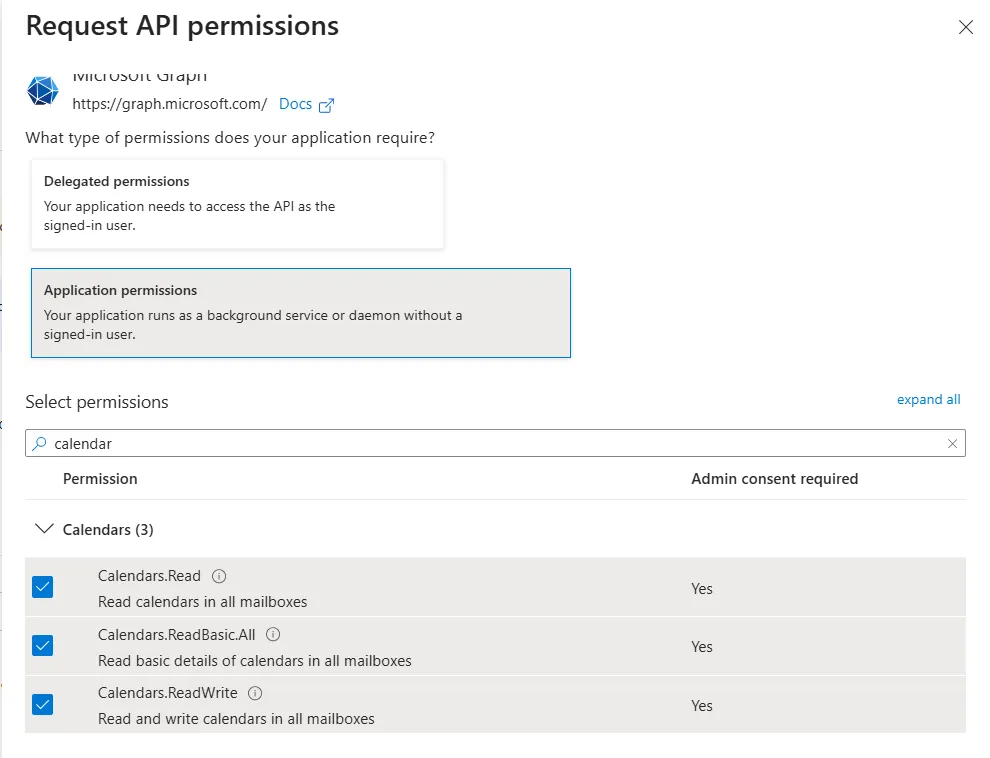
- After adding, click Grant admin consent for [Your Organization] to authorize these permissions for use across your tenant.
Note: The app will also include the User.Read Delegated permission, which is automatically added when the app is created.
Azure Setup Complete
You have now completed the Azure-side setup. Proceed to Connect Microsoft Calendar with ClayHR to finalize the integration.


