
Creating a Project
ClayHR allows you to create a project and allocate a dedicated team to that project. You can also add the billing details, plan your team, and manage the team gap for better progress towards the project.
Follow the below-mentioned steps to create a Project
- Go to the “Projects” section and select “All Projects.”

- A list of all projects will appear on the screen. To create a new project click on the “New Project” button.

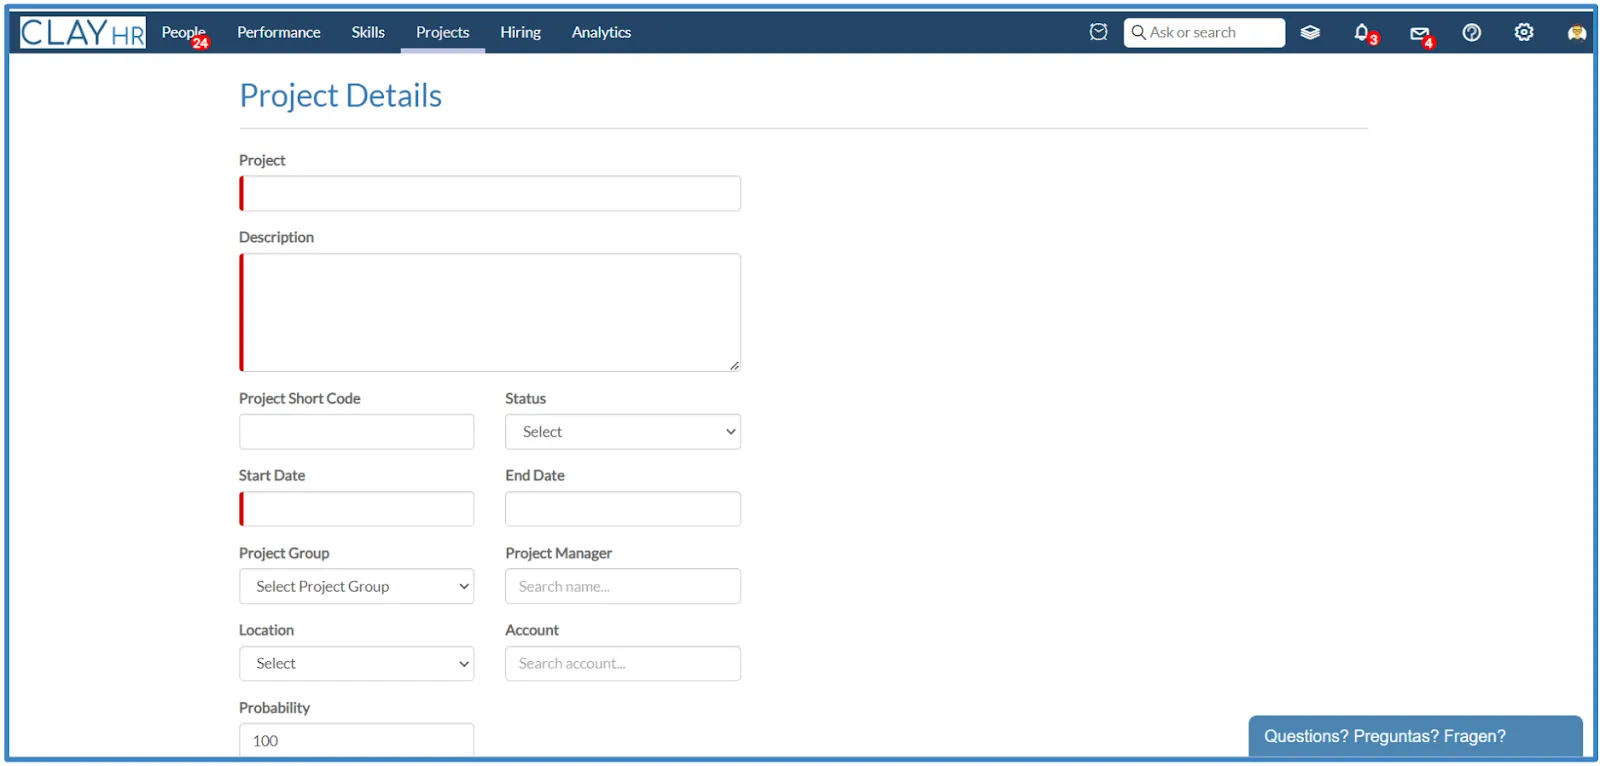
- By clicking on the button, a new page will open where you can enter the required information about the project, including its Name, Description, Start Date, Project Manager, etc.
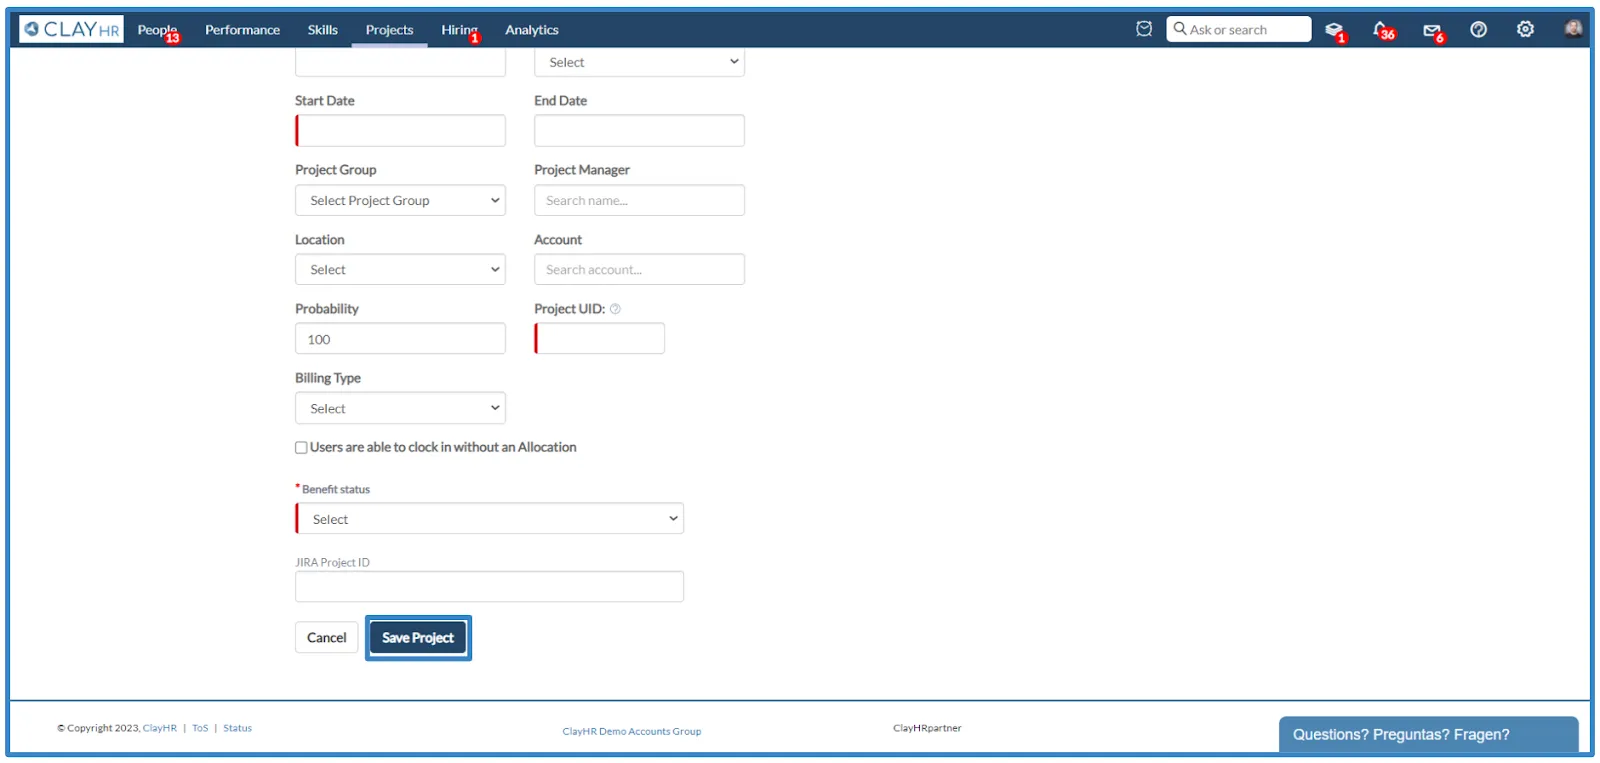
- Click on the “Save Project” button after entering the required information.
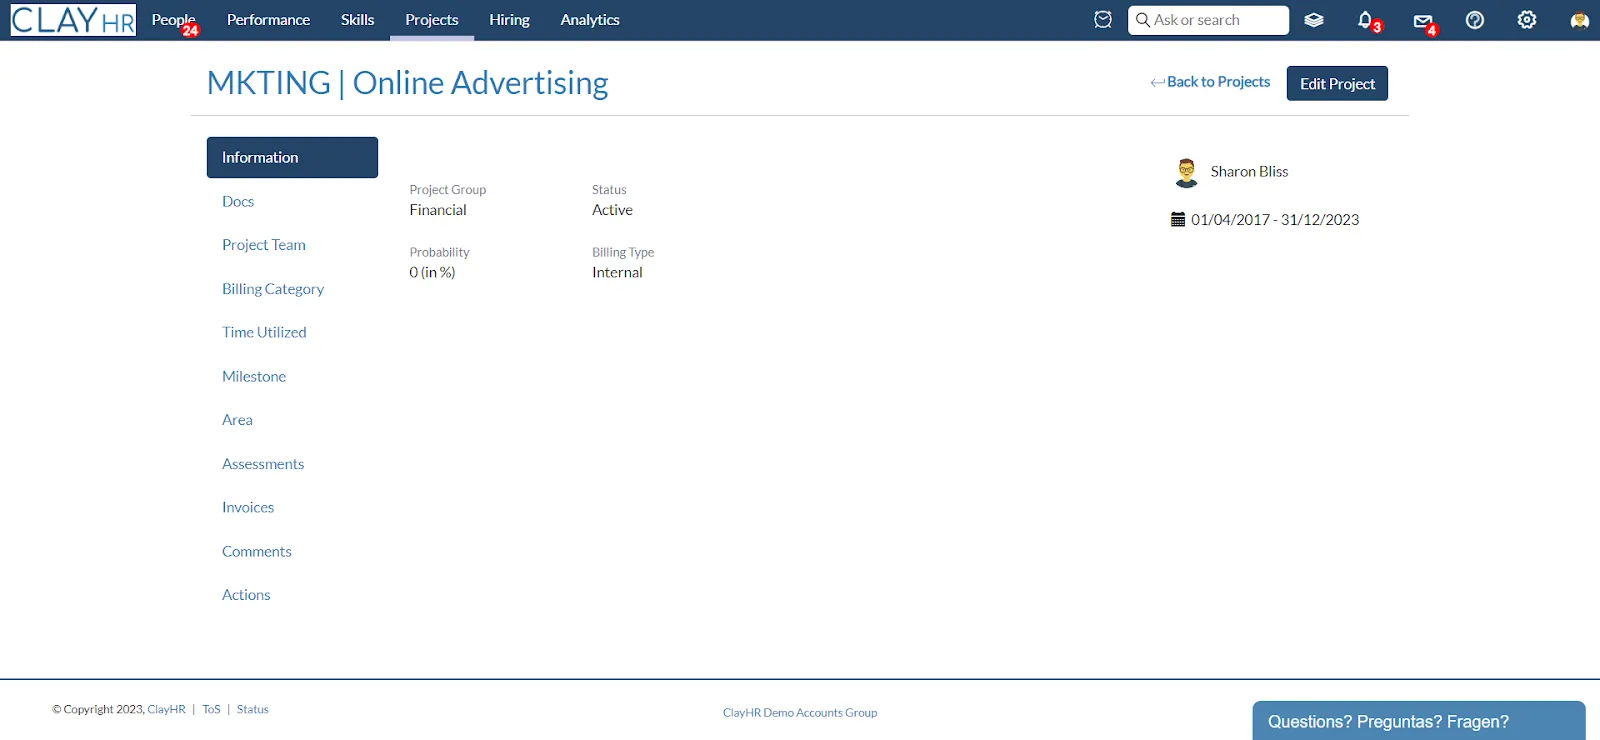
- After saving the project the Information, Docs, Project Team, Milestone, Area, Invoice, Comments, and Action tabs of the project are now visible. You can see the project-related details by clicking on any tab.
Allocating Users (Team) to the Project
You can allocate the users in the project by following these steps
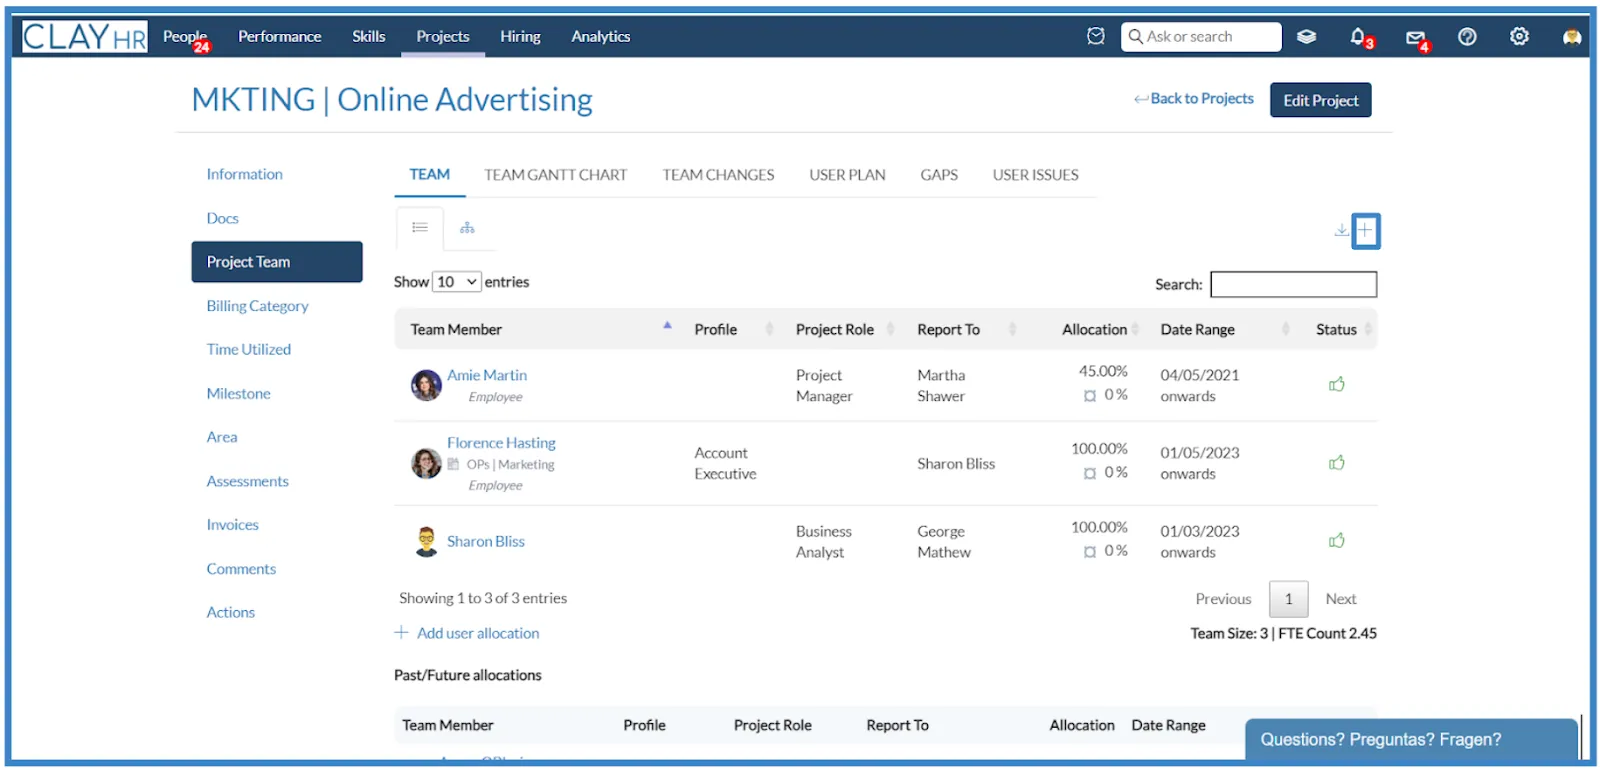
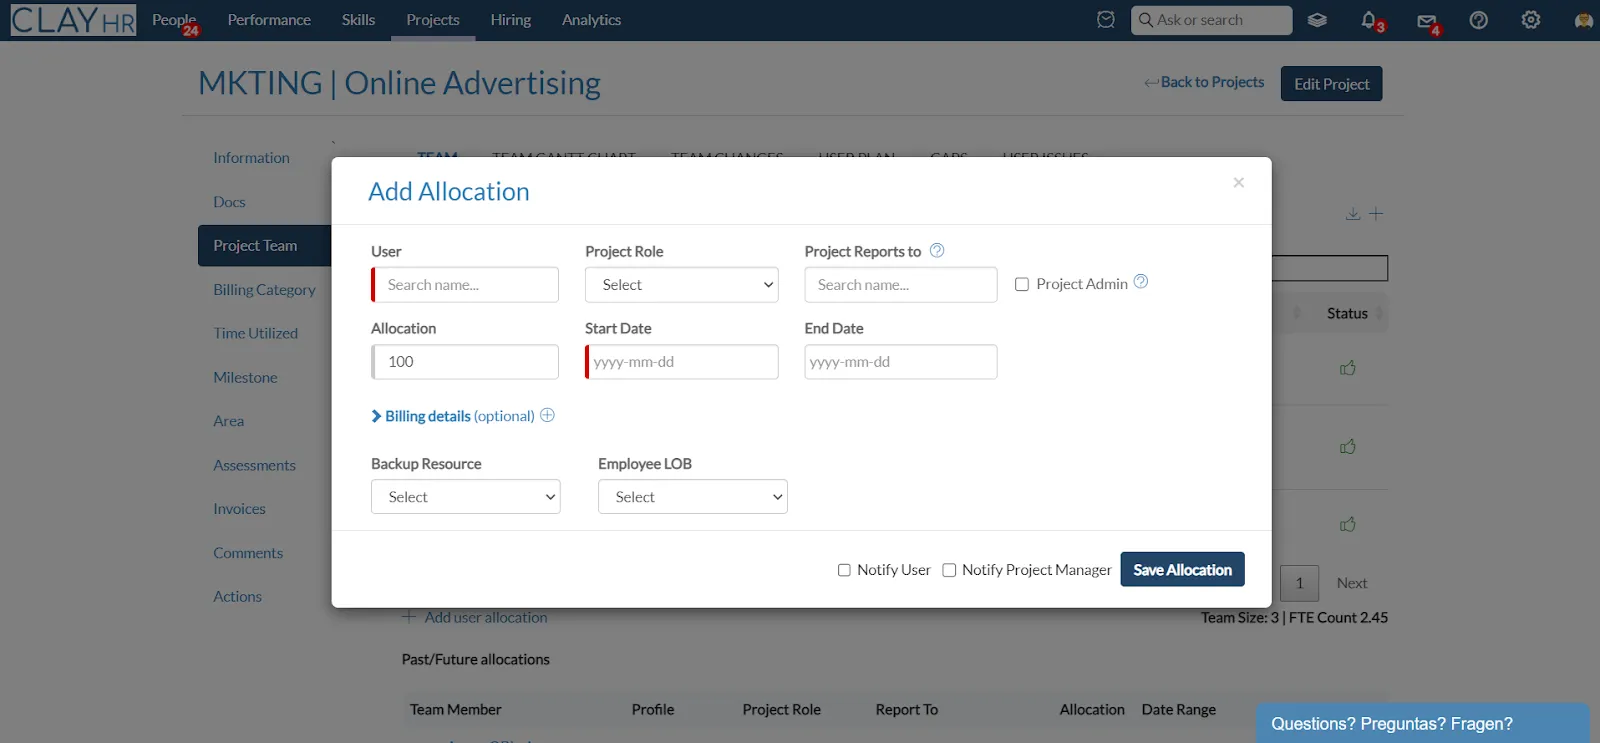
- You can allocate the project to the user by selecting the “Project Team” and clicking on the “ + Add user allocation.”
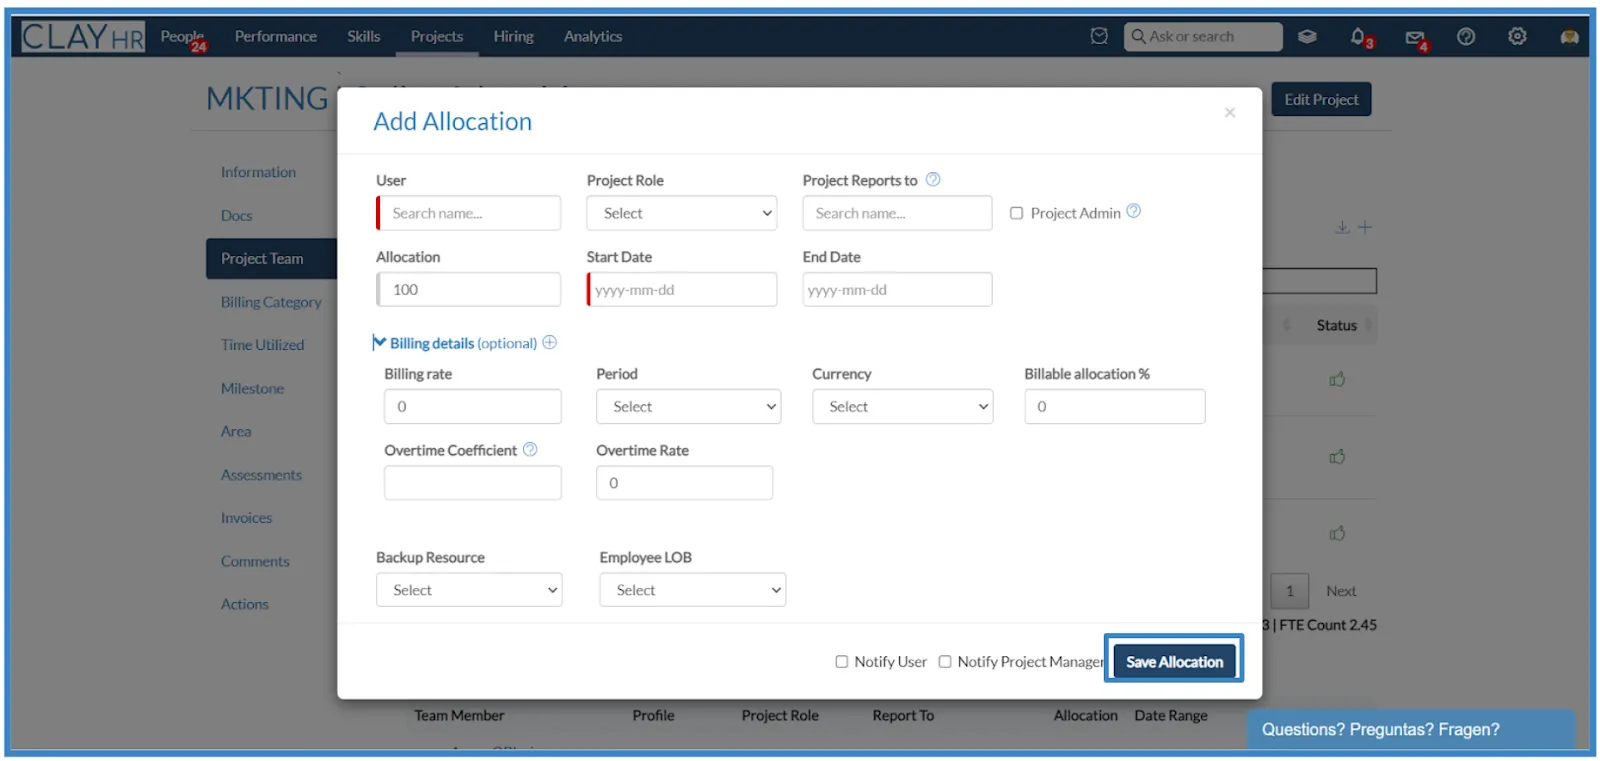
- Add allocation details in the pop-up box, such as User, Project Role, Project Reports to, Allocation, Start Date, End Date, and the Color you want to give the user.
- To send the notifications, check the boxes for “Notify User” and “Notify Project Manager.”
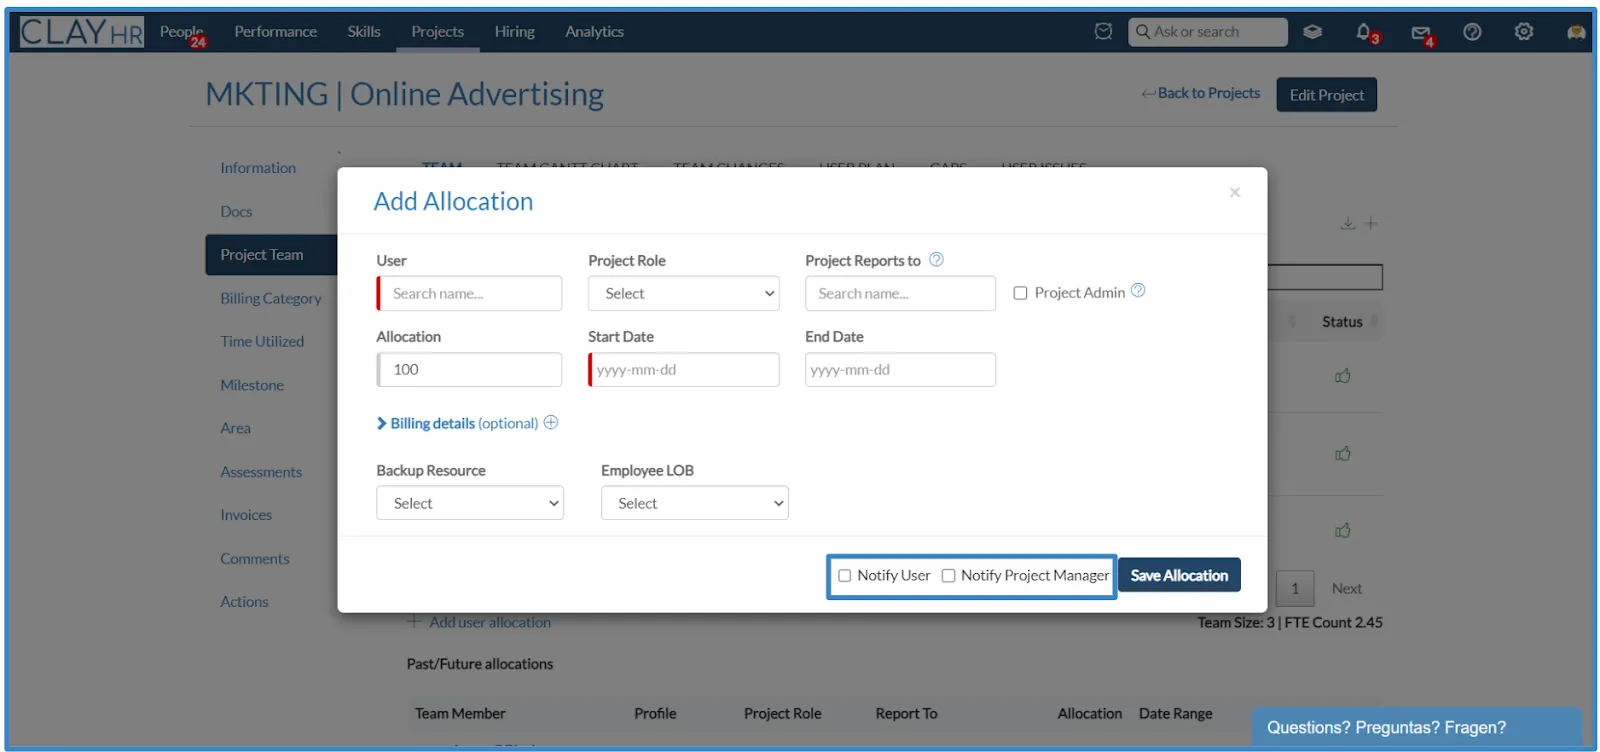
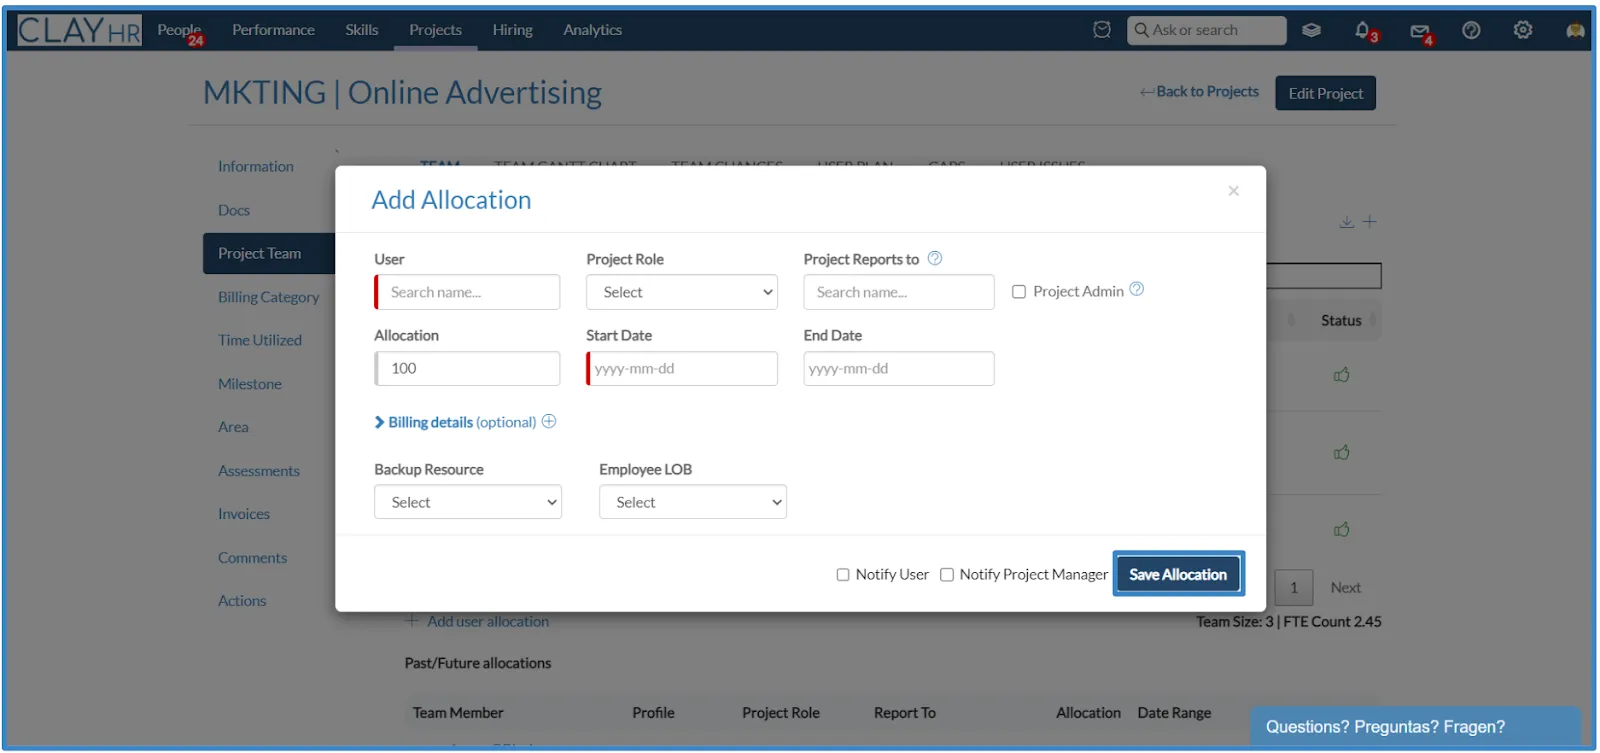
- Click on the “Save Allocation” button to allocate the user to the project.
Adding Billing Details (Optional)
You can add the billing details by following these steps:
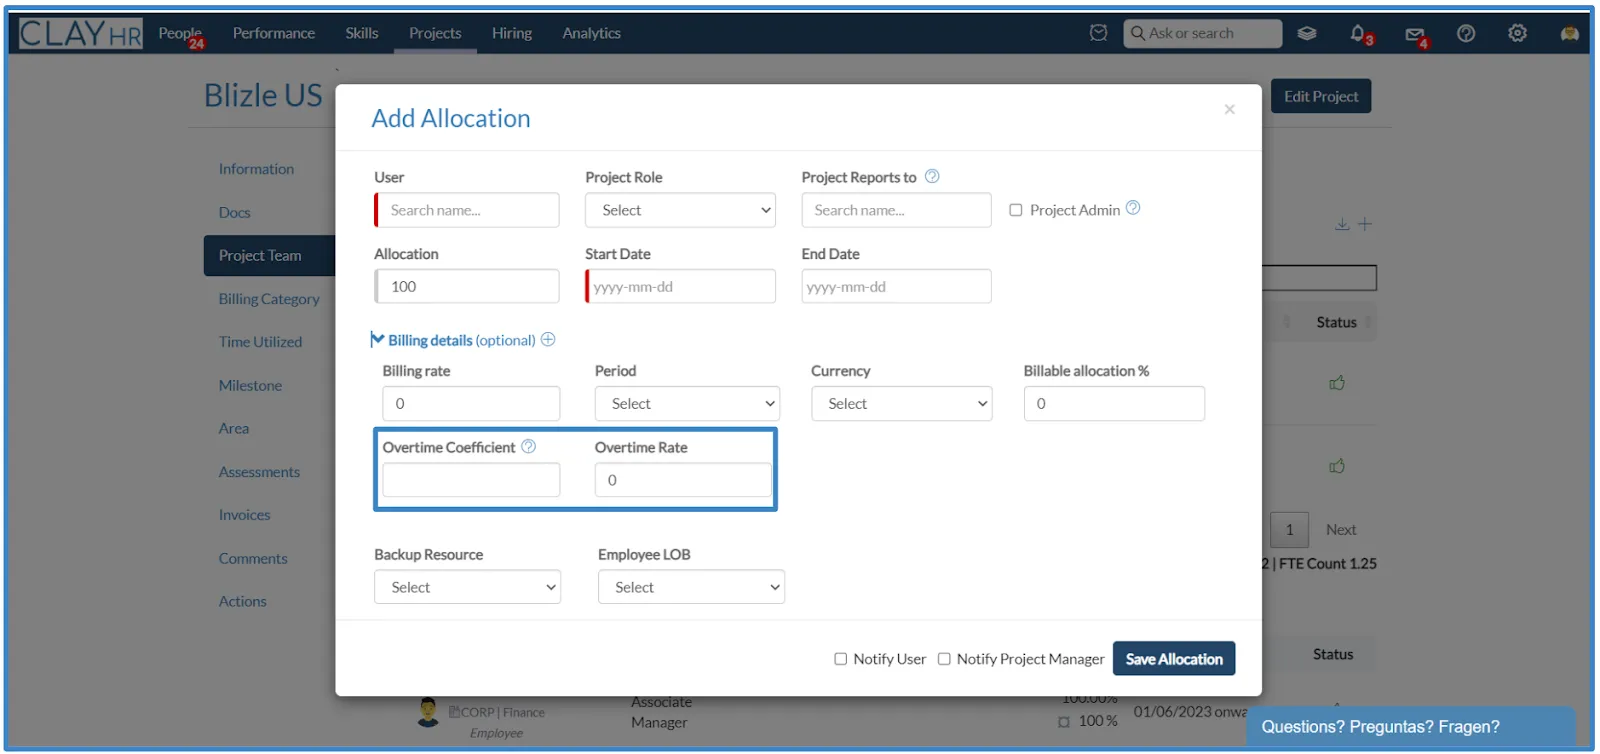
- Click on “Billing details” to add the project billings from the Allocation pop-up menu.
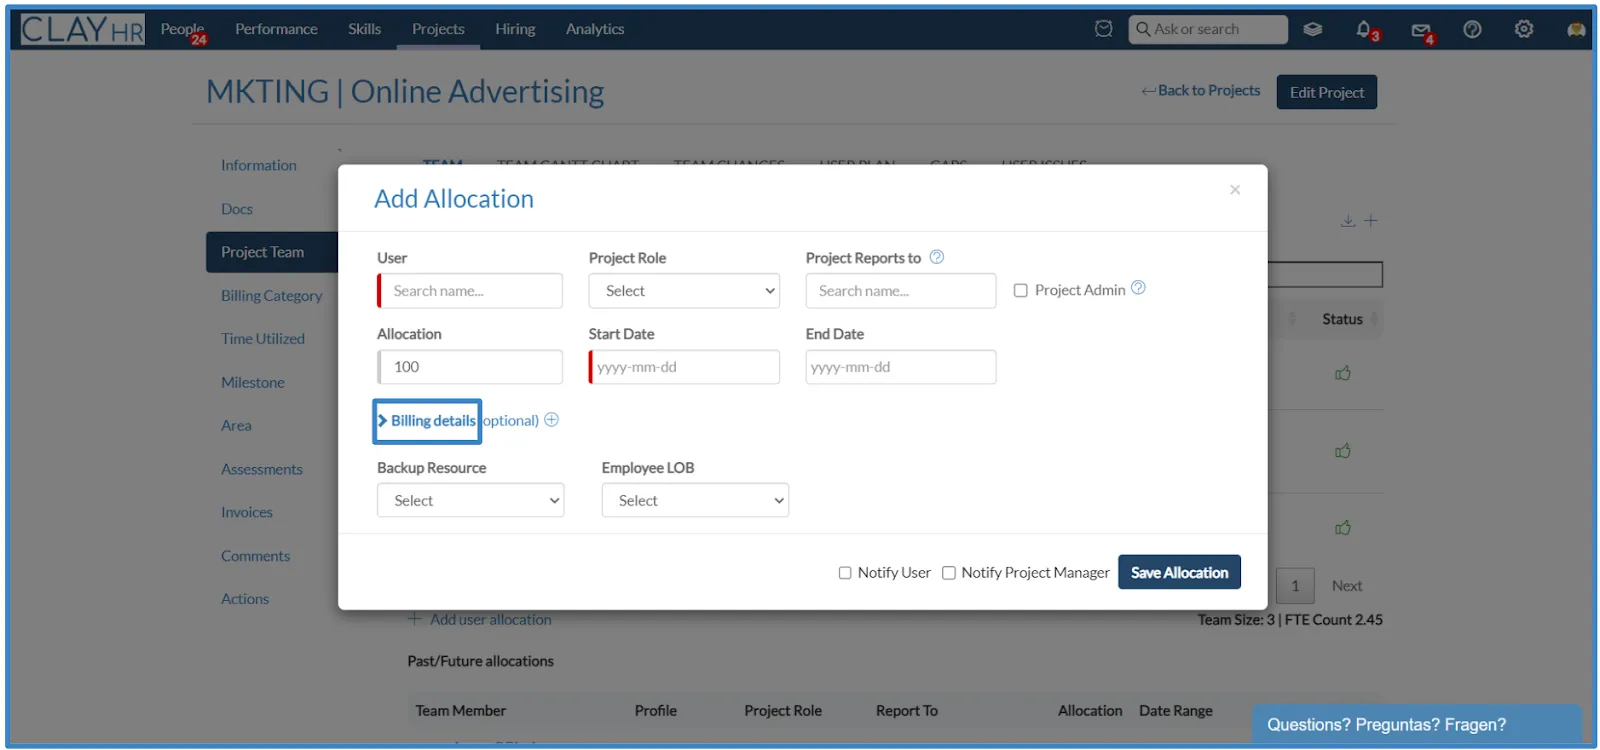
- Enter the Billing rate, Period, Currency, and Billable allocation % in the fields.

- In the field enter the “Overtime Coefficient.” While creating the invoices, will have an effect on the amount. If the billing rate is $10/hour with a 100% billable allocation and the overtime coefficient is 2, users will receive a double amount for those overtime hours or You can put the overtime rate manually. For eg: If overtime hours are 2, in that case, they will get a $40 amount.
- After entering all the required information, click “Save Allocation.”
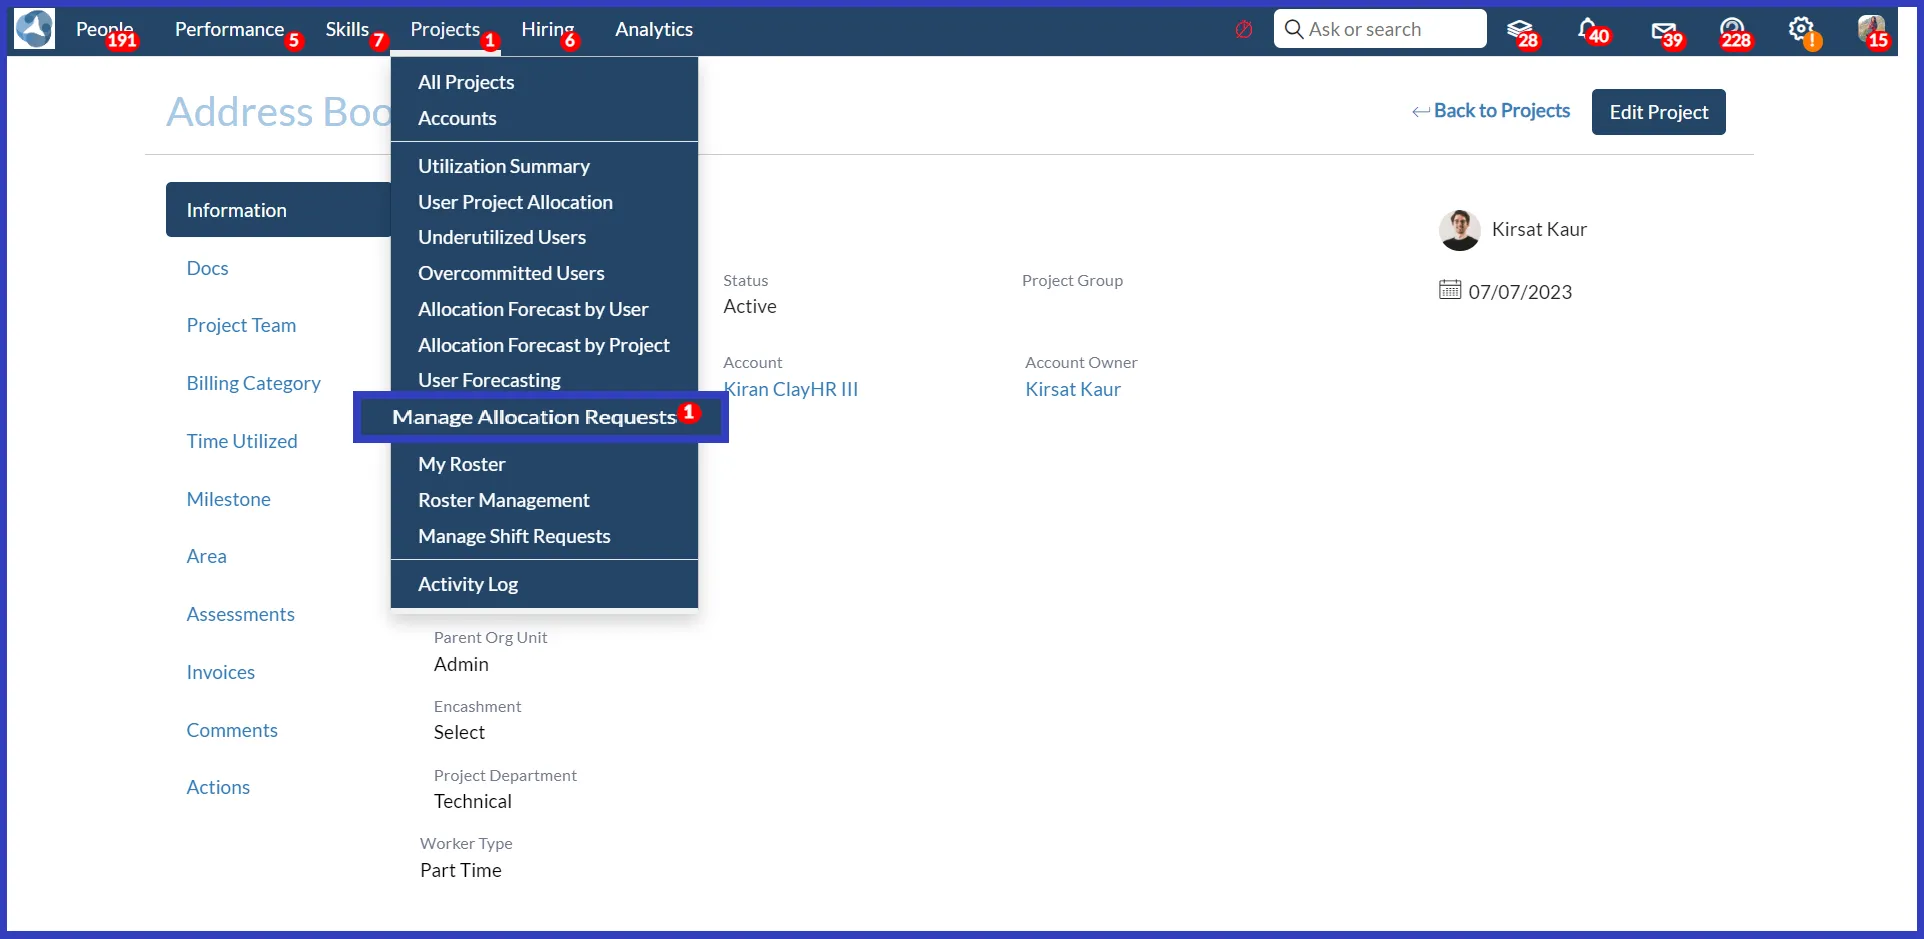
- After saving the allocation, the Manager has to approve it. To approve the allocations, go to Manage Allocation Requests in the Projects tab.
- A list of all the user allocations will appear and you can approve or reject these allocations.
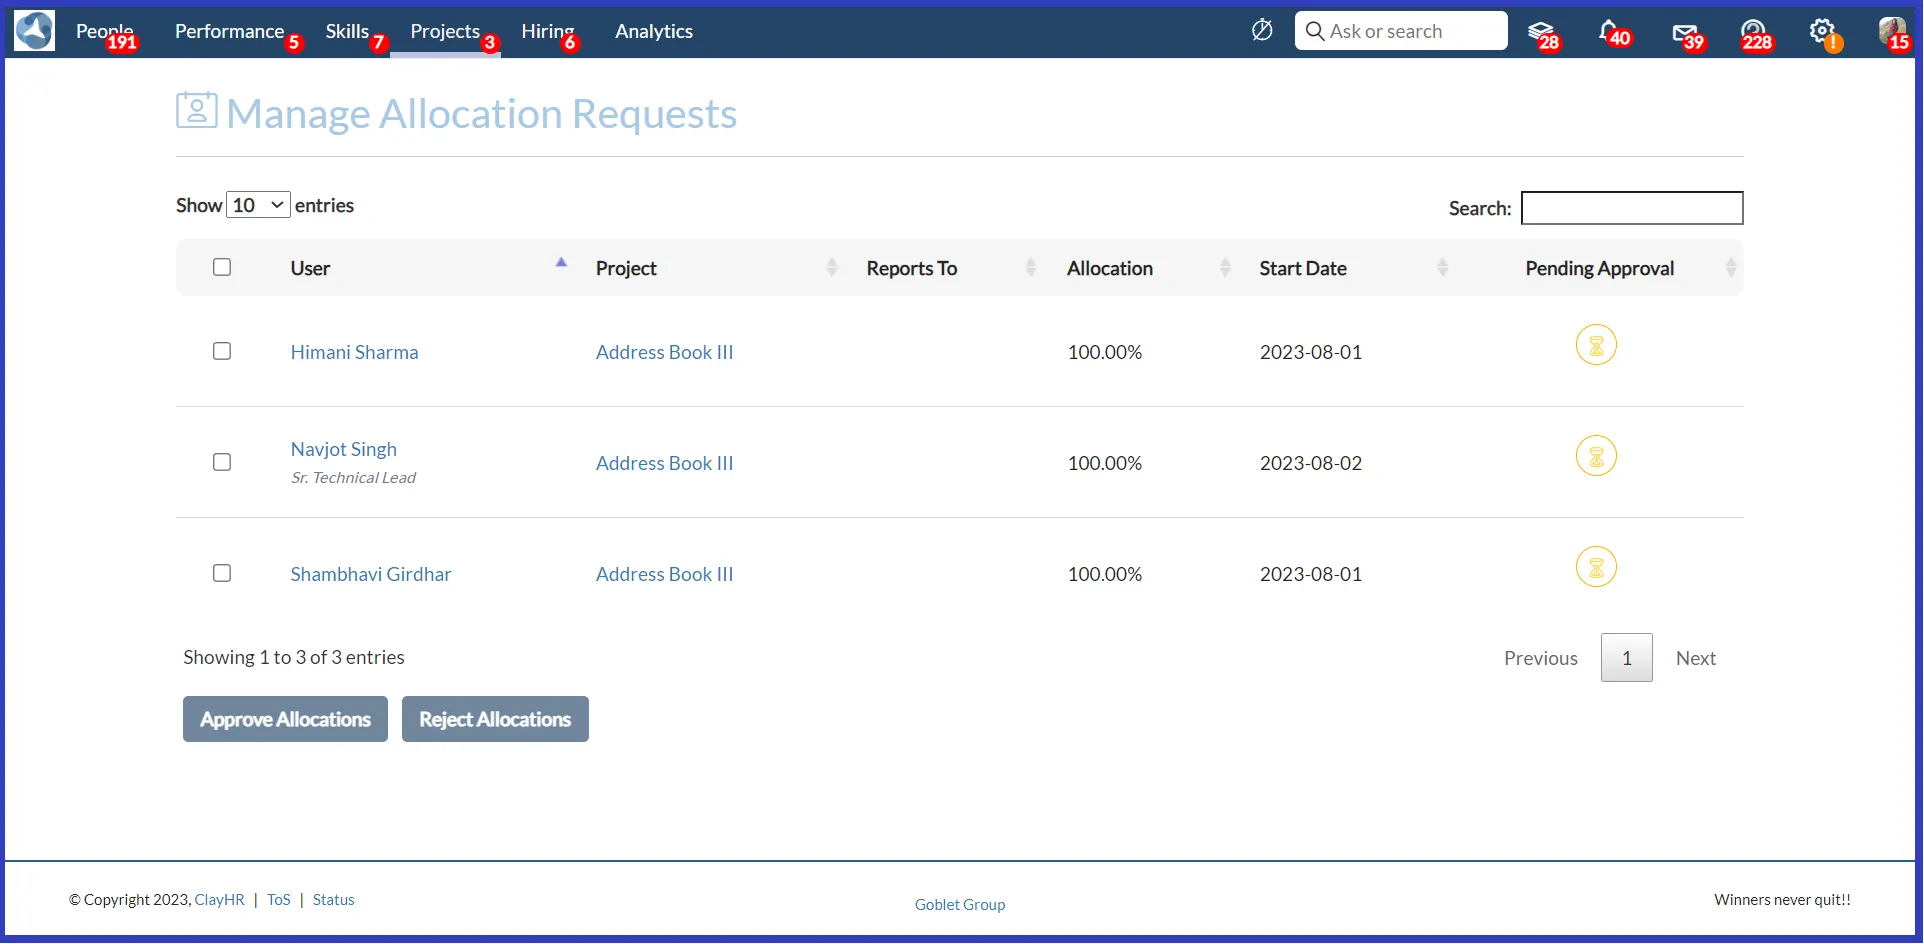
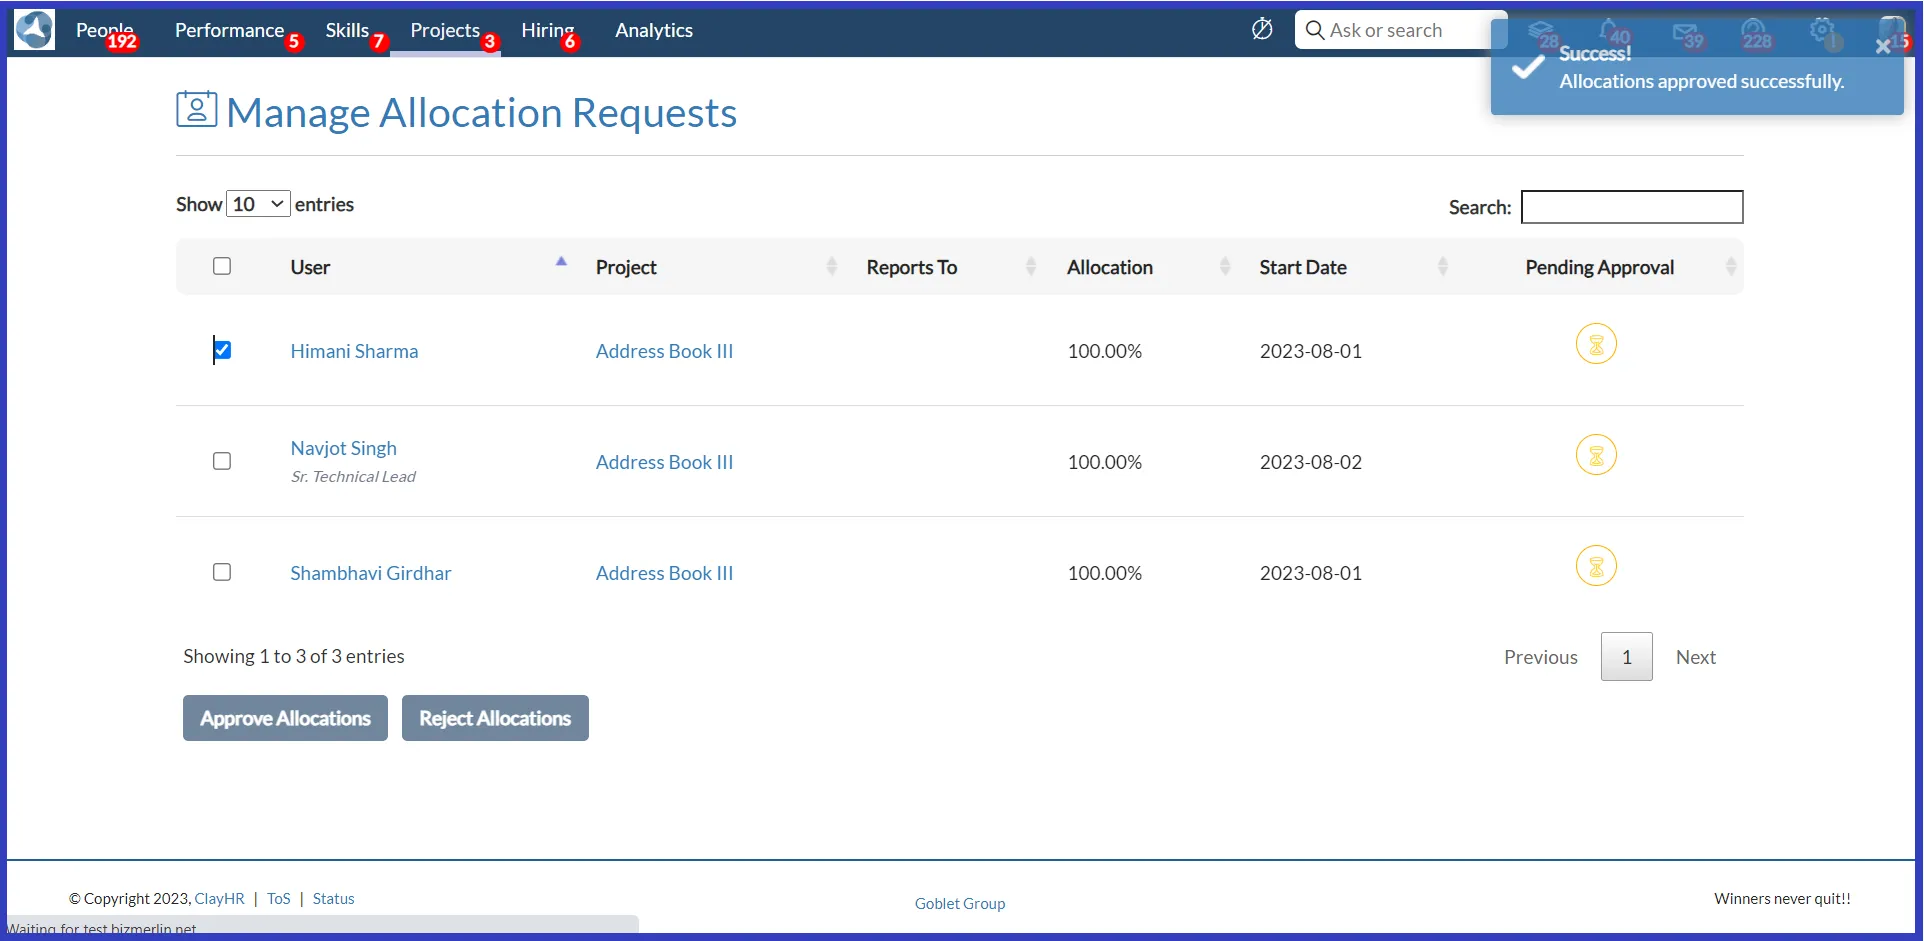
- To approve any allocation, select the check box of that particular user and click on the “Approve Allocation” button. A popup to approve the allocation will come up and click on the “Approve Allocations” button to approve it.

- After approving the allocation, you will be redirected to the “Manage Allocation Requests” home page. You can reject the allocations by clicking on the “Reject Allocation” button after selecting the check box of that particular user. You can approve/ reject multiple allocations as well in one go.
- After clicking the Reject Allocation button, a pop-up to confirm rejecting the allocation will appear. Click on the “Reject Allocation” button to reject the allocation.
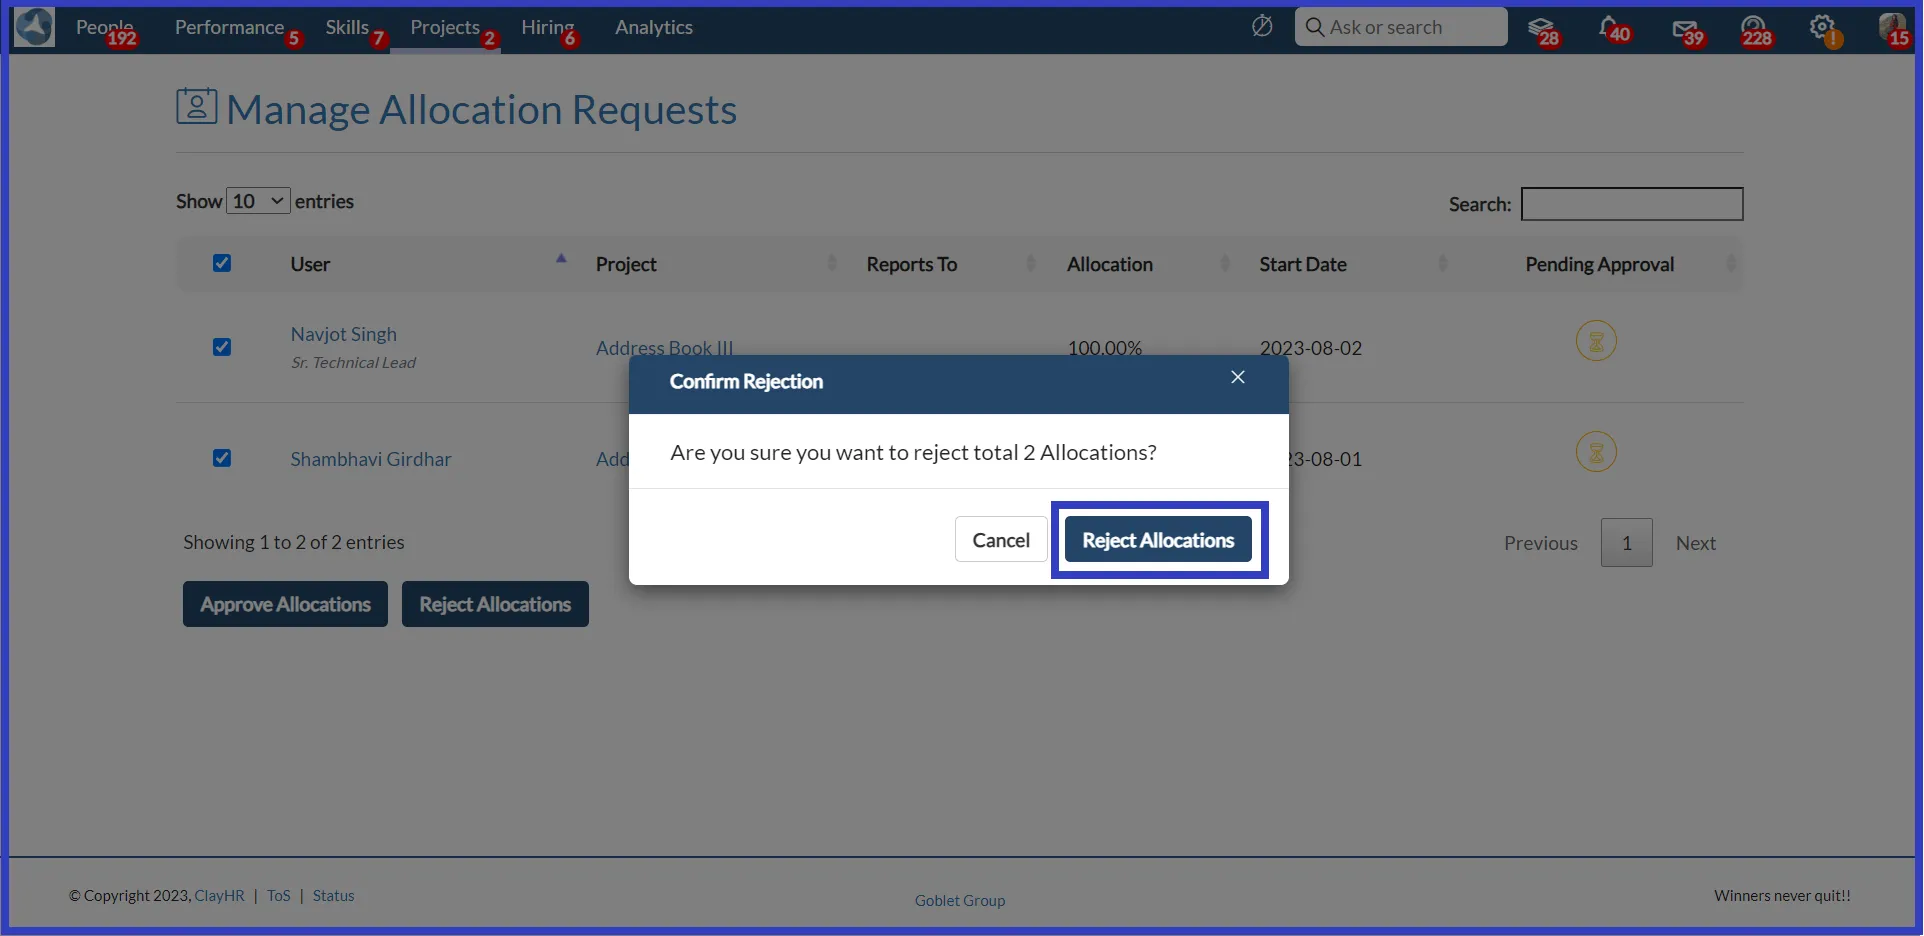
- After rejecting the allocation, you will be redirected to the “Manage Allocation Requests” home page.

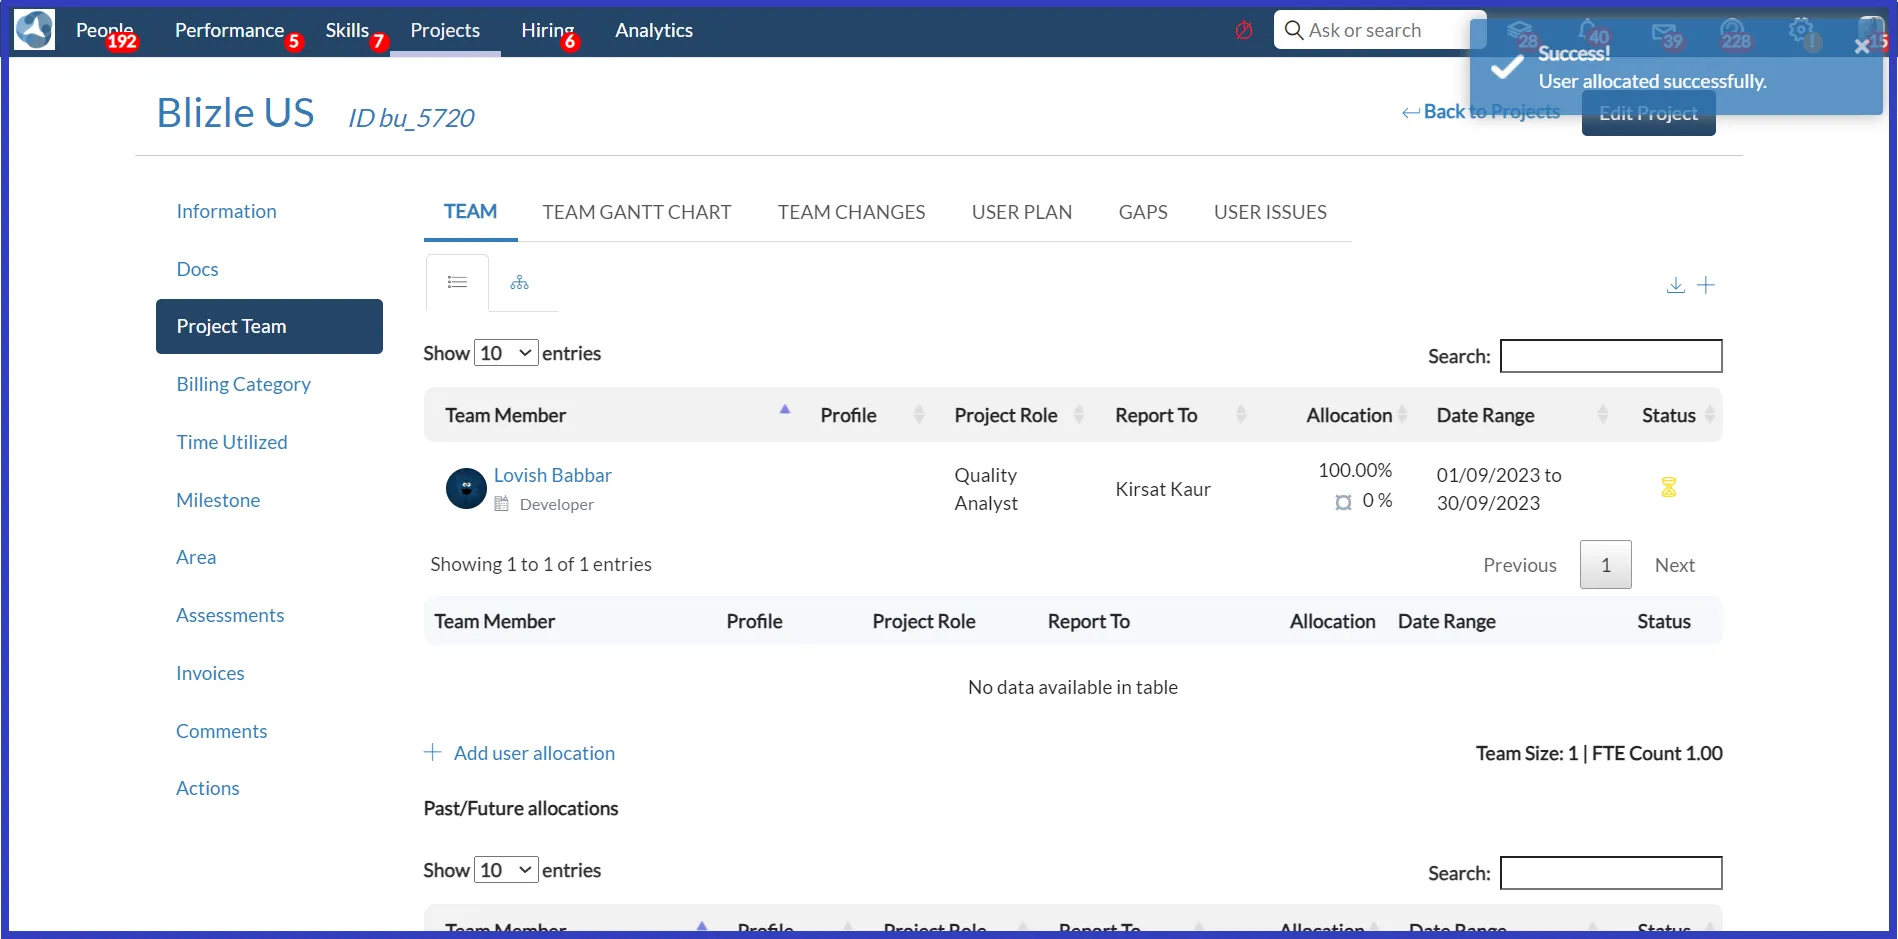
- After approving or rejecting the allocation, you can view the status of the allocation in the “Project Team” tab of the project view page.
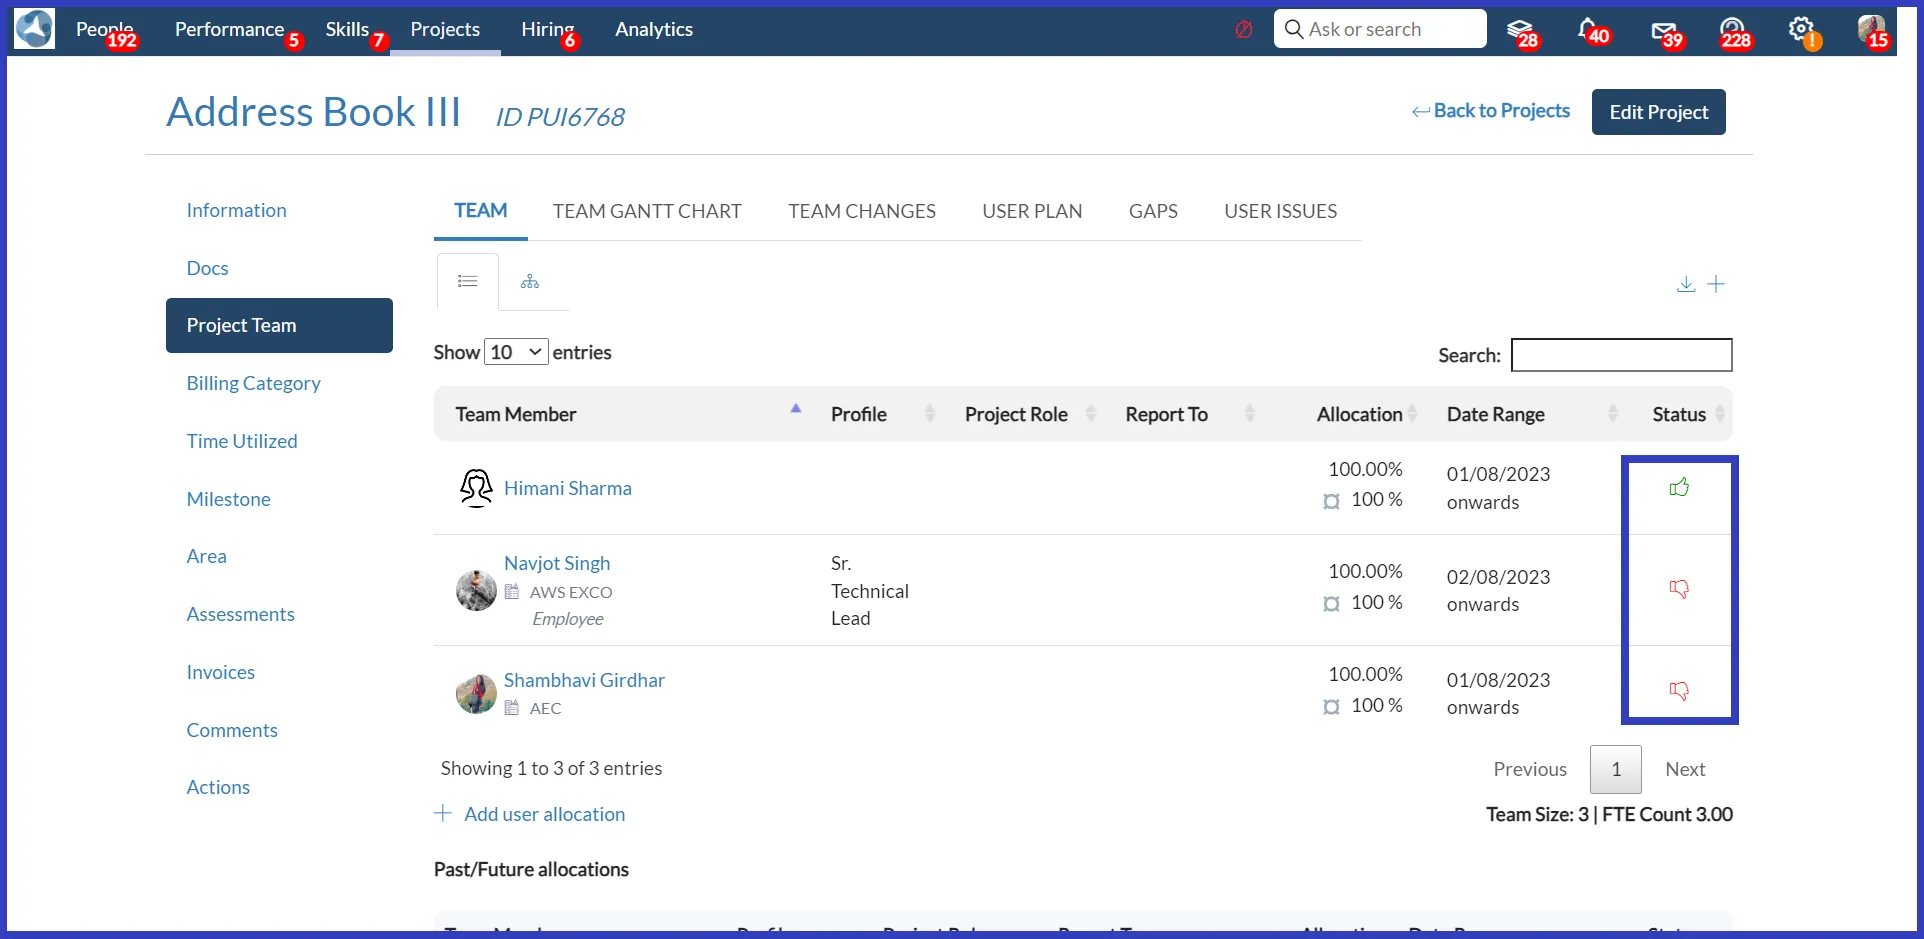
- You can even download these allocations in the form of PDF or Excel by clicking on the arrow icon here.

Creating a Project Resourcing Plan
You can create the User Plan by following these steps:
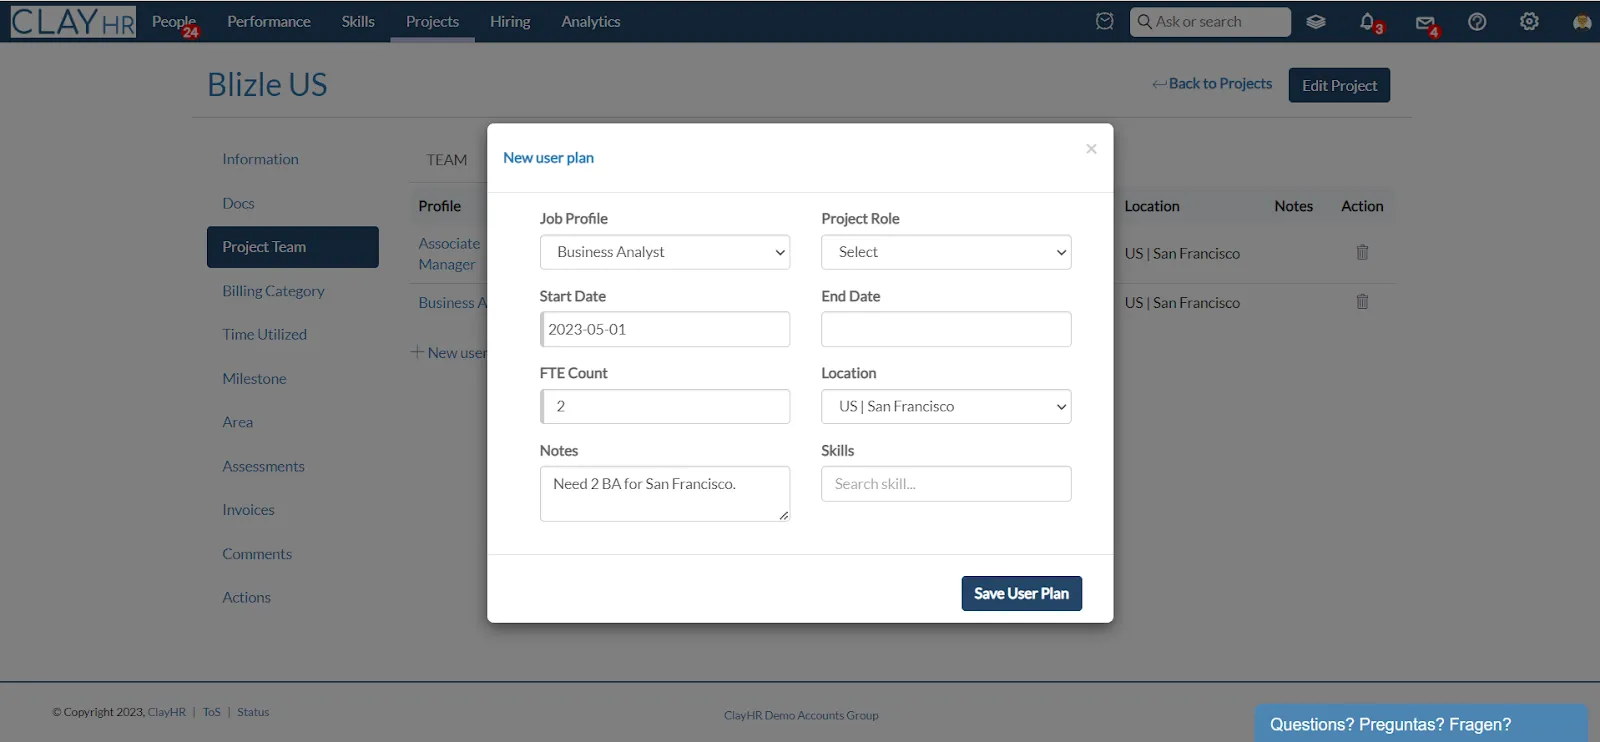
- By selecting the User Plan tab and clicking “+ Add user plan,” you can create the user plan.
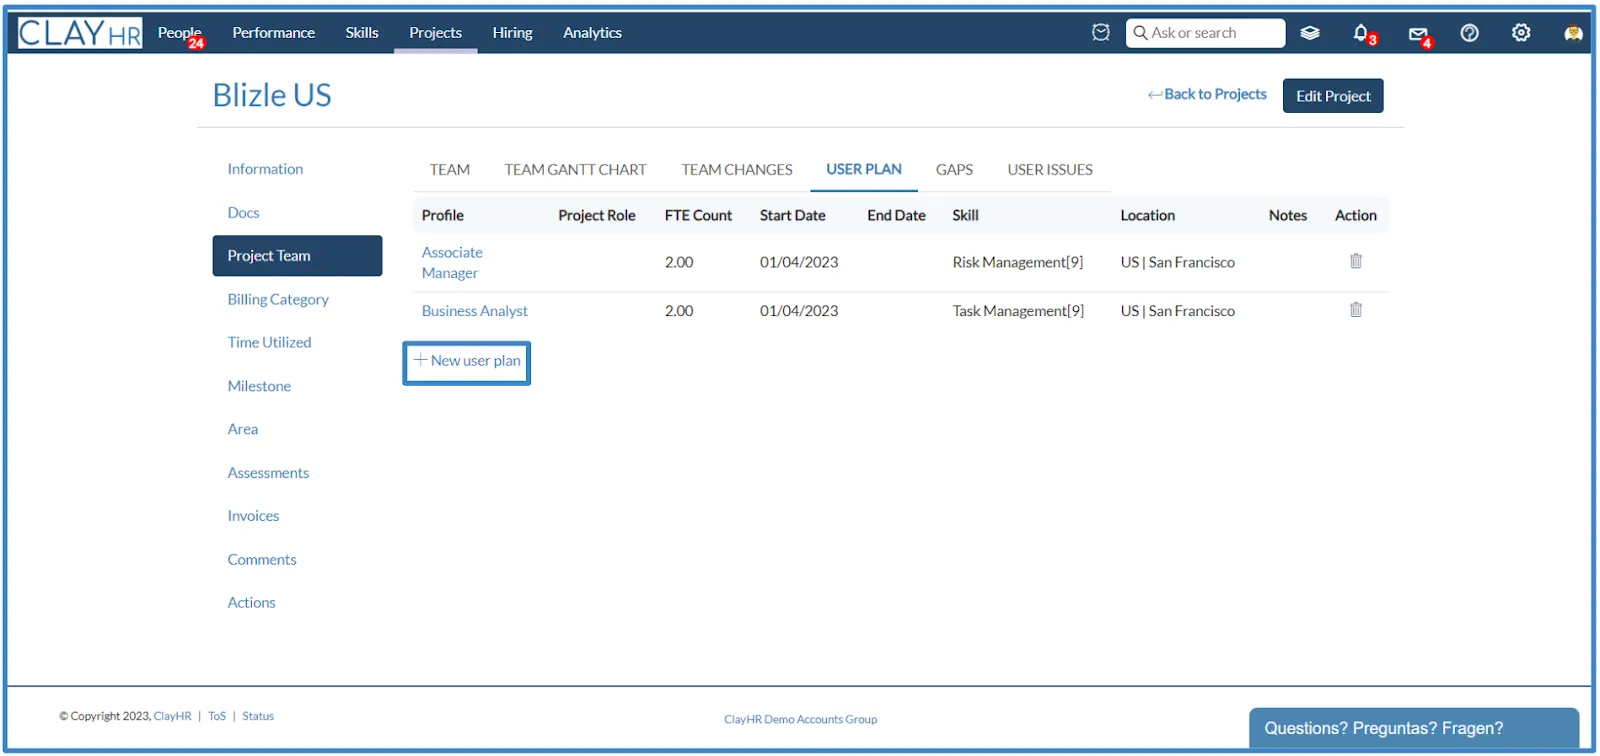
- In the pop-up box, enter user plan details such as the Job Profile, Project Role, Start Date, End date, FTE Count, etc.
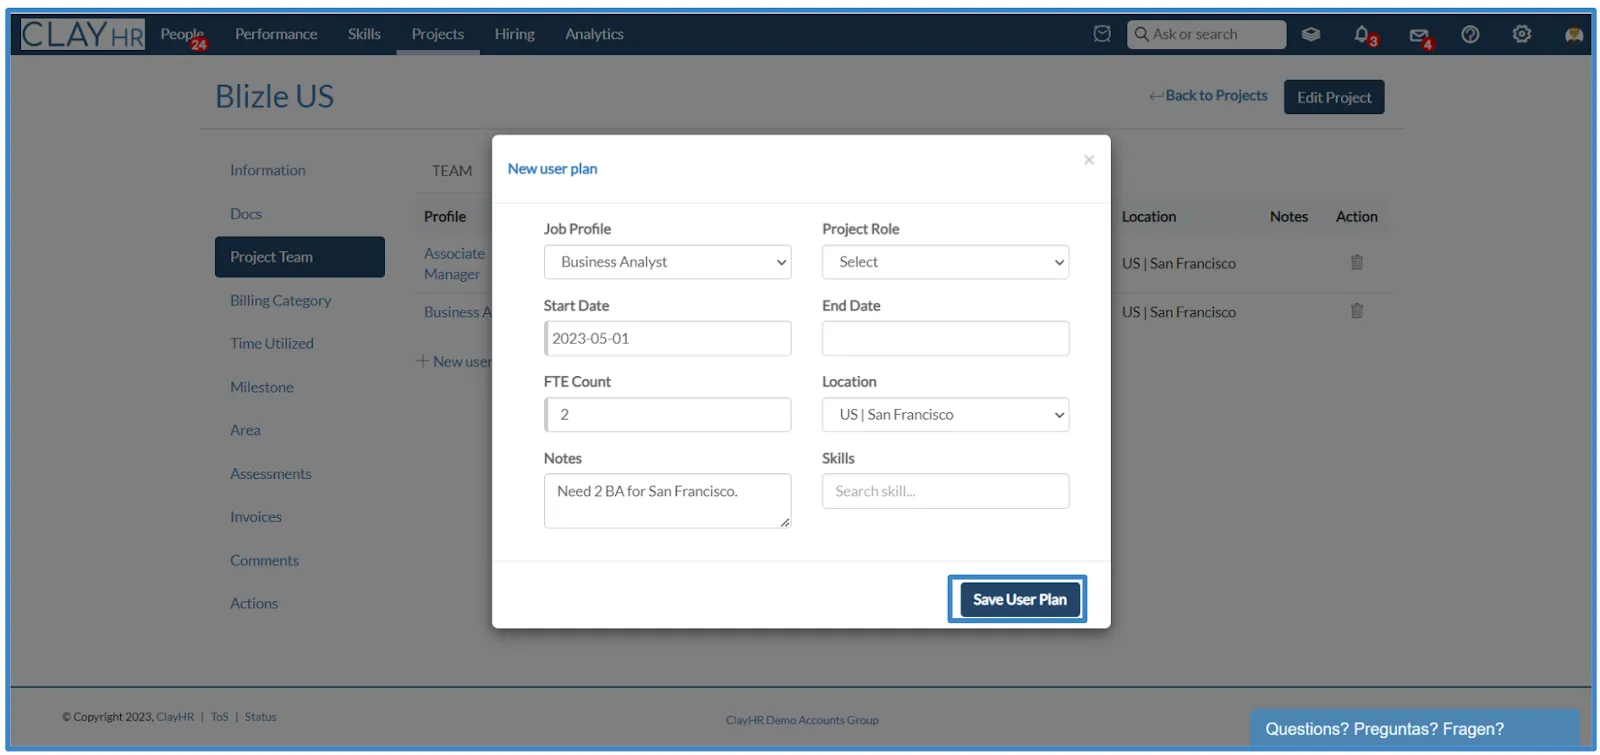
- After entering the required details click on “Save User Plan.”
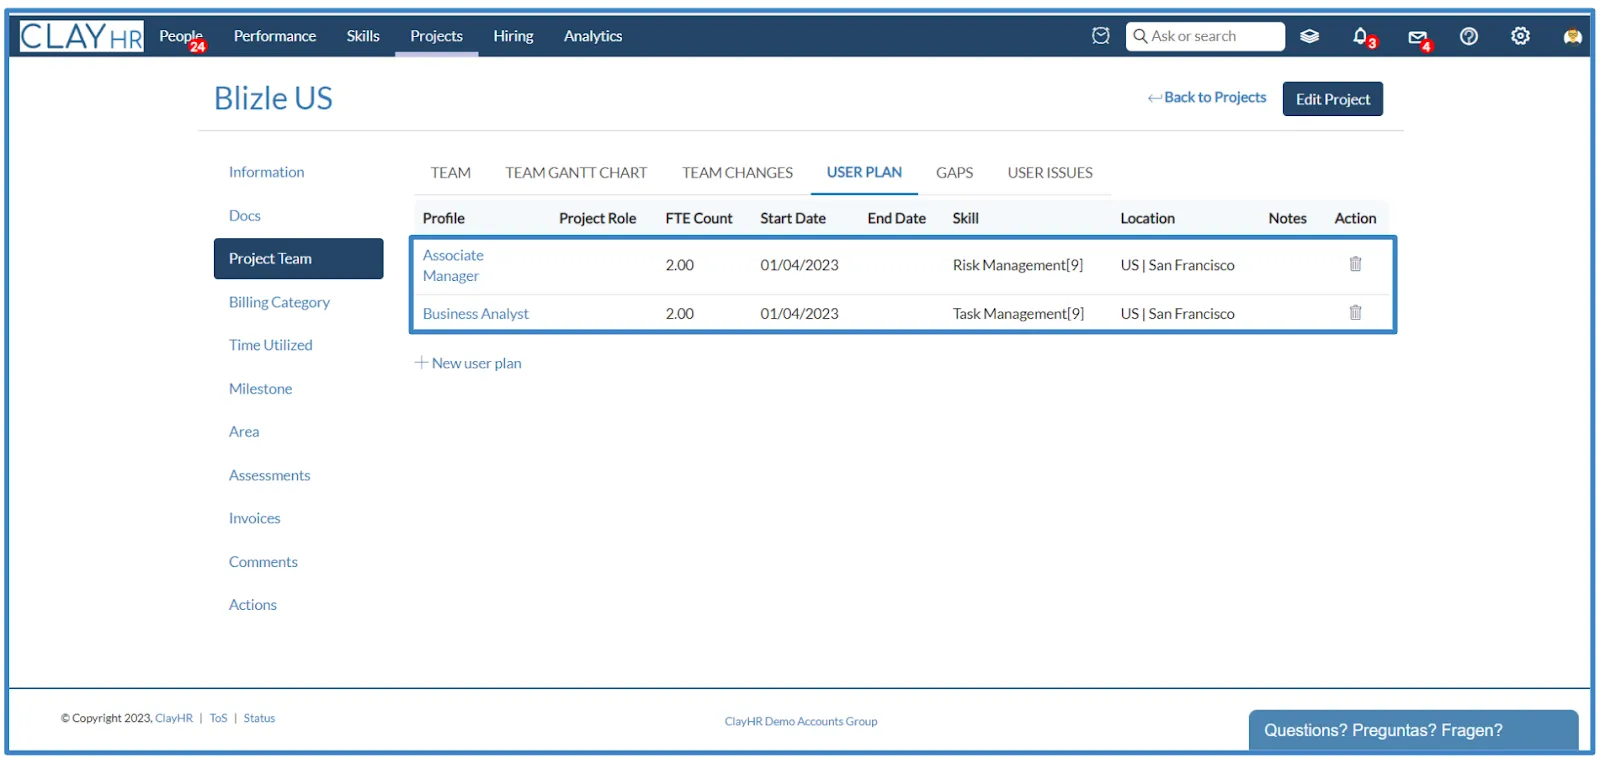
- You can see the user plan details in the table.
- After creating the “User Plan,” you can see the users’ gap.
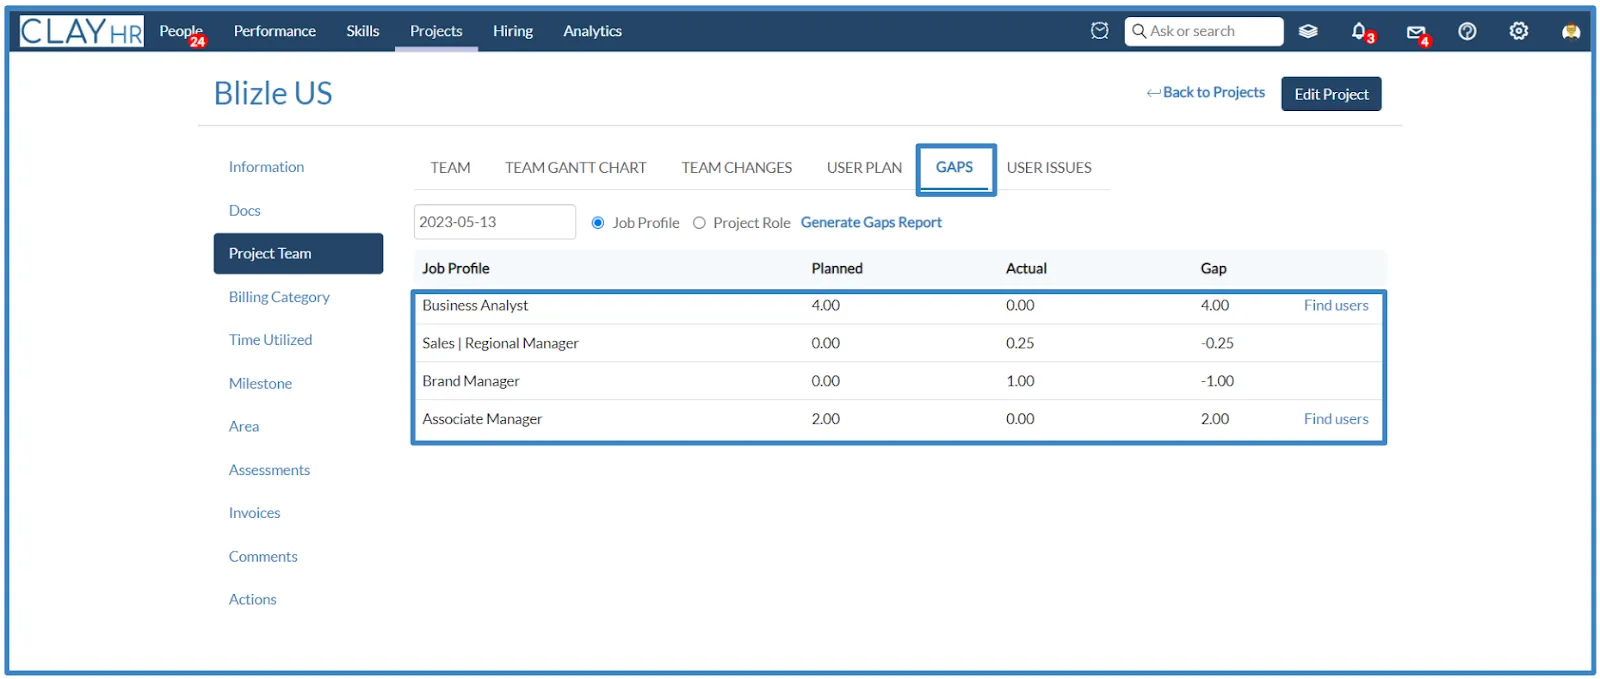
- Based on the users’ job profiles and project roles, you can see the gaps.
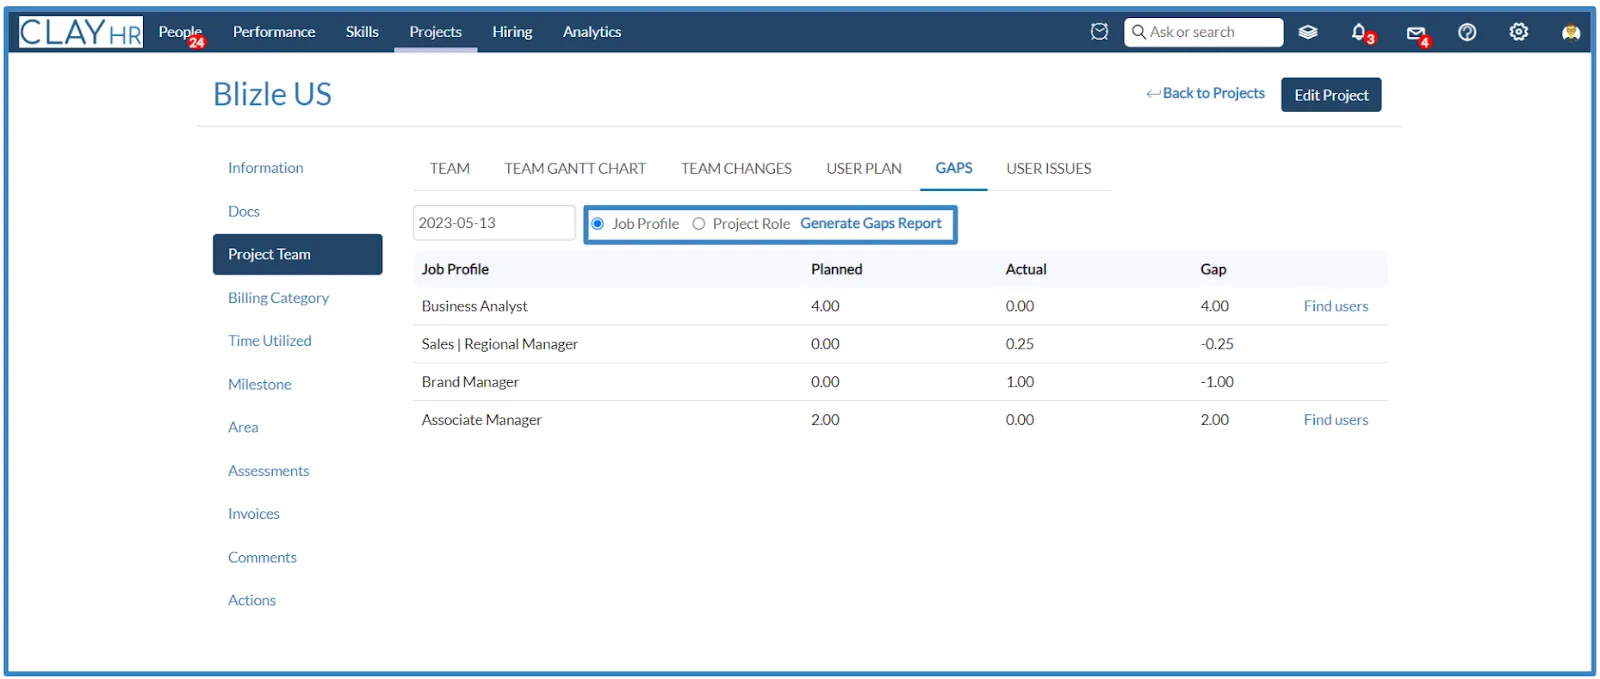
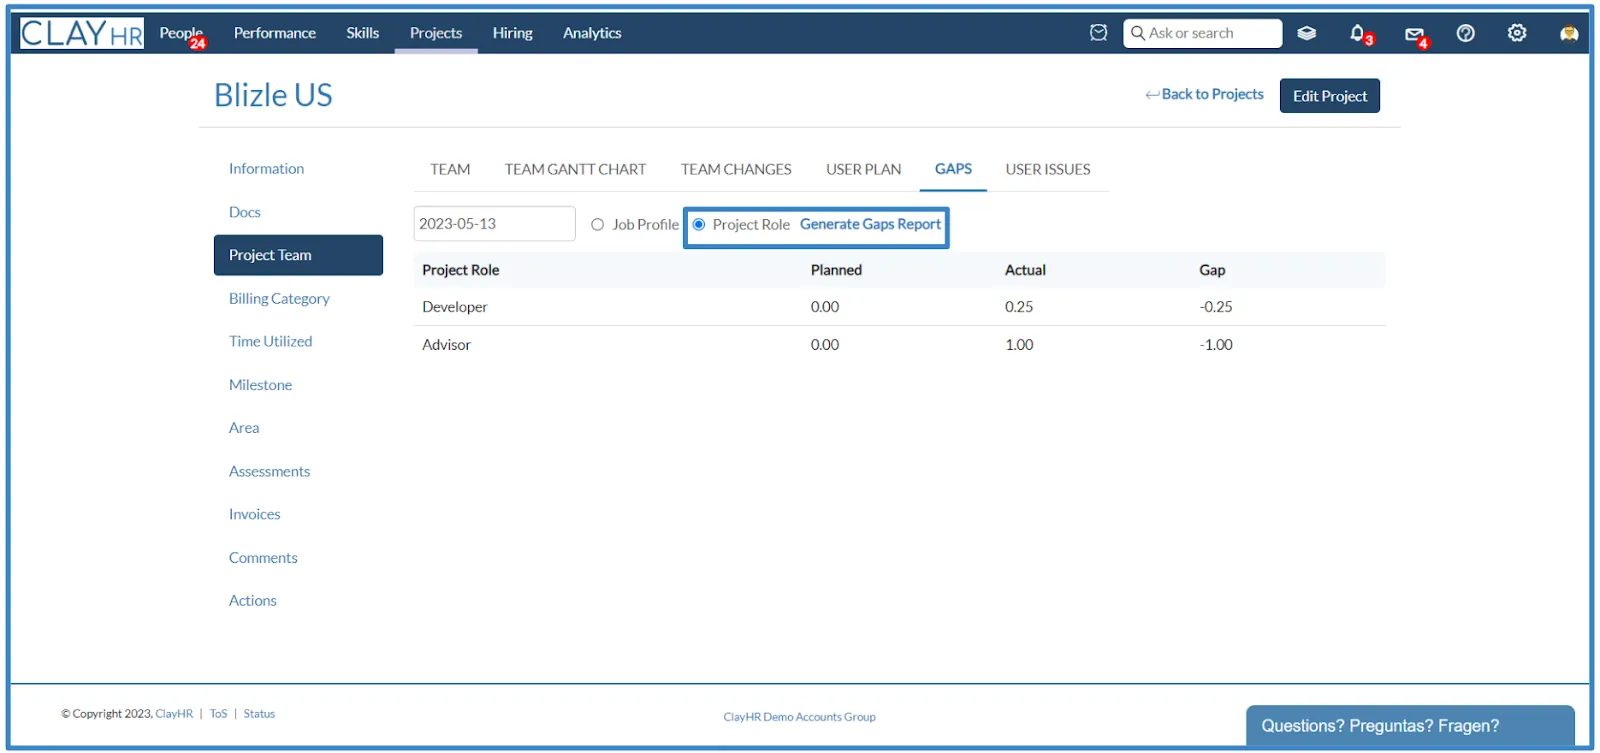
- Click “Project Role” and then “Generate Gaps Report” to see the gaps based on the user’s project role.
Billing Category
In Project Management, diverse Billing Categories can be established to determine the overtime rate applied during the process of calculating invoice totals. You can add some default Billing Categories as follows:
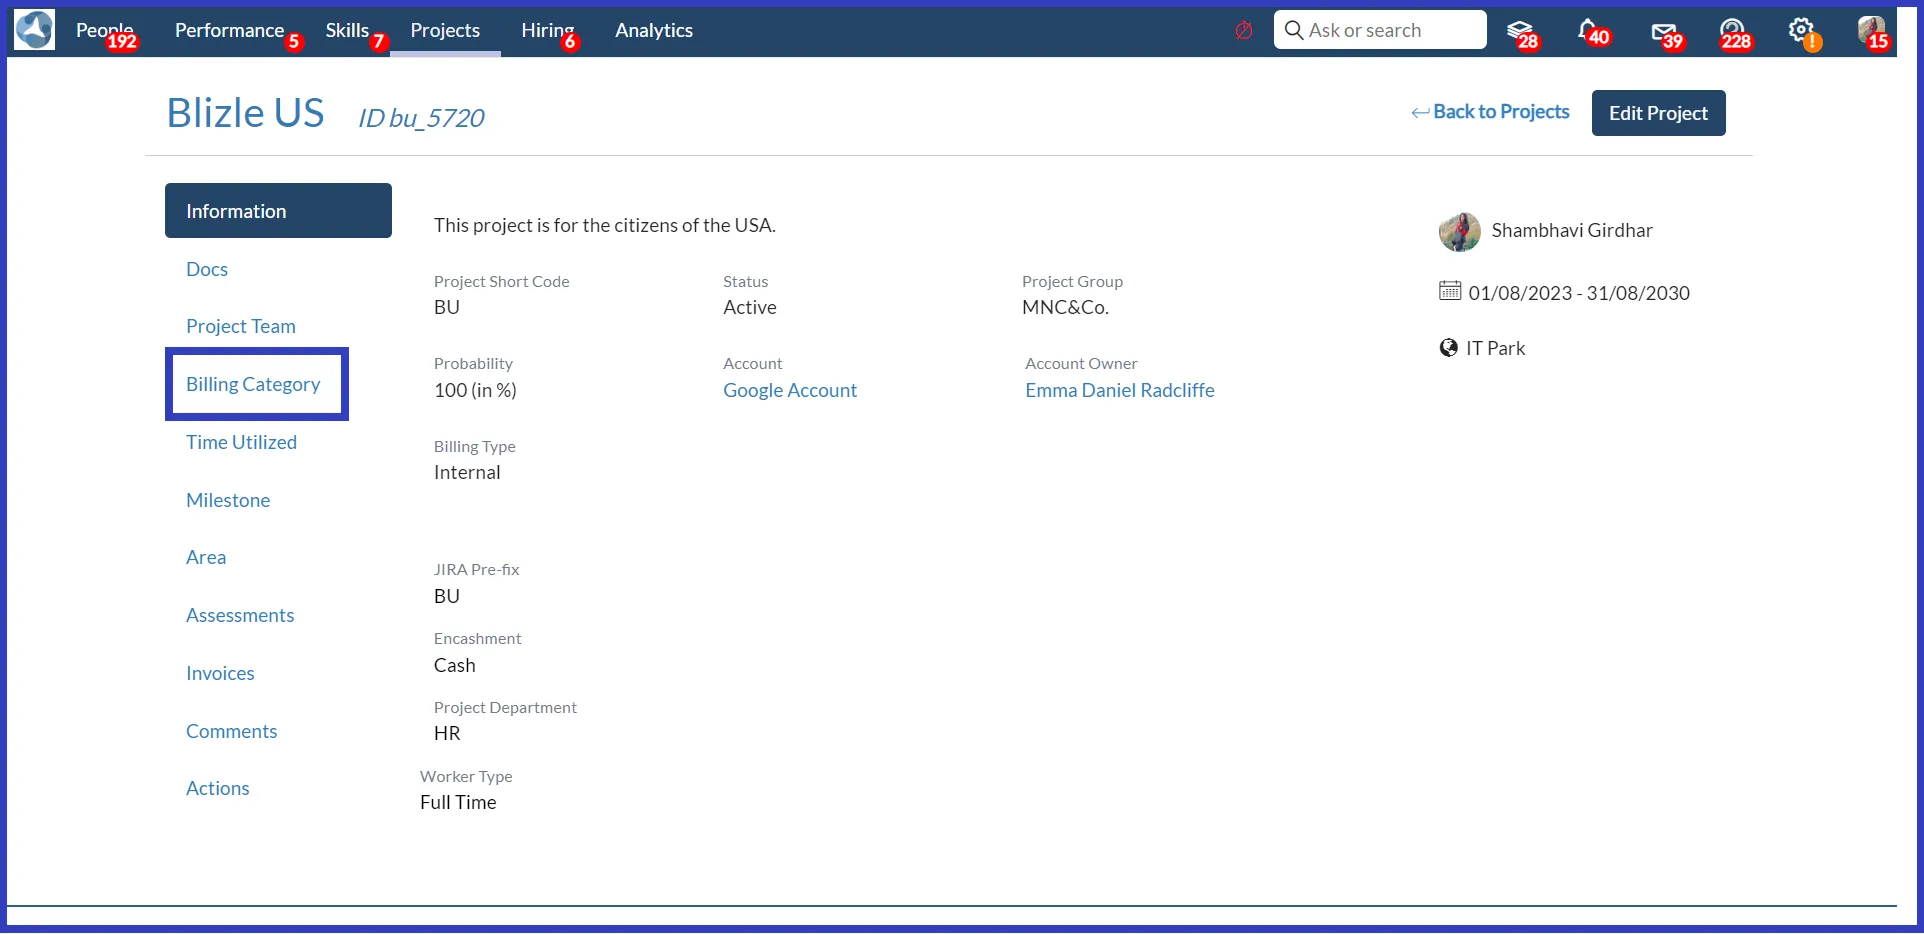
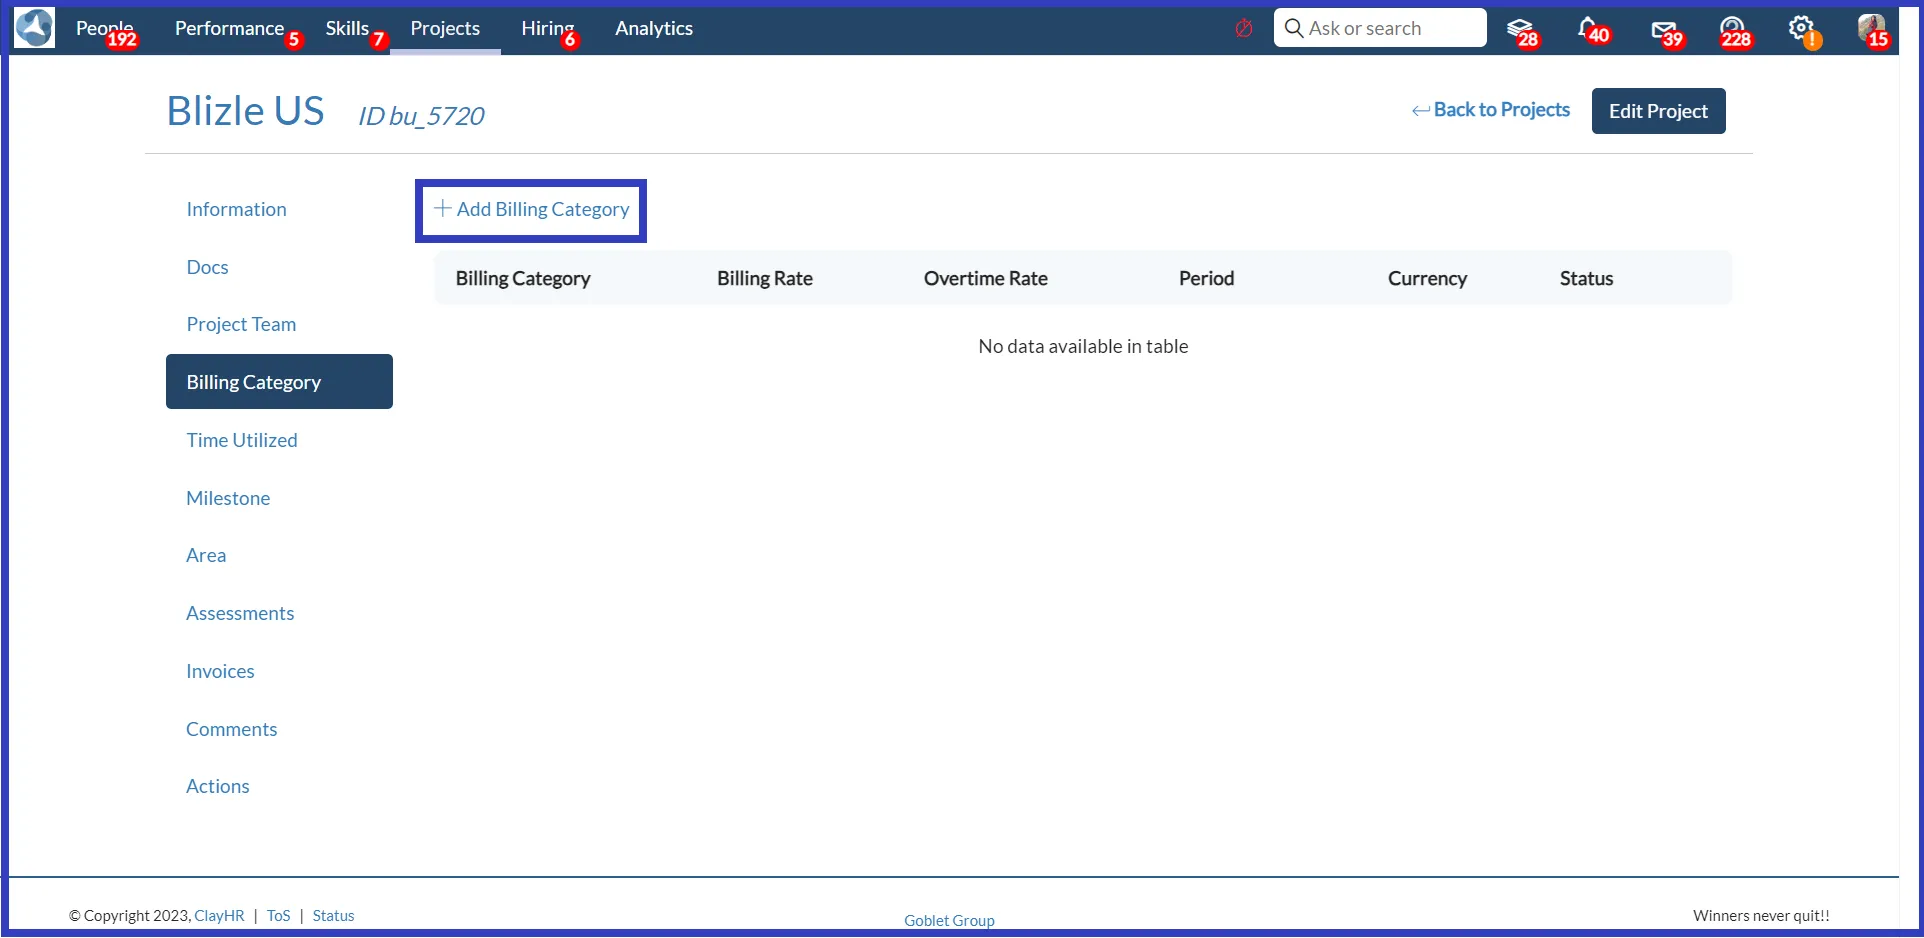
- Access the Project View page and select the "Billing Category" tab.
- Now click on the “+Add Billing Category” button to introduce different billing categories.
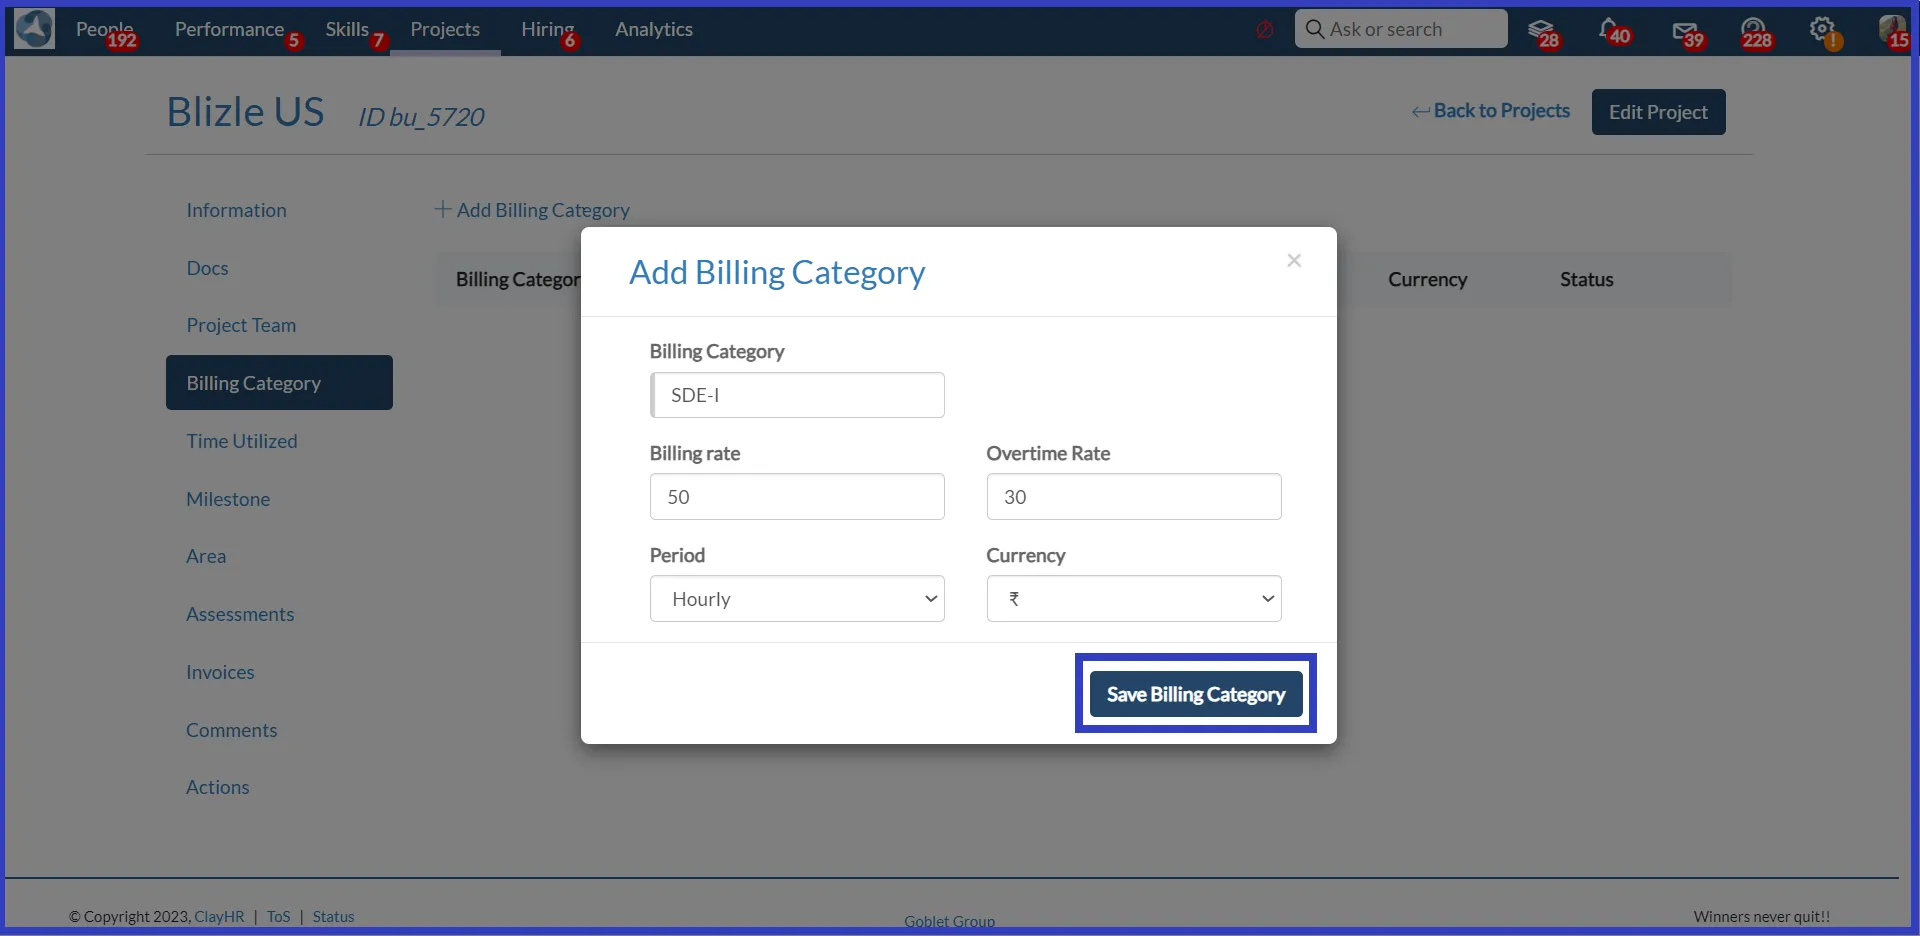
- A pop-up window will emerge, allowing you to input the billing category along with other necessary details.
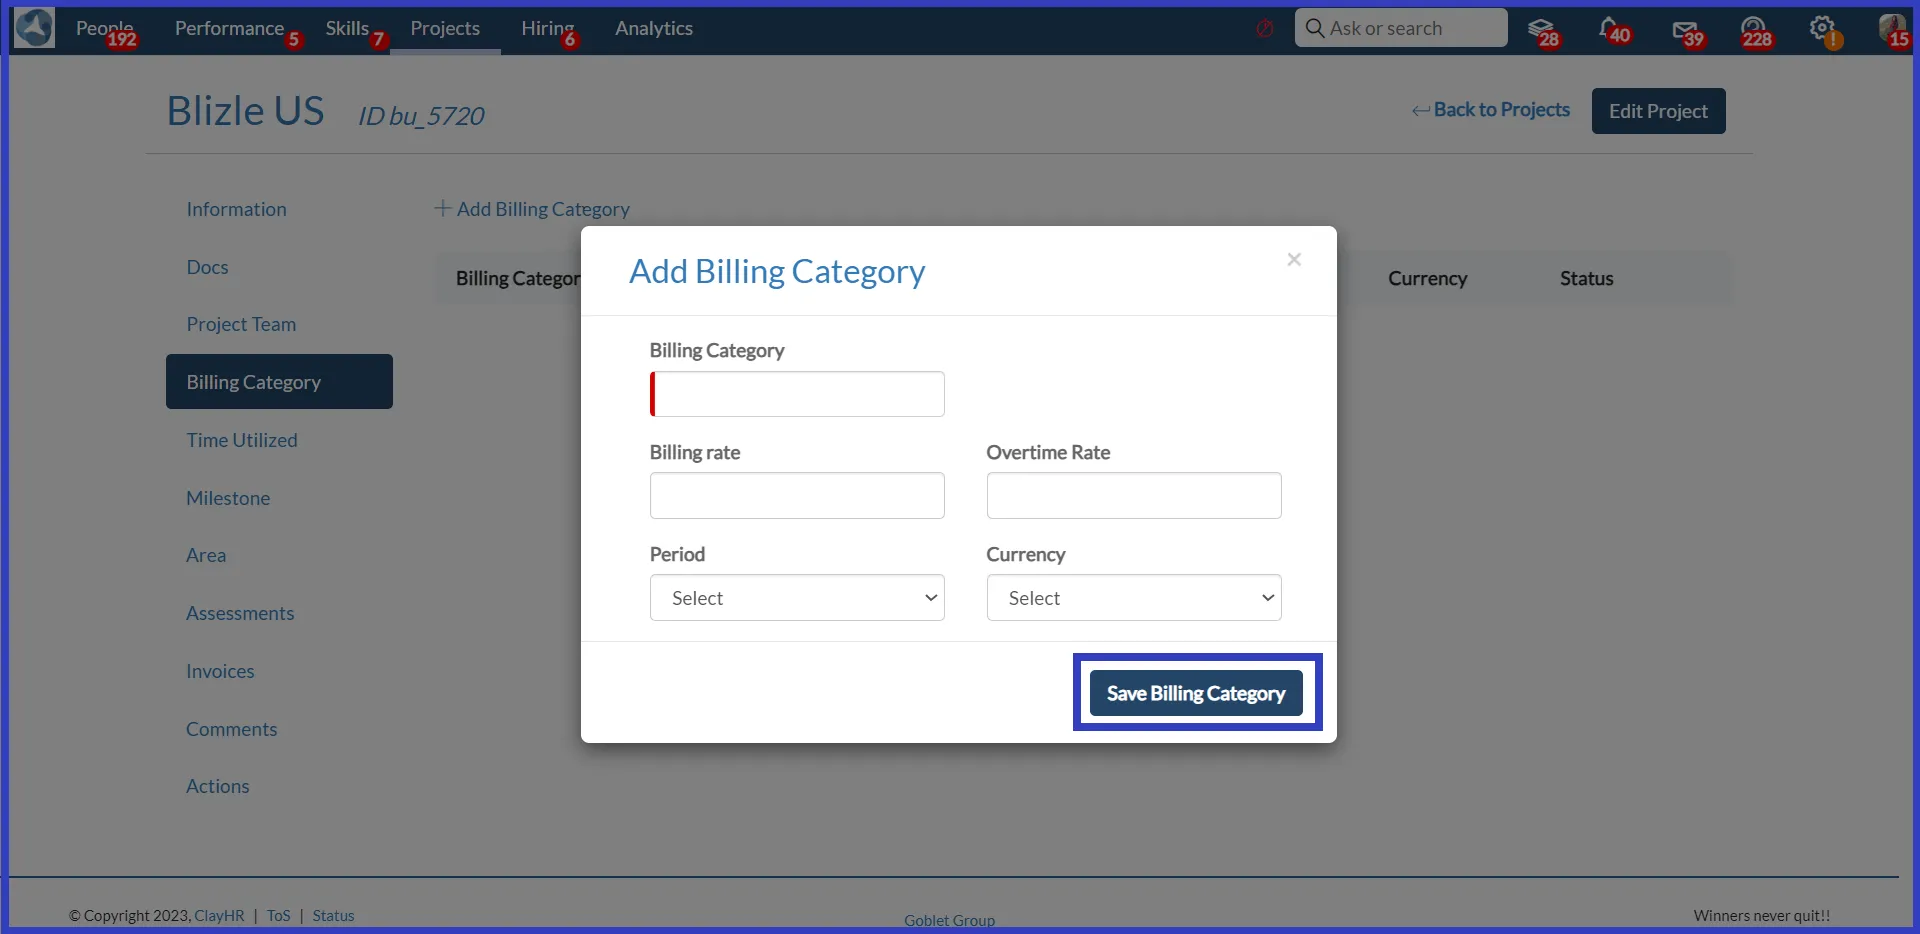
- Complete the required fields and save the Billing Category by clicking the "Save Billing Category" button.
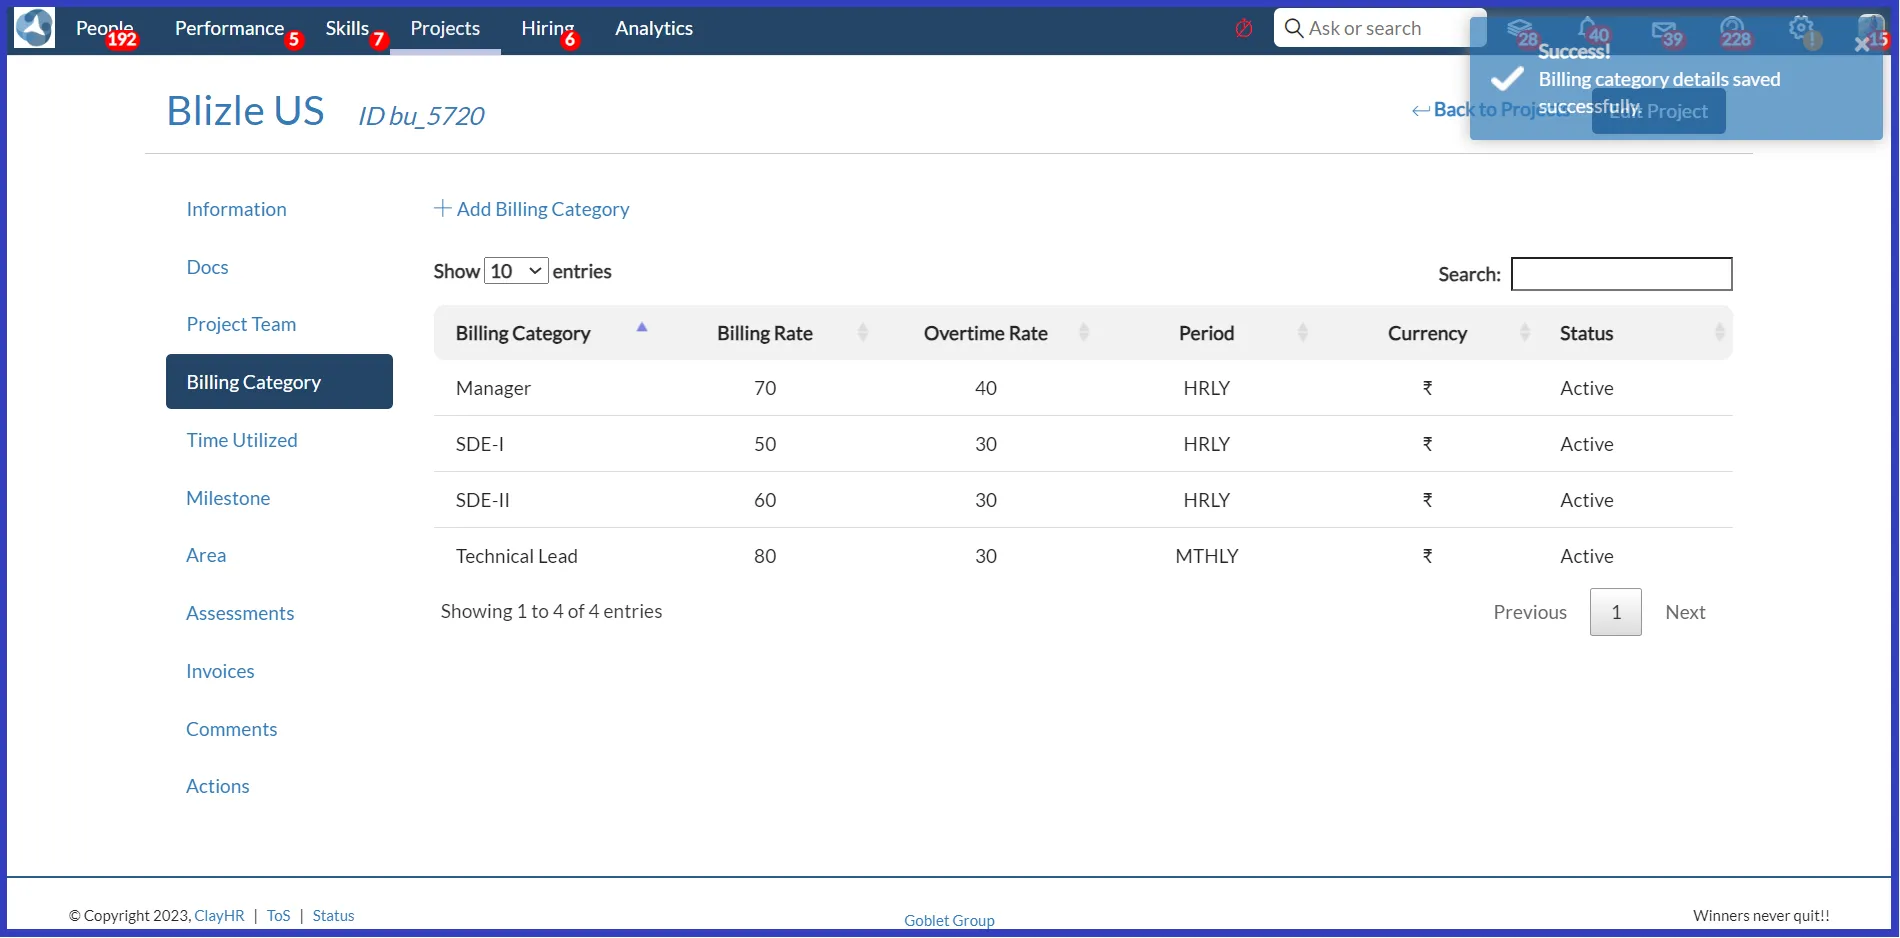
- Clicking on the “Save Billing Category” button will redirect you to the view page where you can see the list of Billing Categories added.
- The Billing Categories can be accessed while adding user allocation from the Project Team tab by clicking on the “+Add user allocation” button.

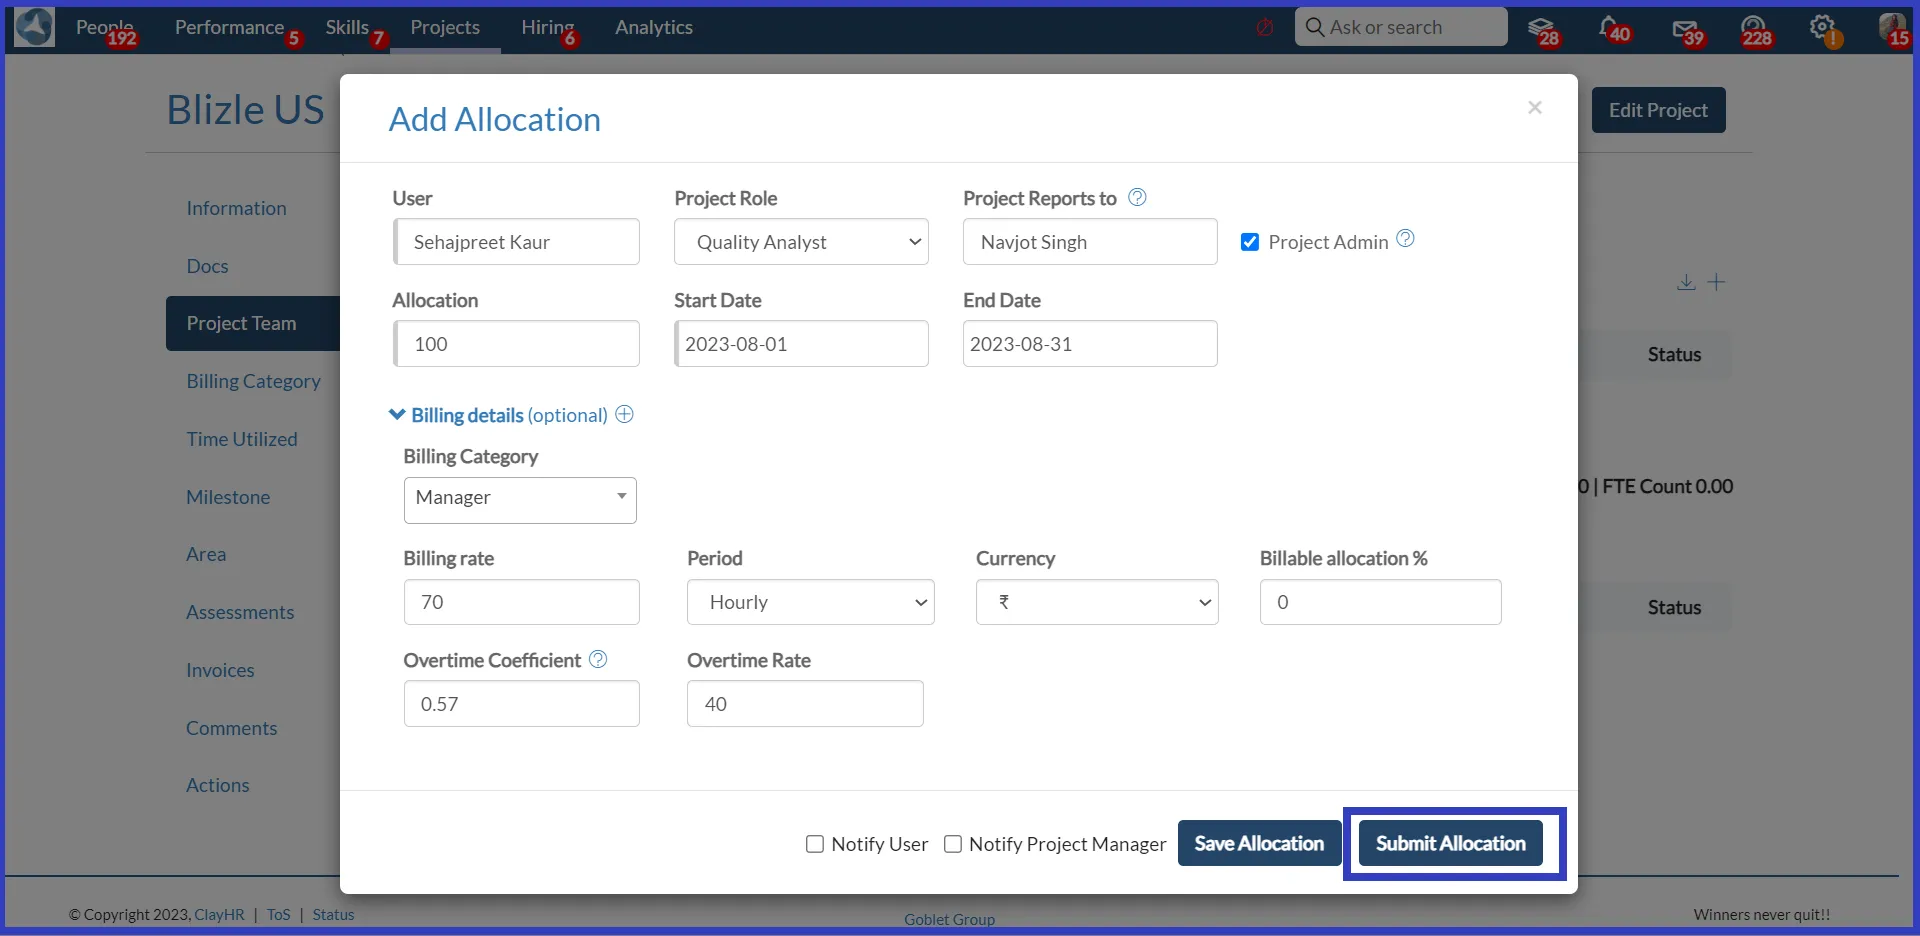
- On clicking “+Add user allocation”, a pop-up to add allocation will open, and clicking on the optional button in the Billing details will open the Billing Category drop-down. Here, all the Billing Categories that were added will appear in the drop-down.

- Fill in the required fields and selecting the billing category will automatically fill in the Billing Rate, Period, Currency, Overtime Coefficient, and Overtime Rate as per the details filled in while adding the Billing Category. Next, click the “Submit Allocation” button to submit the alllocations.
- Upon submission, you will be redirected to the Project Team tab, where a comprehensive list of all allocations for that specific project can be observed.
- The Billing Categories can be archived as per the requirements. Once a Billing Category is archived, it won’t be visible in the Billing Category drop-down in the Add User Allocation Pop-up.

Time-Utilized
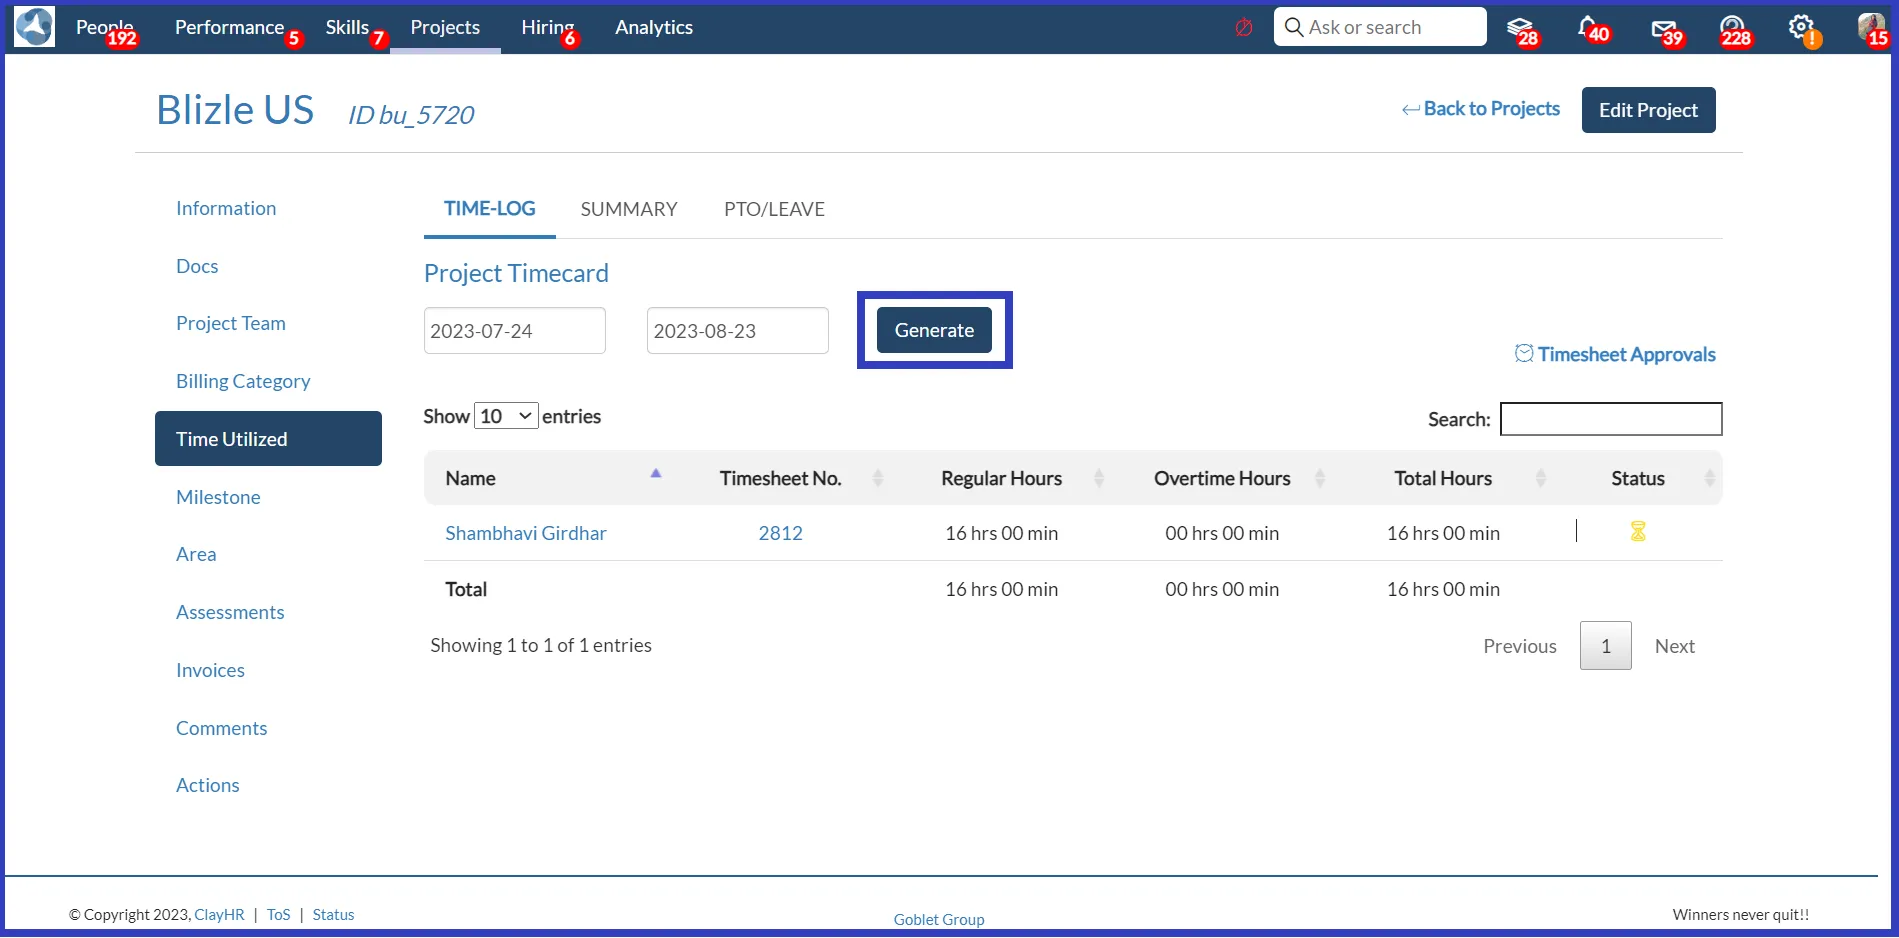
Within the "Time Utilized" tab, you'll find three distinct sub-tabs: "Time-Log," "Summary," and "PTO/Leave." In these sections, users assigned to a specific project can view their recorded work hours, submitted timecards, and instances of leave.
- Within the "Time-Log" section, users assigned to the specific project can access their timesheets by selecting date intervals and clicking the "Generate" button.
- The "Summary" section displays a graphical representation of the time logged.

- In the "PTO/Leave" section, leaves of users allocated to the project can be viewed within the chosen timeframe by clicking the "Generate" button.


