How to import data from a custom table?
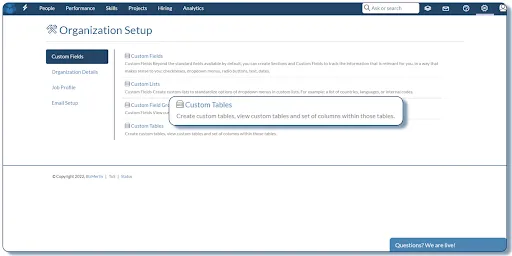
1. Go to the gear icon in the top right corner and select Organization Setup.

2. In the Organization Setup page, click on Custom Tables.

3. The Custom Tables page shows you the list of all custom tables which are created for the user record as well as for the candidate record.

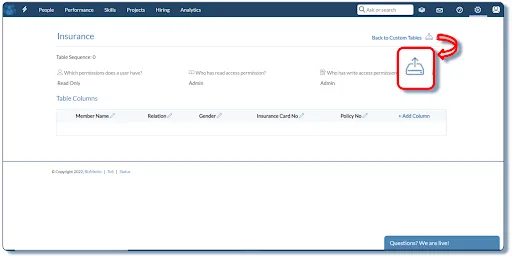
4. To import data into a custom table, please open any custom table from the given list.
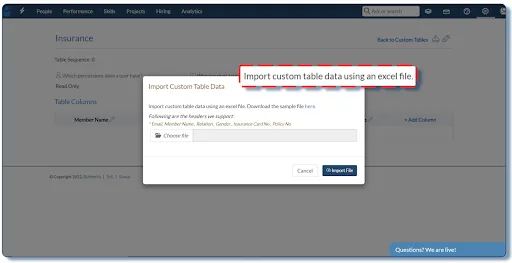
5. On the page that opens, you find an import icon along the top right corner of the page. Click on this icon to open a dialog box.

6. Please read the instructions for creating the excel sheet. The excel file should contain the email as a mandatory column and the other column headers should be the same as shown in this dialog box.

7. Assuming that your sheet is ready, please click on the ‘Choose File’ button and import the file into the system.
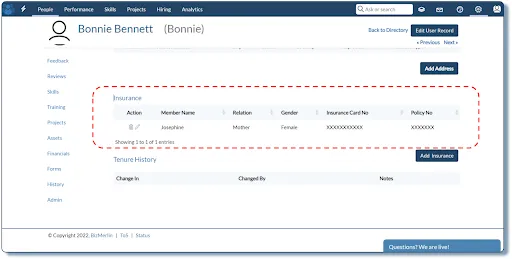
8. The data now can be seen in the location where the custom table is created. For example, if the location of the “Insurance” custom table is “User”, then you can go to any user record and view the custom table and its corresponding values.


