
Setting up PTO approval flows
Setting up PTO approval flows for a PTO policy is a two-step process that includes:
- Creation of PTO approval flow.
- Assigning PTO approval flow to a PTO policy.
Step 1: Creation of PTO approval flow
To create a PTO approval flow follow these steps:
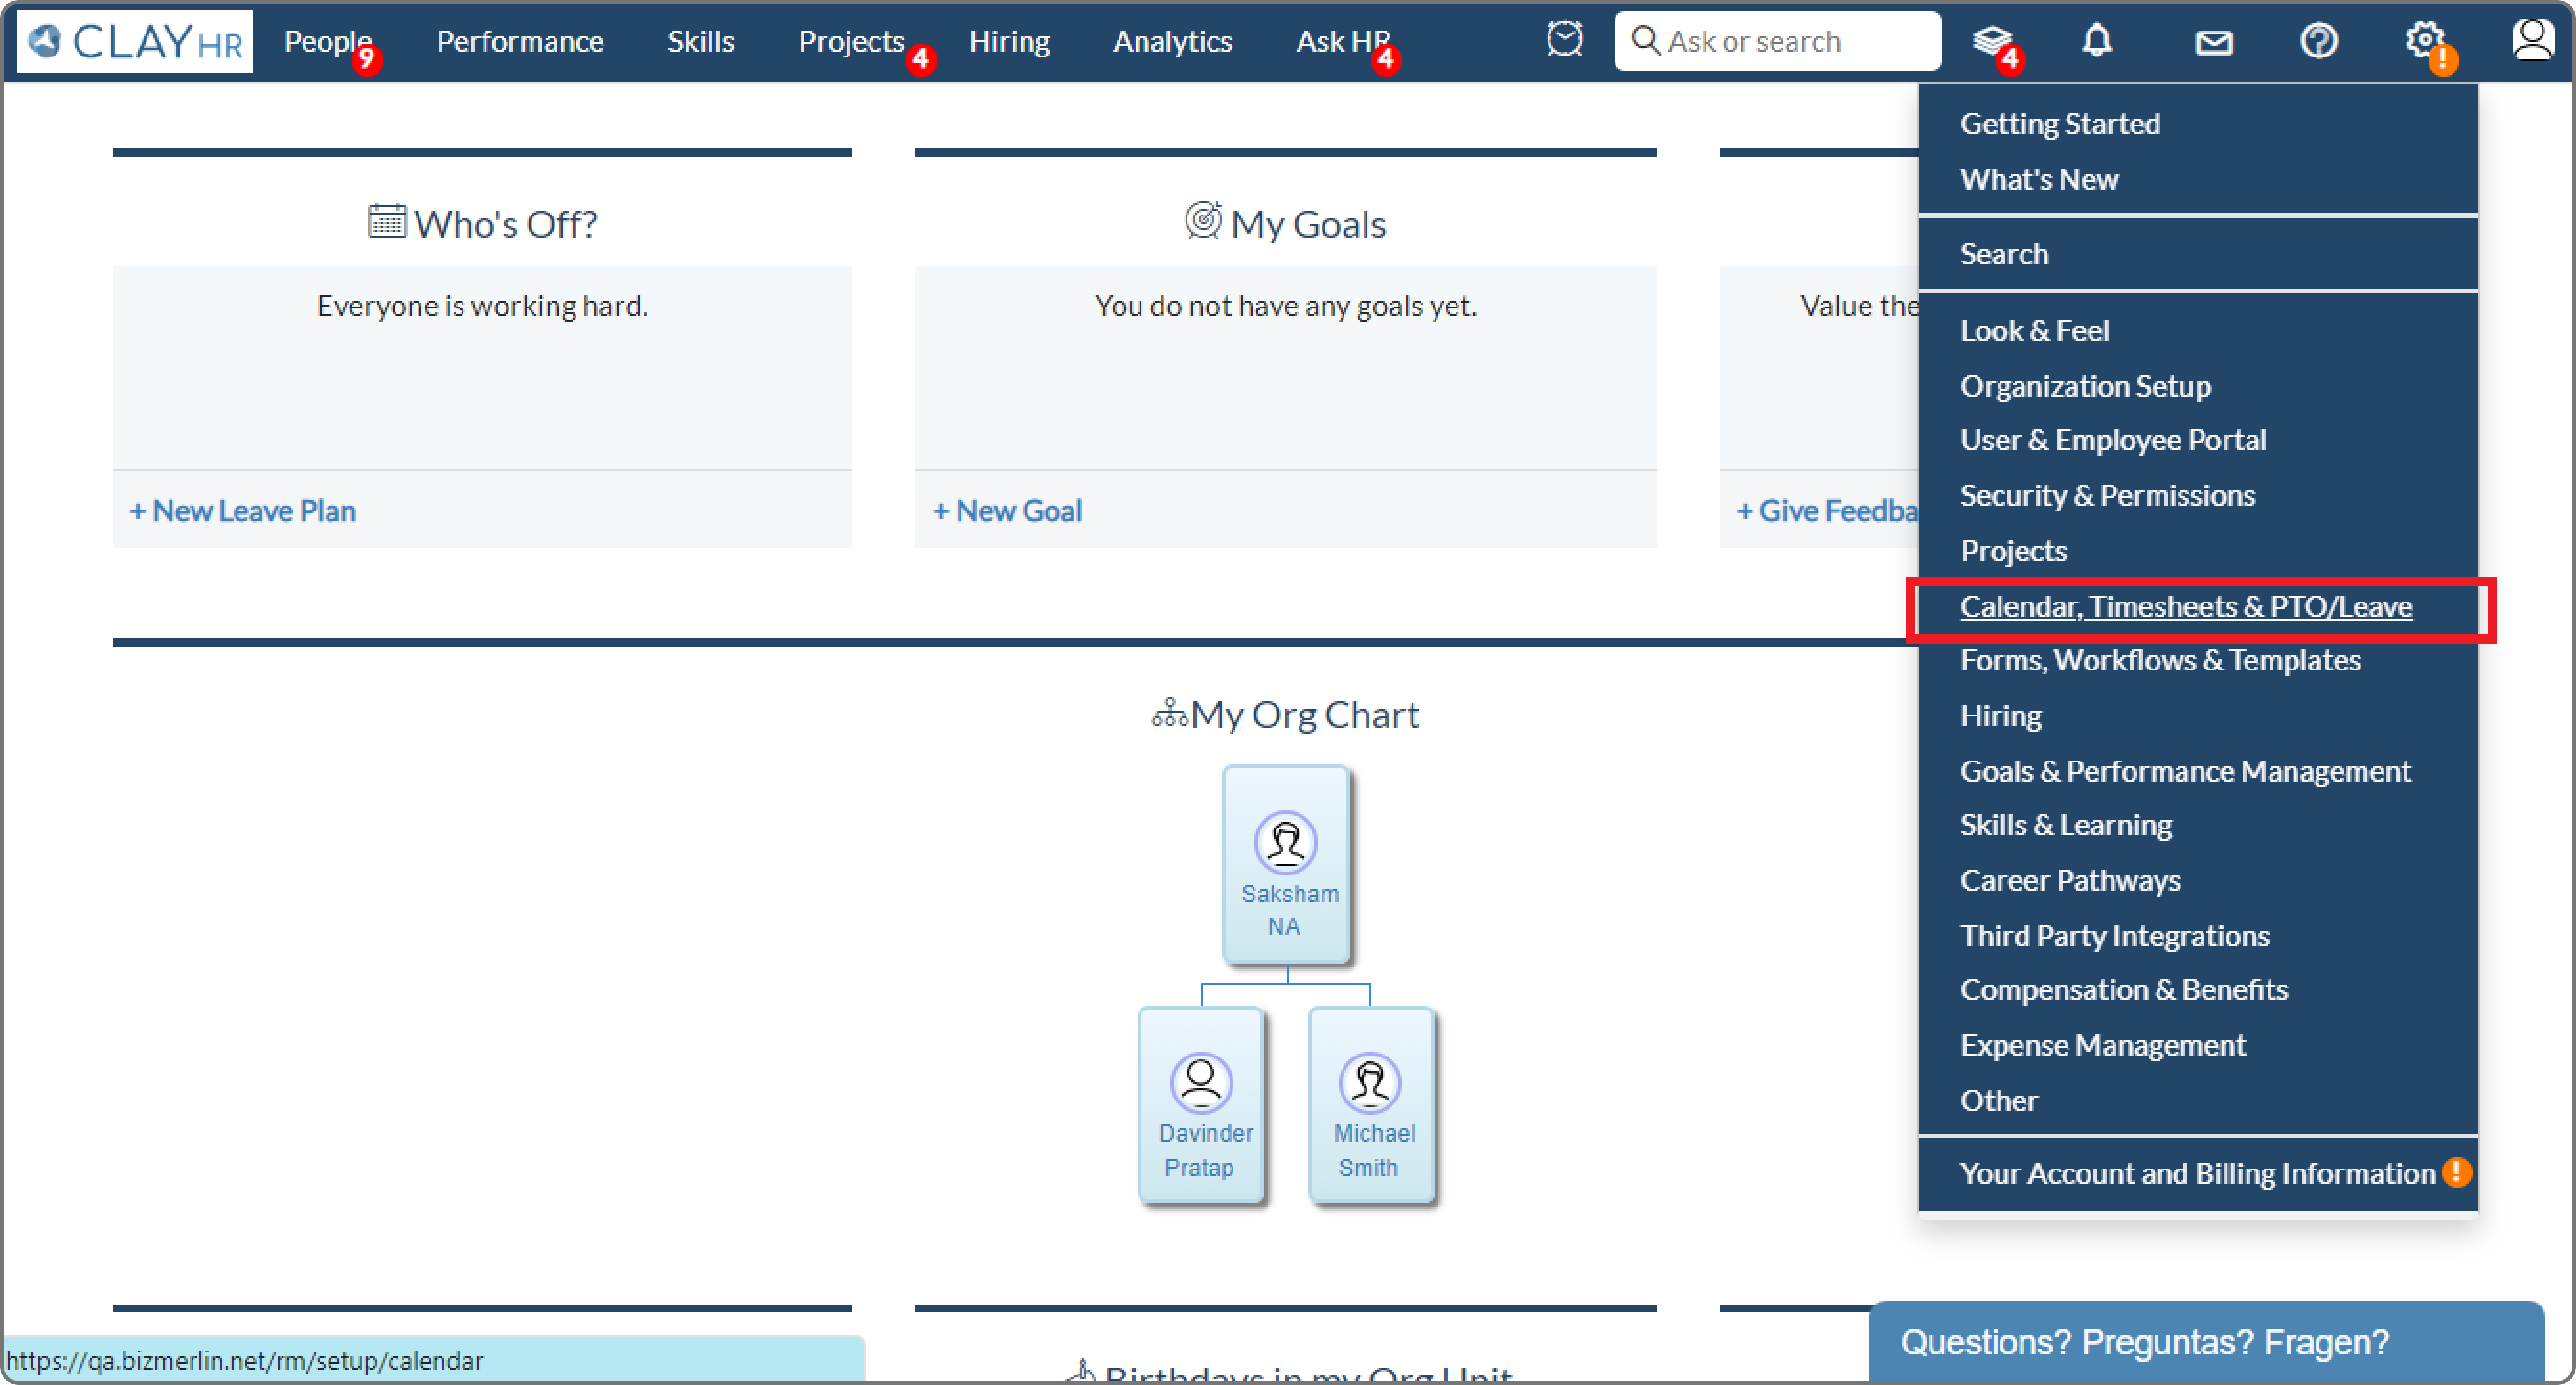
- Go to the top right Setup menu.
- Scroll down to the Calendar & PTO/Leaves option.
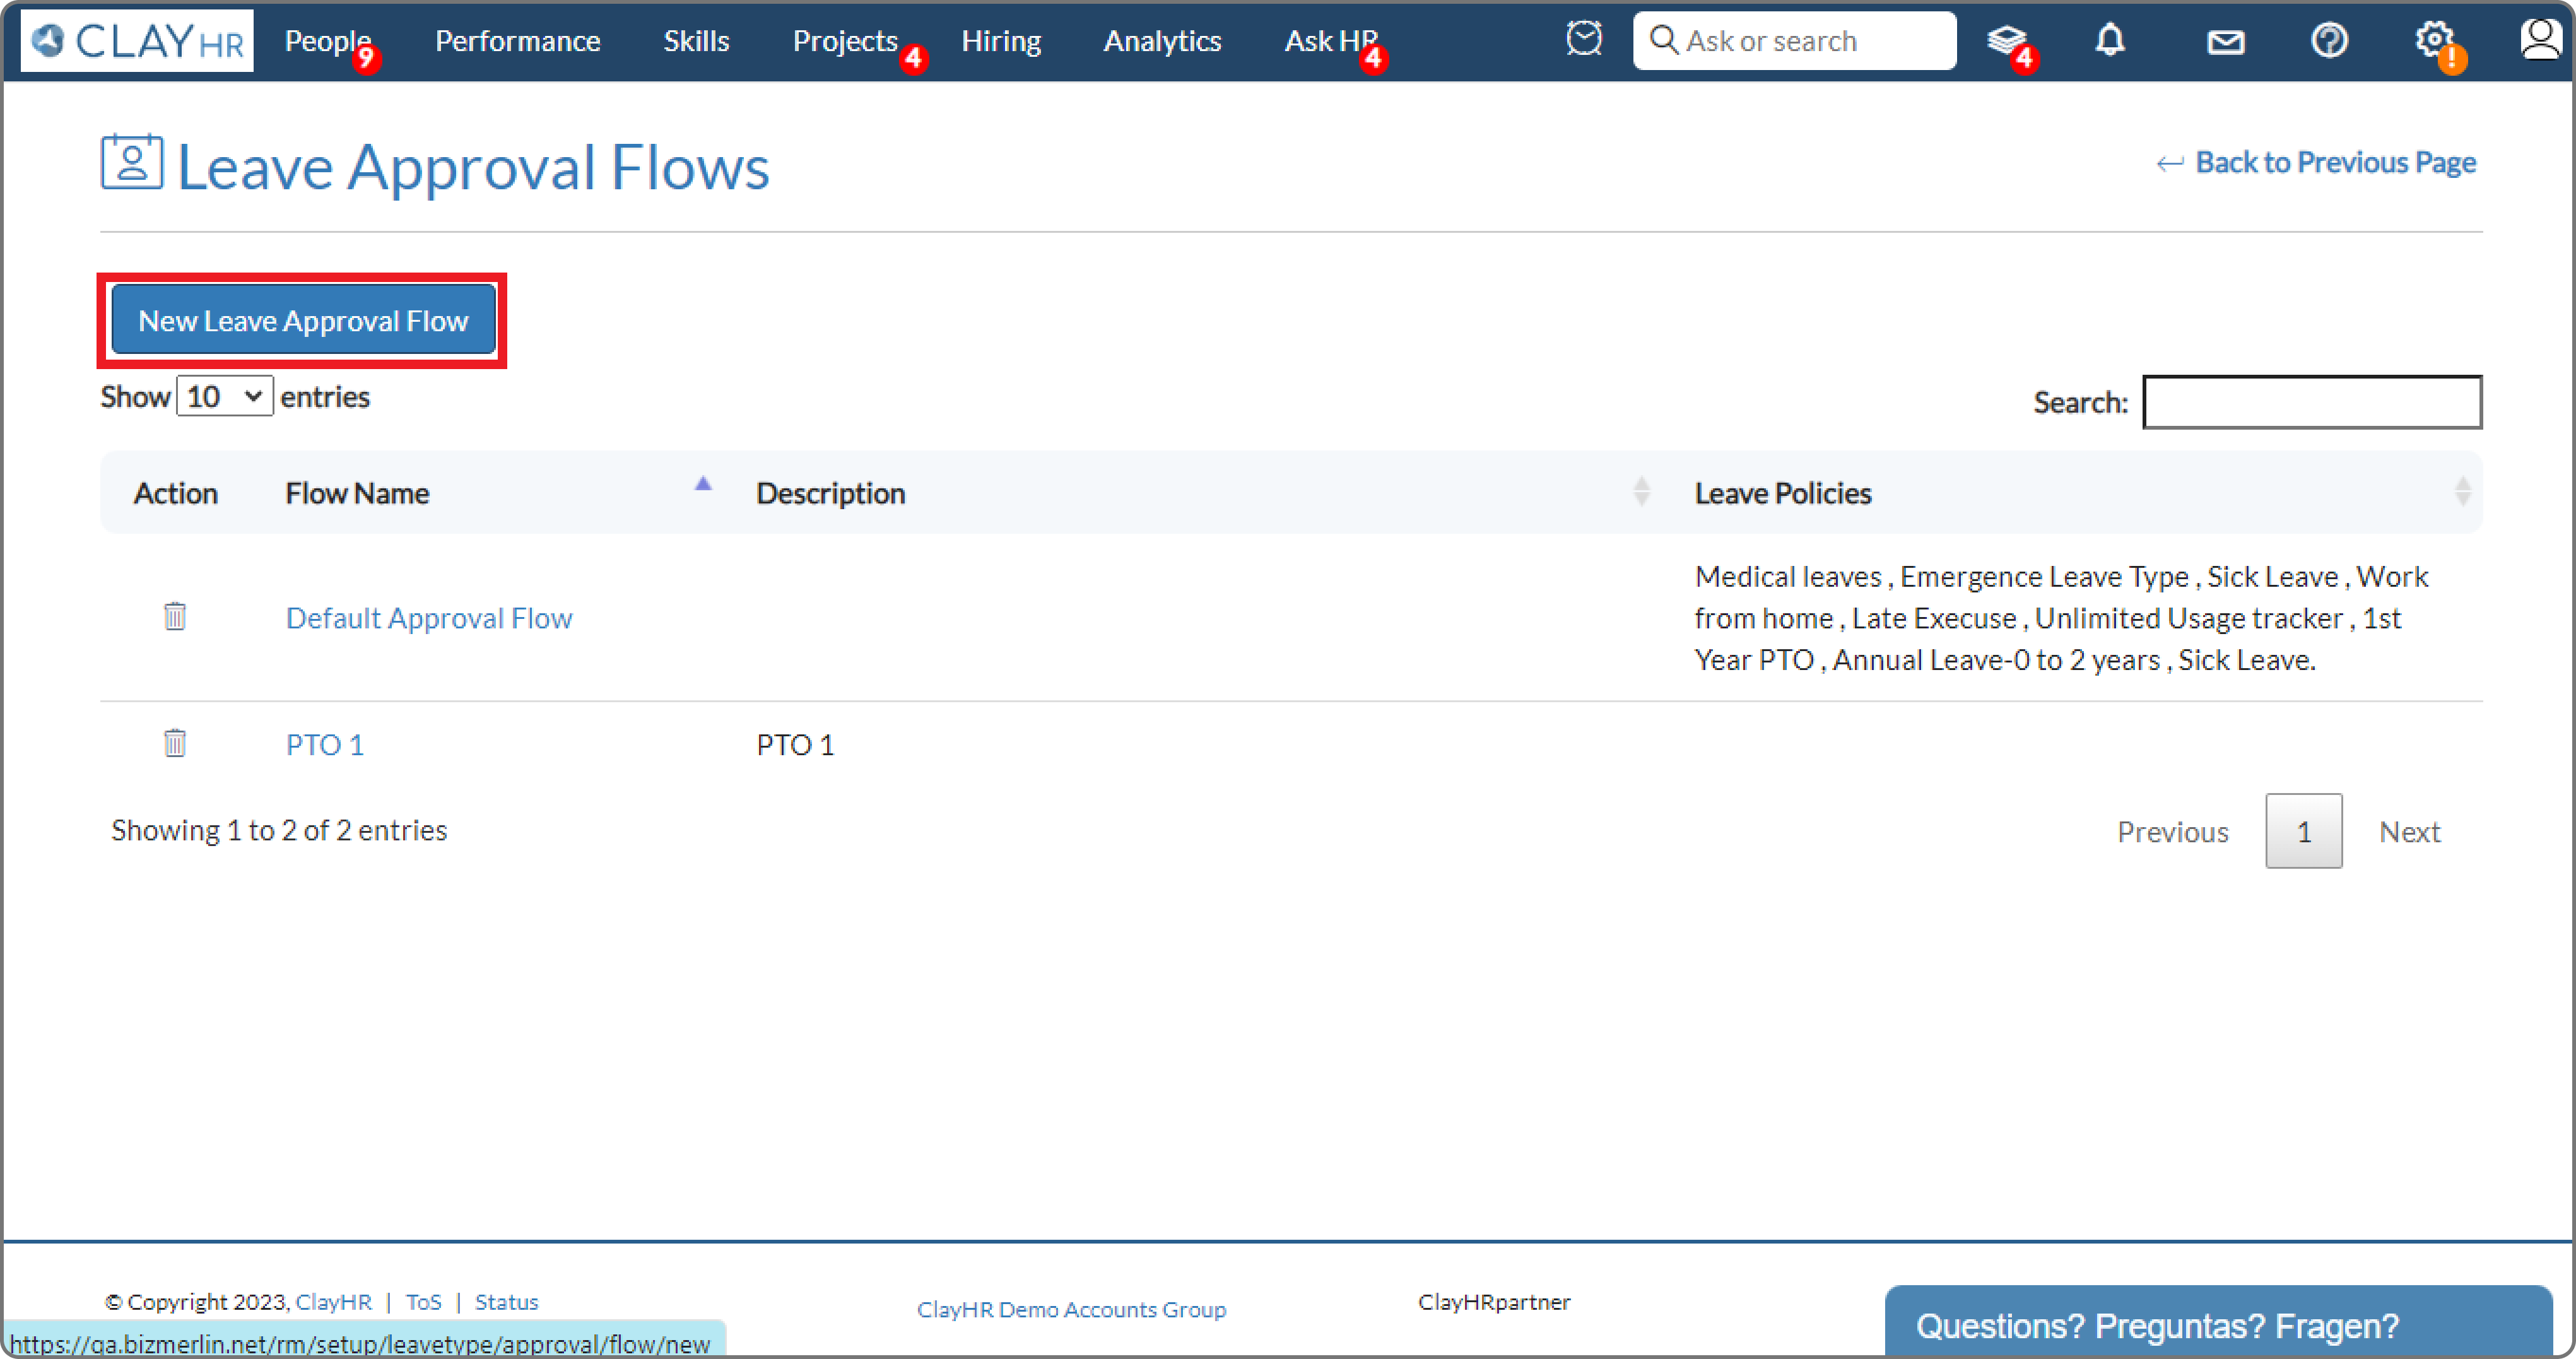
- Go to the PTO/Leave Approval tab and click on Leave Approval Flows.

- To add a new approval flow, click on the New Leave Approval Flow button.
- Add name and description for Leave Approval Flow.
- Click on the Save Leave Approval Flow button.
- A new section Approval Levels opens to add the approval levels for approval flow.

- Click on +Add approval to add a new approval level.
- A pop-up opens to add the approval level.
- Select the Approval Type and click on Add Approval Level button.
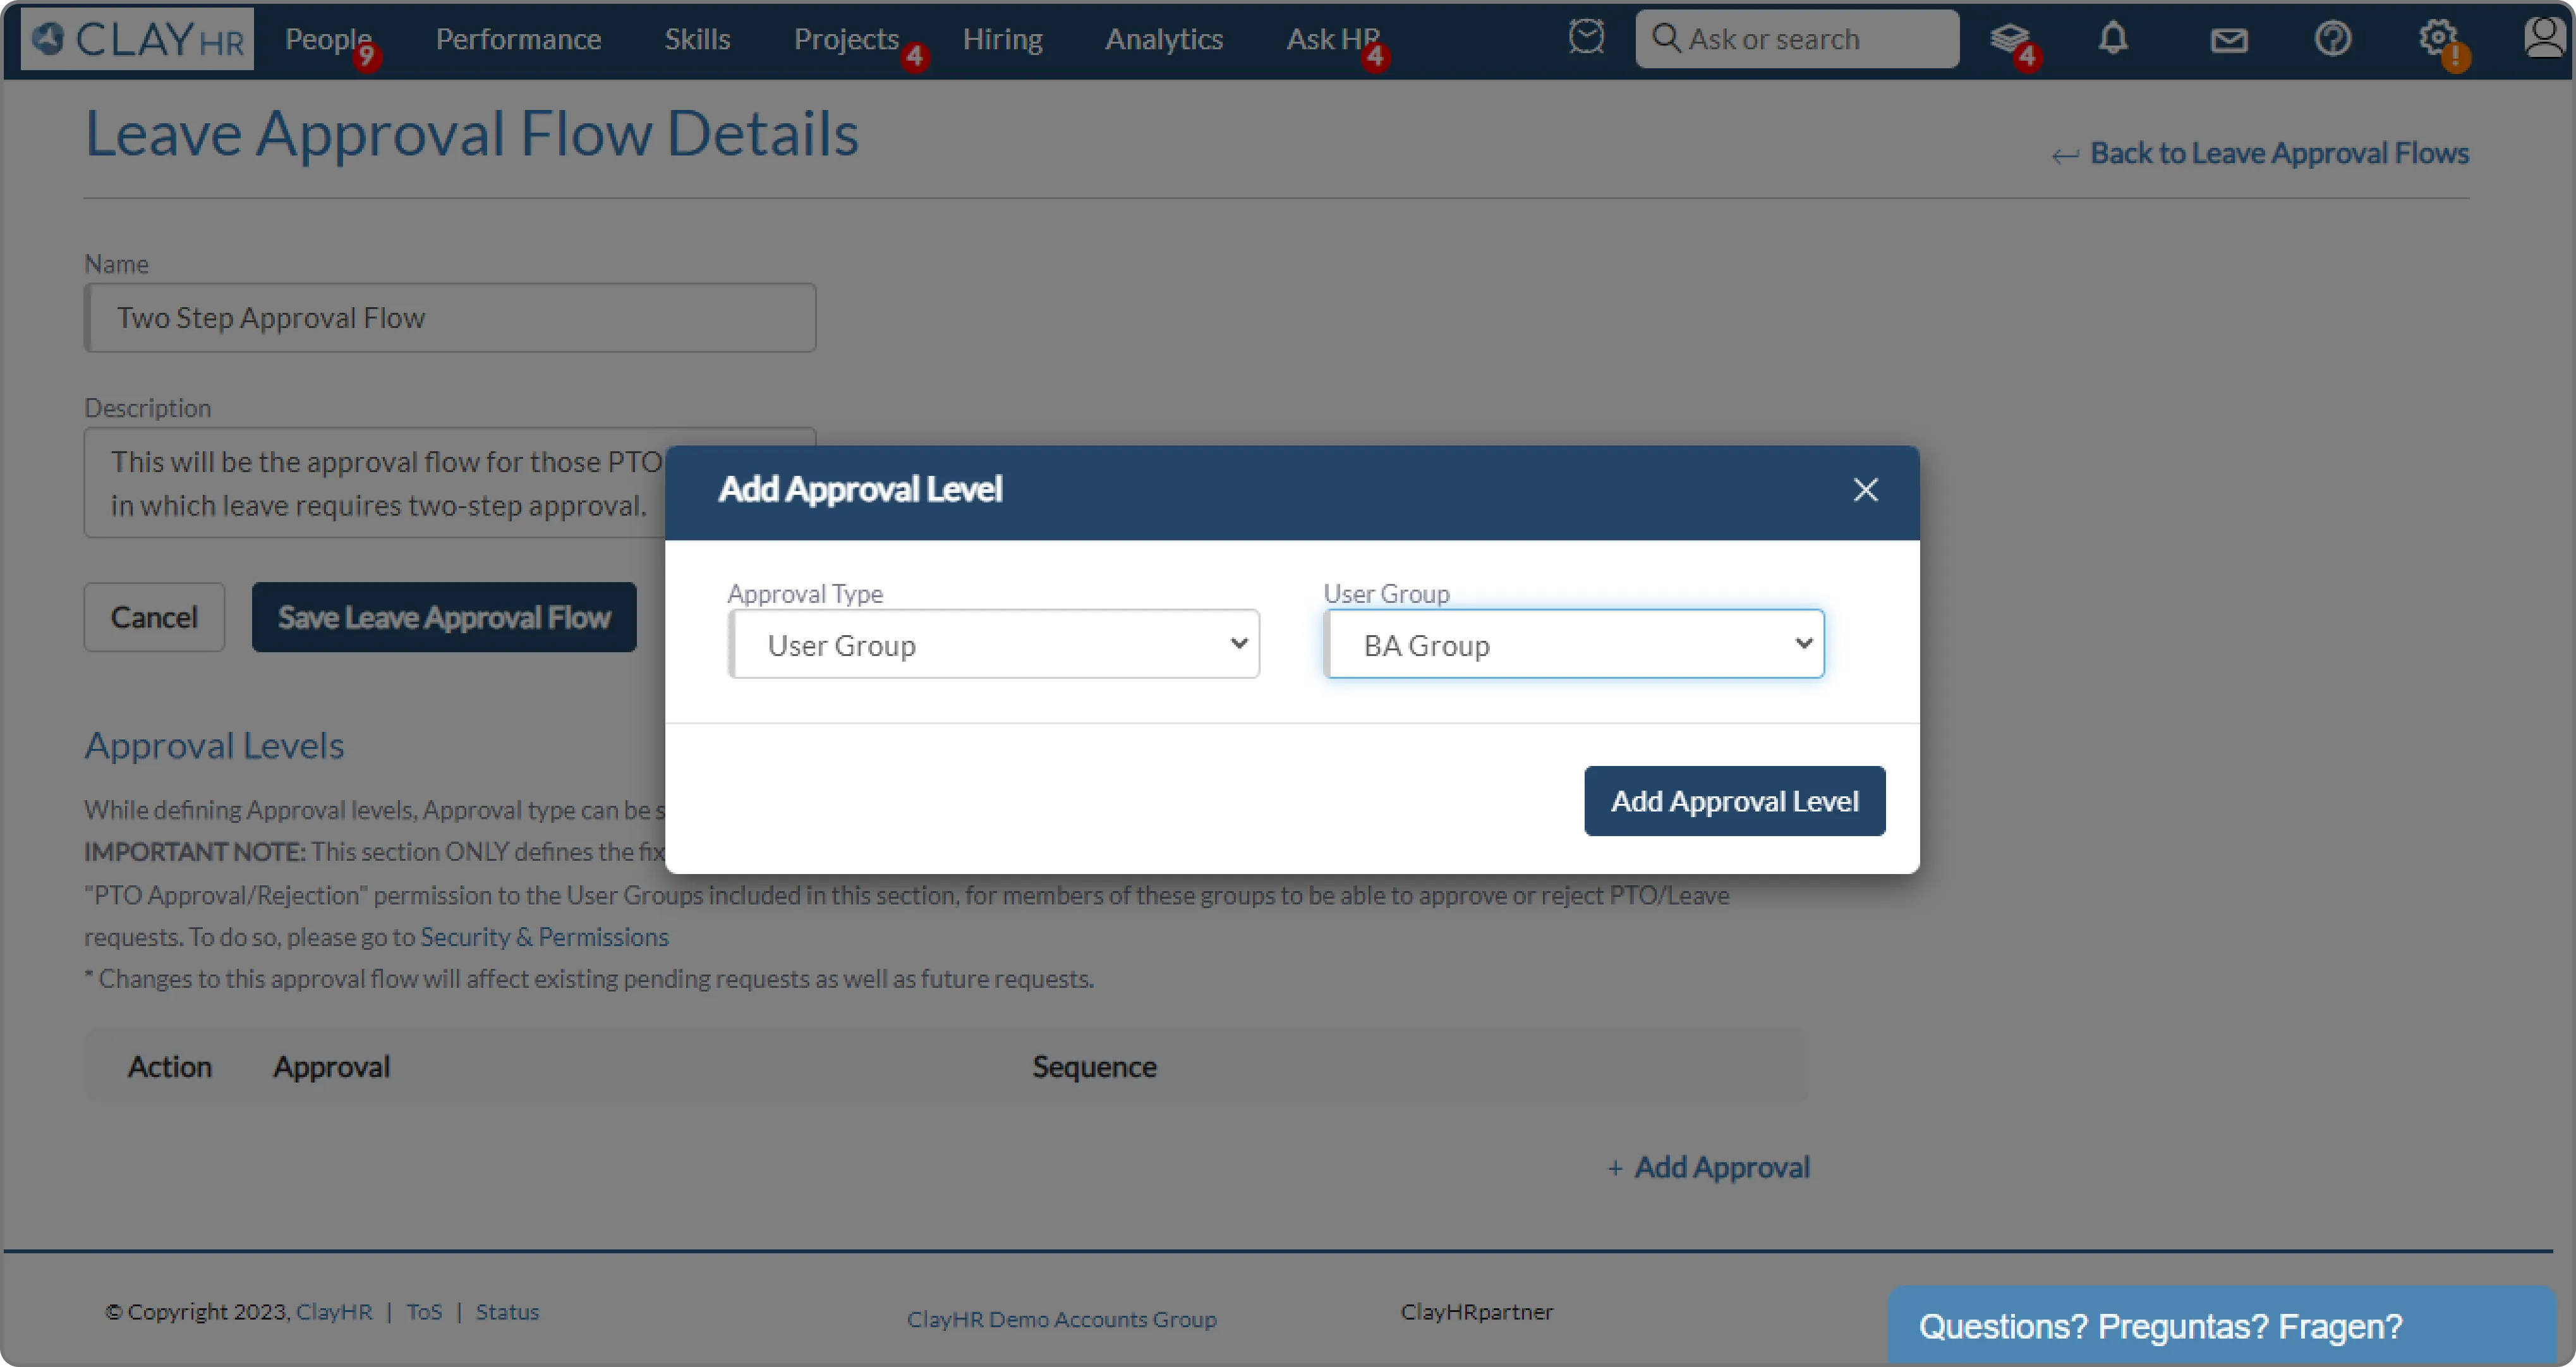
- In the same way, multiple approval levels can be added to an approval flow.
Step 2: Assigning PTO approval flow to a PTO policy
Now the next step is to assign a PTO approval flow to a PTO policy.
- Go to Leave Policy in the PTO/Leave Management section.

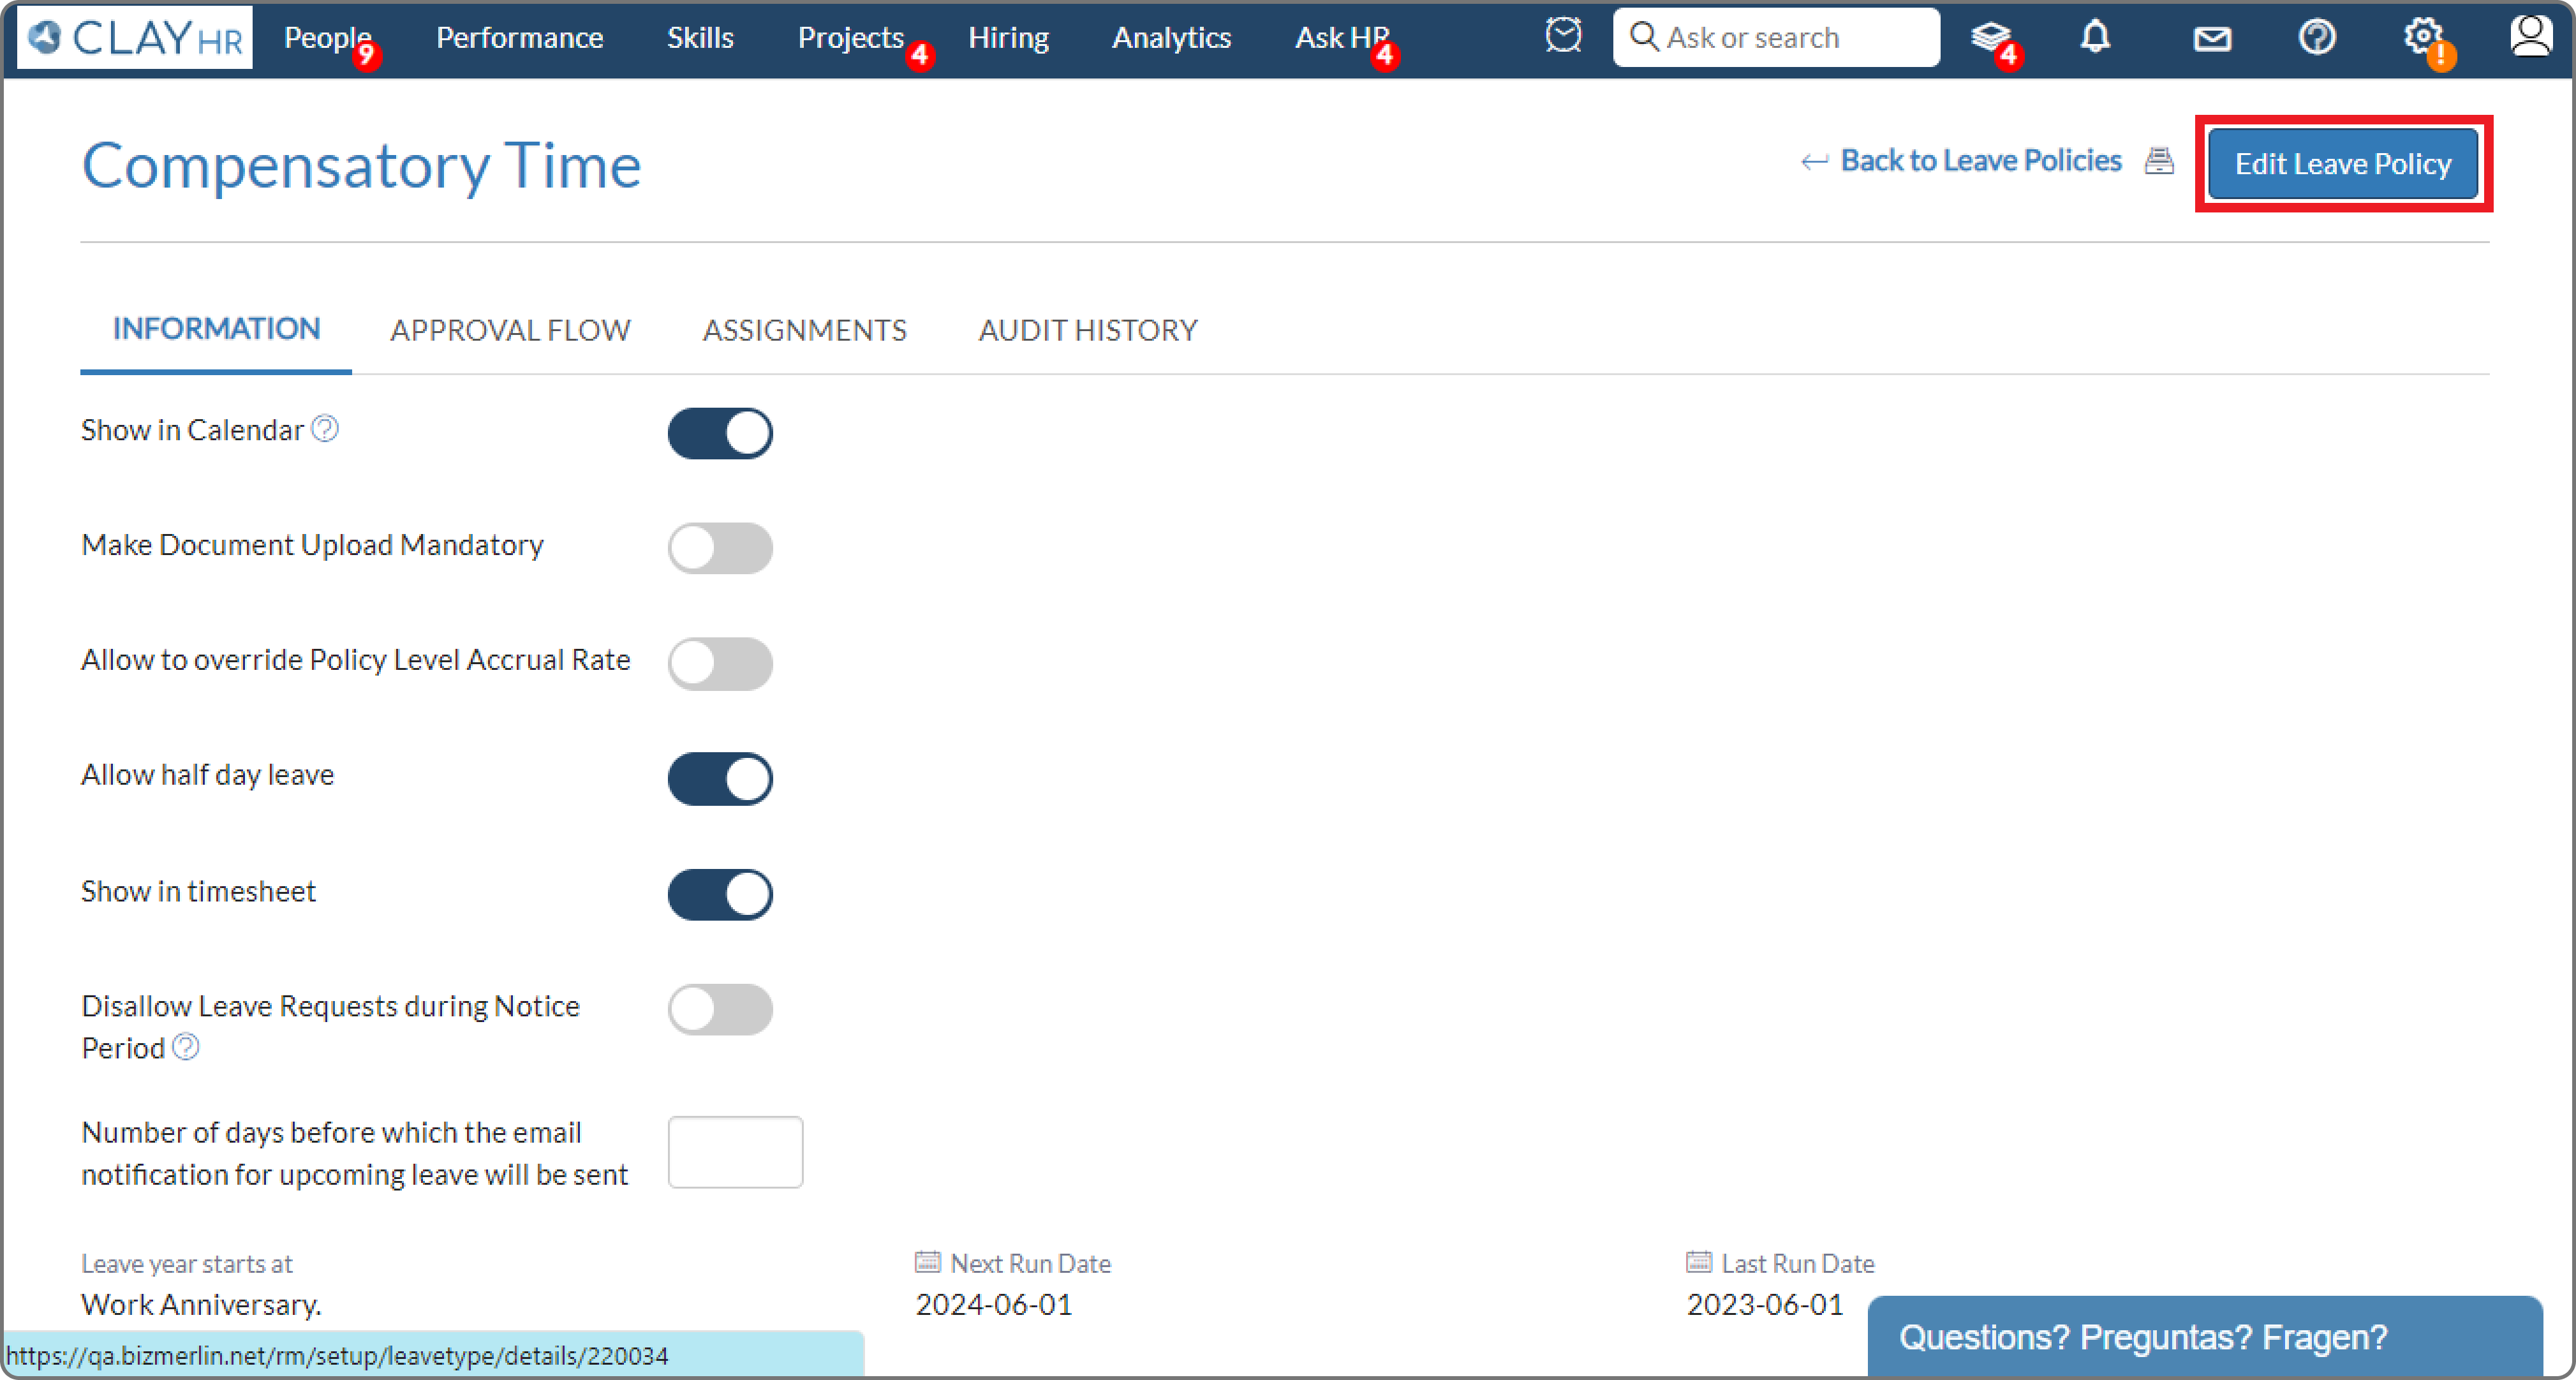
- Select the leave policy in which approval flow needs to be added.
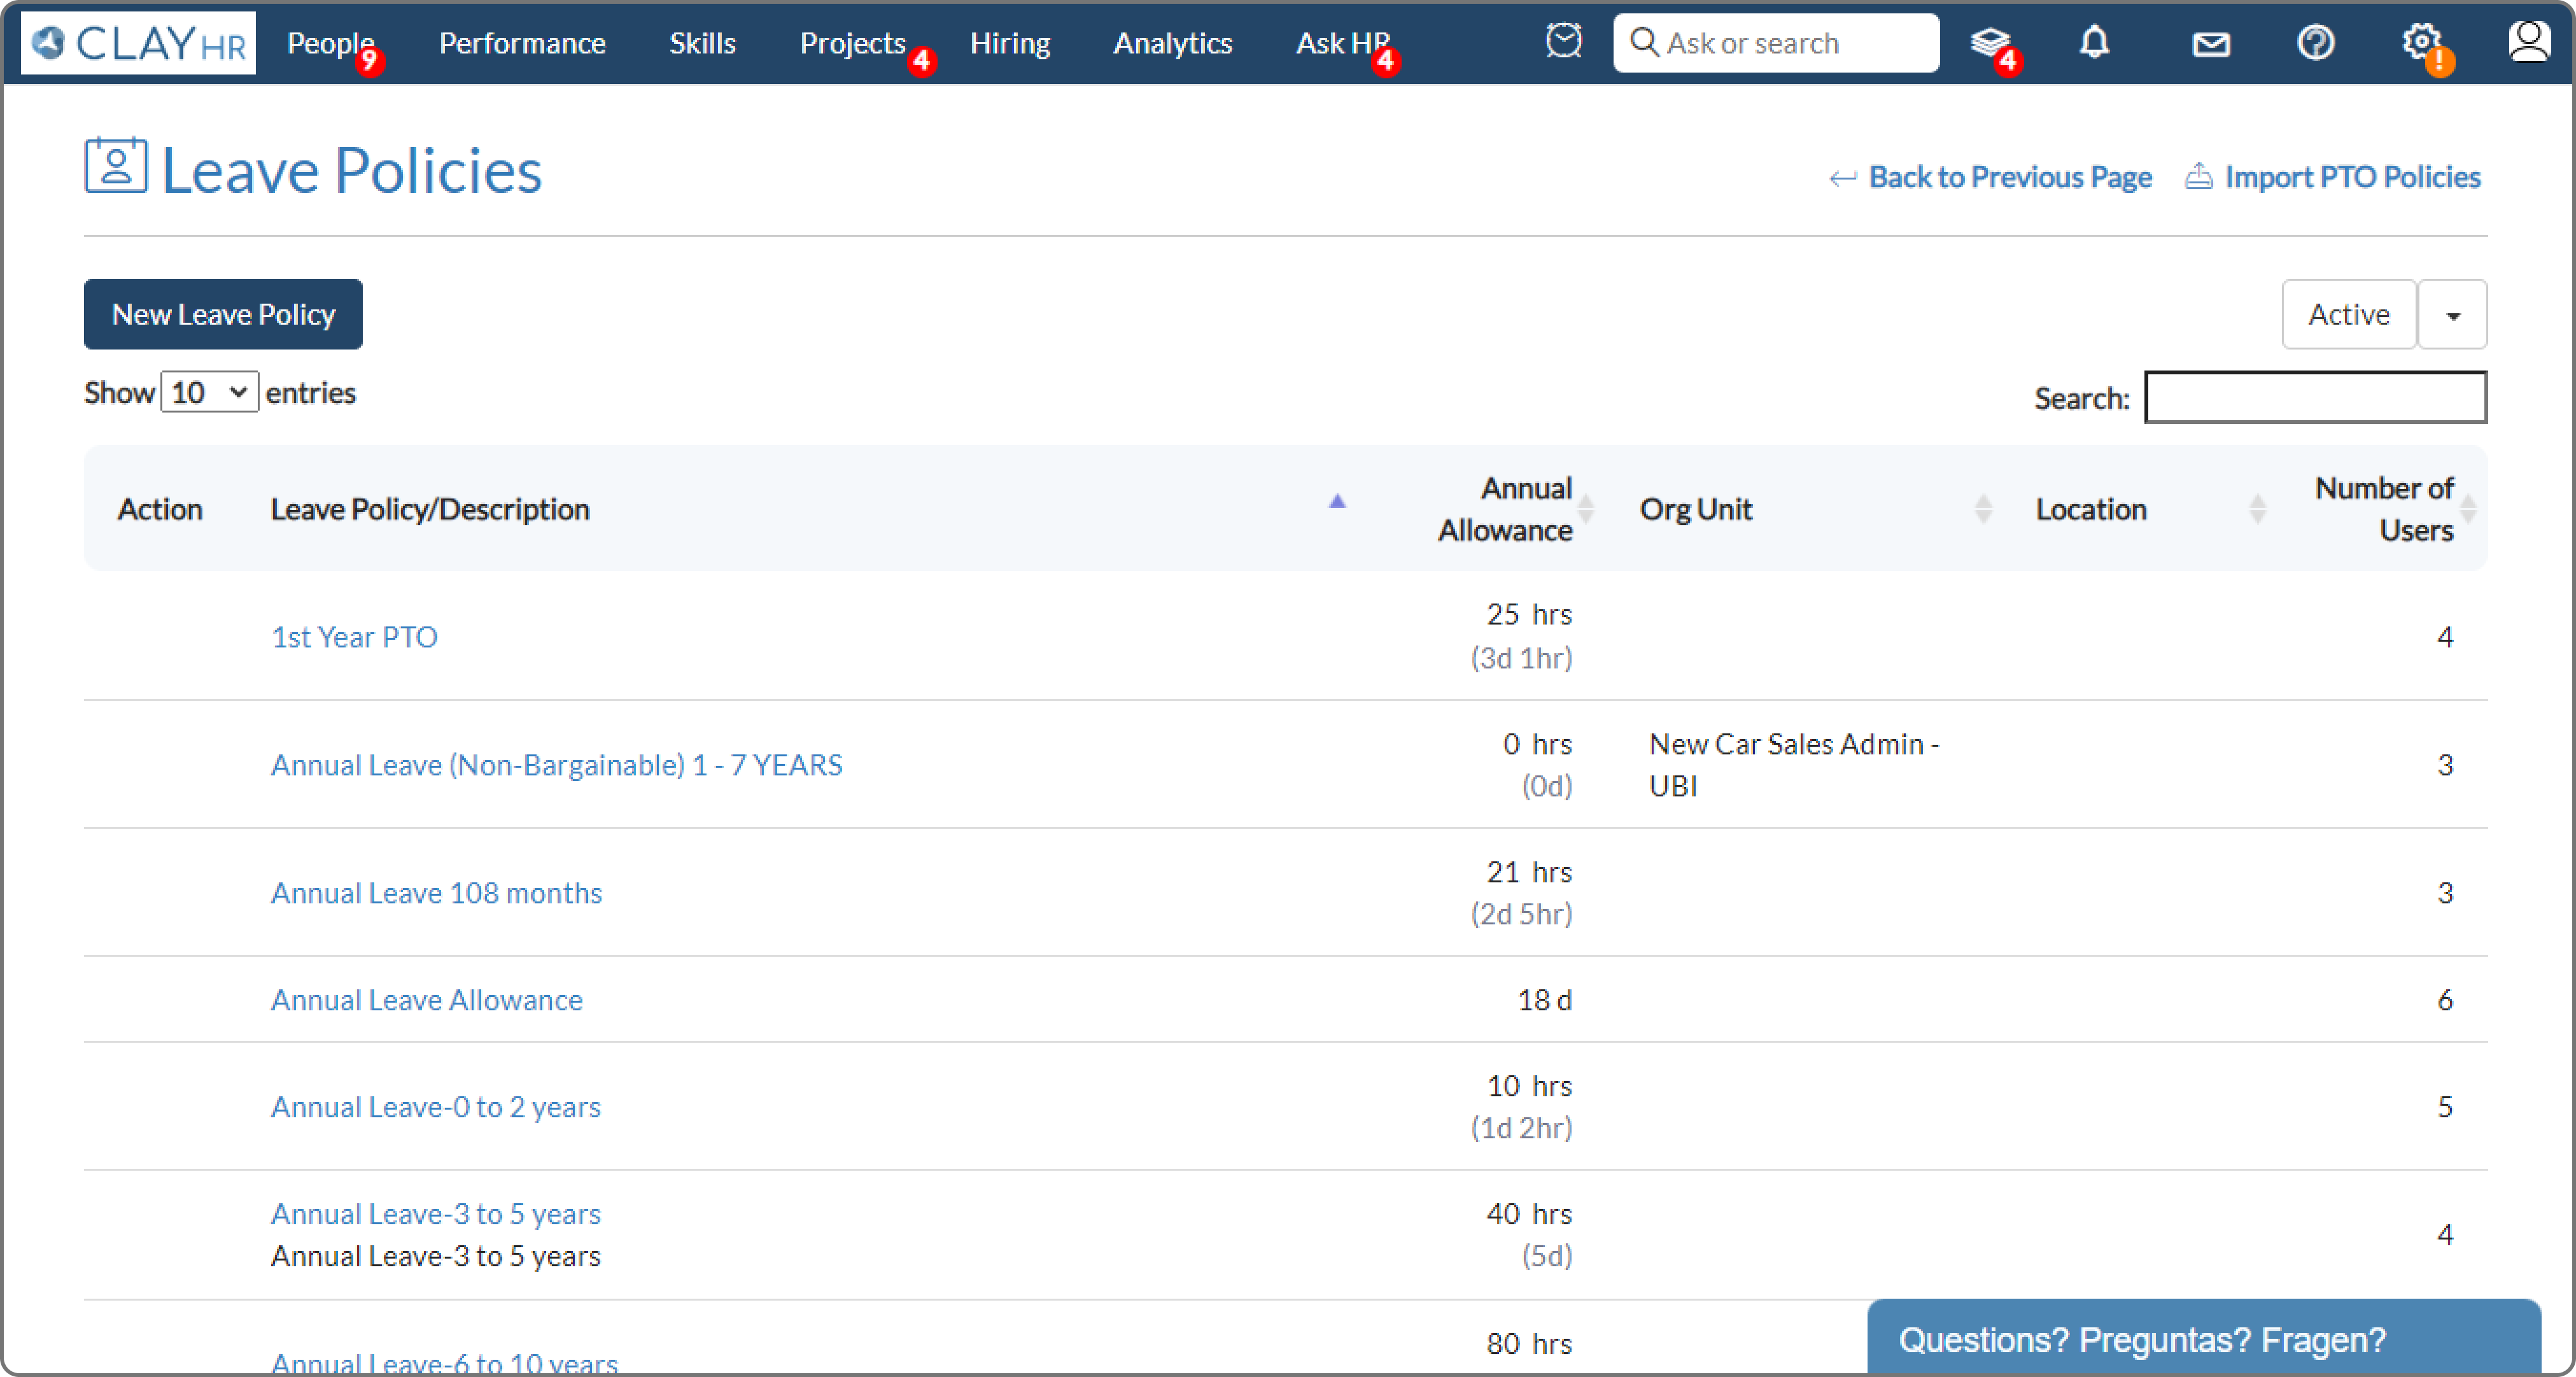
- Click on Edit Leave Policy.
- Select the approval flow from the Approval Flow Name dropdown.

- Click on Save Leave Policy
The leaves after the creation of the PTO/Leave approval Flow will follow the approval steps as defined in the approval levels.


