
How to create a survey
Surveys help us to gather data in an organized way which provides insights for organizations that can lead to amazing research.
- Go to the top right “Setup” menu and click on “Forms, Workflows & Templates”.
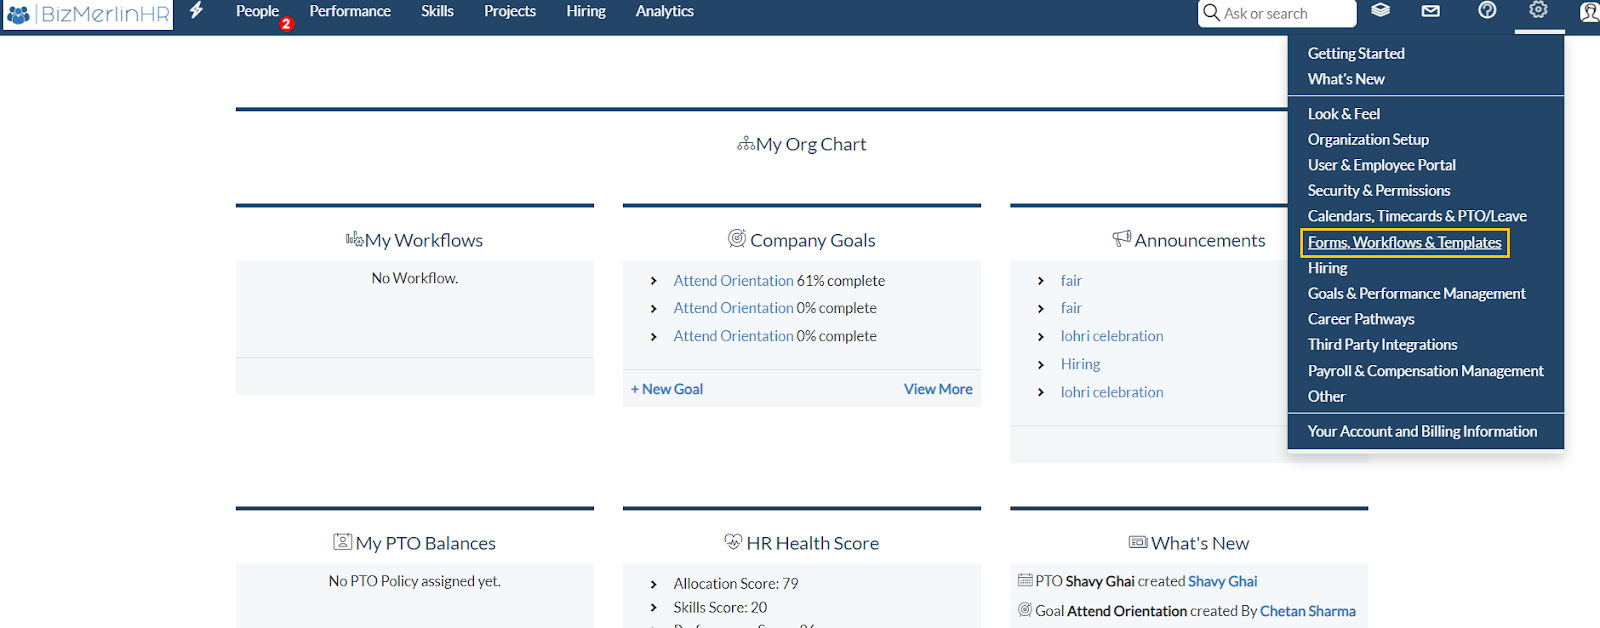
- You will be redirected to the “Forms, Workflows & Templates Details” page. Follow to “Forms”>” Surveys”.
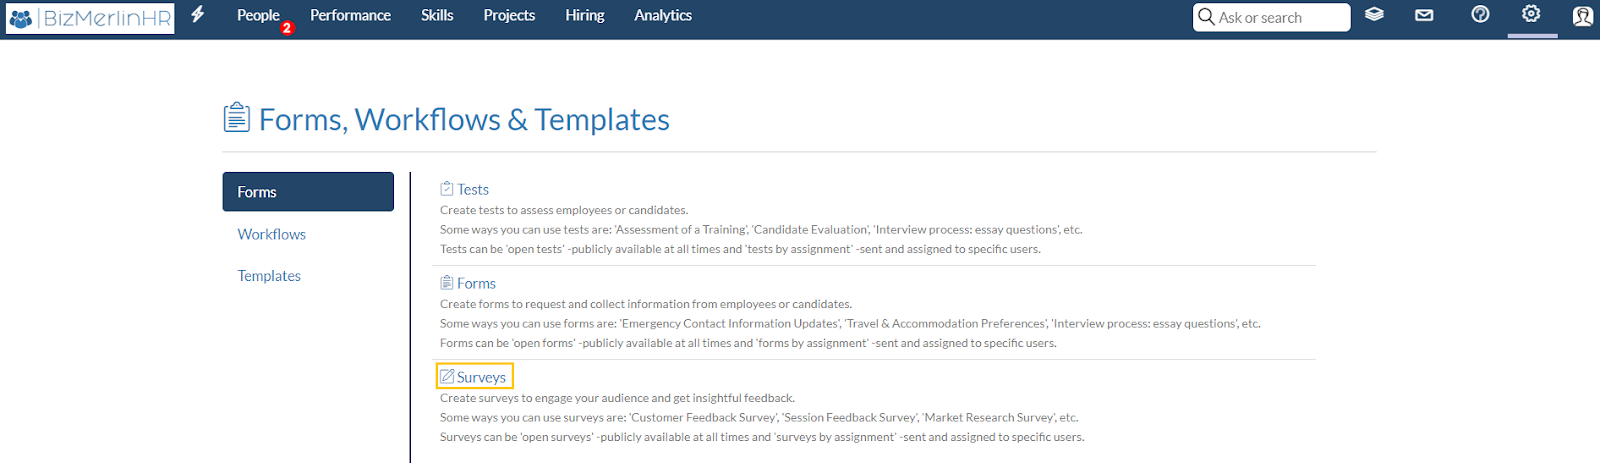
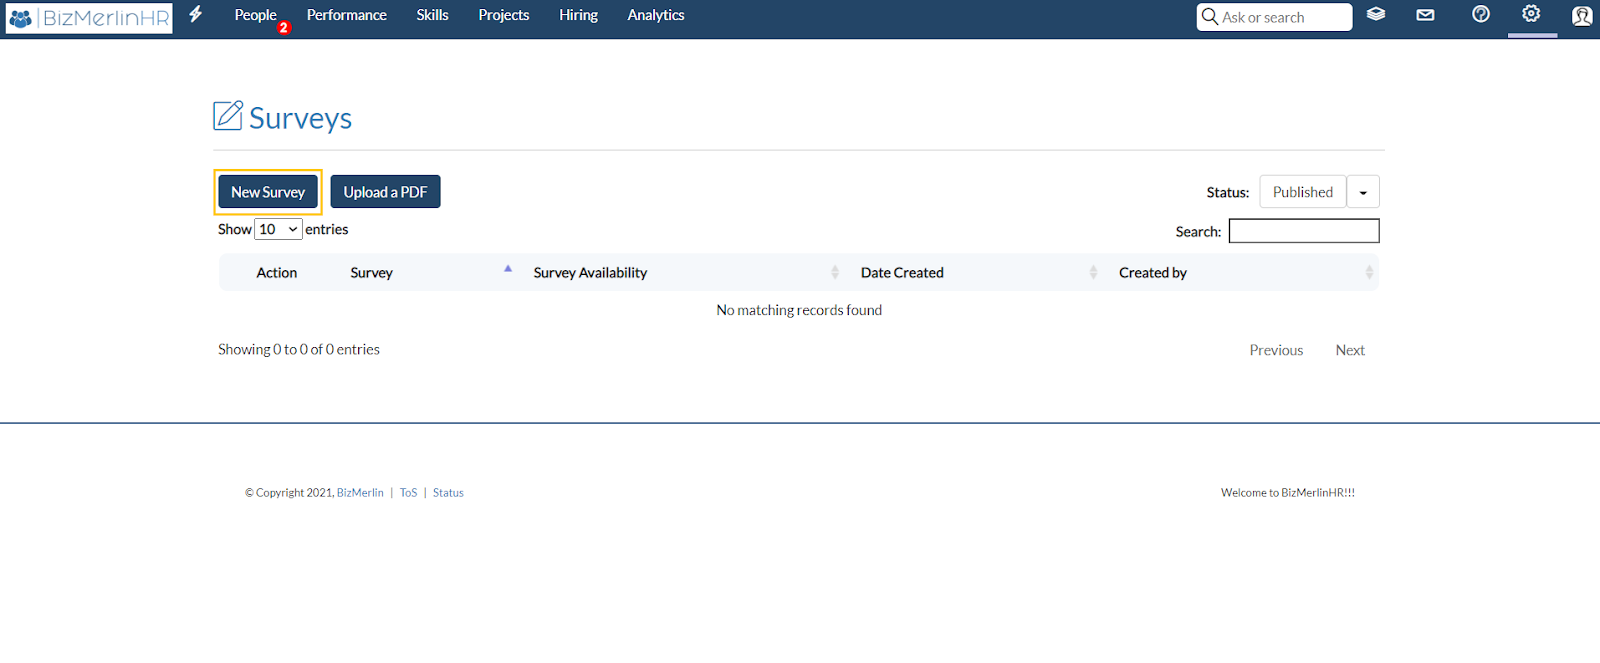
- Now you can approach with creating a “New Survey”.
Step 1: Fill up the Survey details
Options:
- “Can be filled by” - In this option, you can select whether the survey is for a user or candidate. Here, the user is the employee and the candidate is the one who is still in the hiring process.
- “Survey Availability” - This shows the survey available to all or to specific users by assignment process.
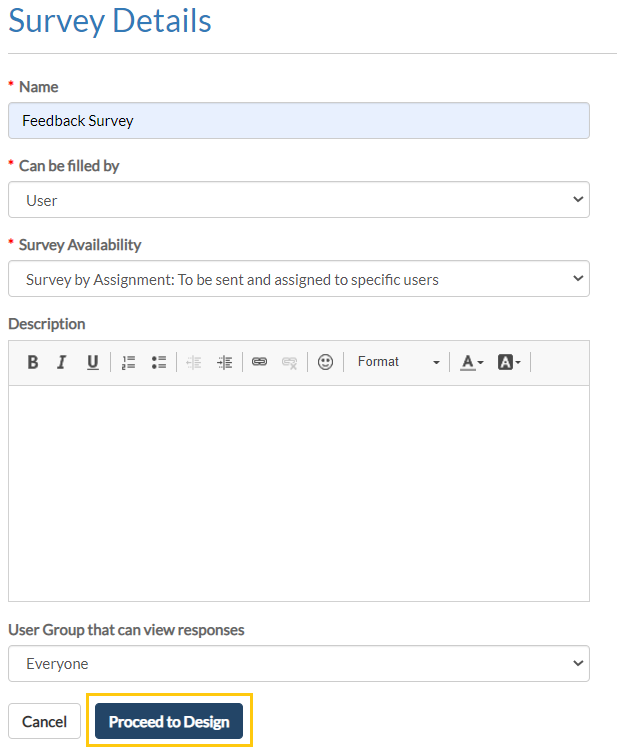
- Step 2: Now “Proceed to Design” will lead to the design page. The design is split into sections in which you can add questions. You can add a section from “Add Section” > Fill Details > “Save Section”.
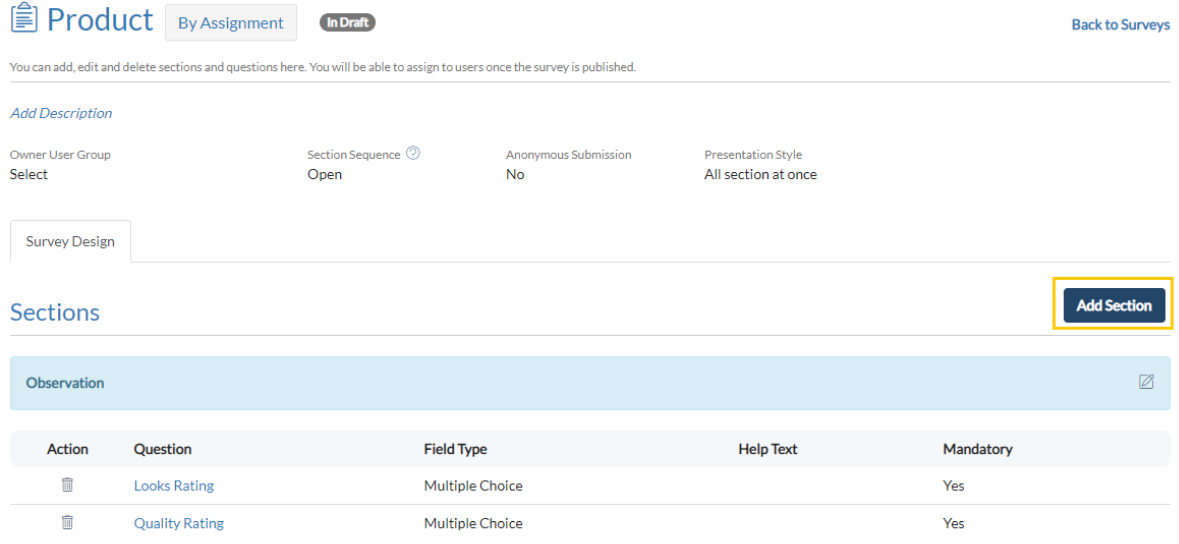

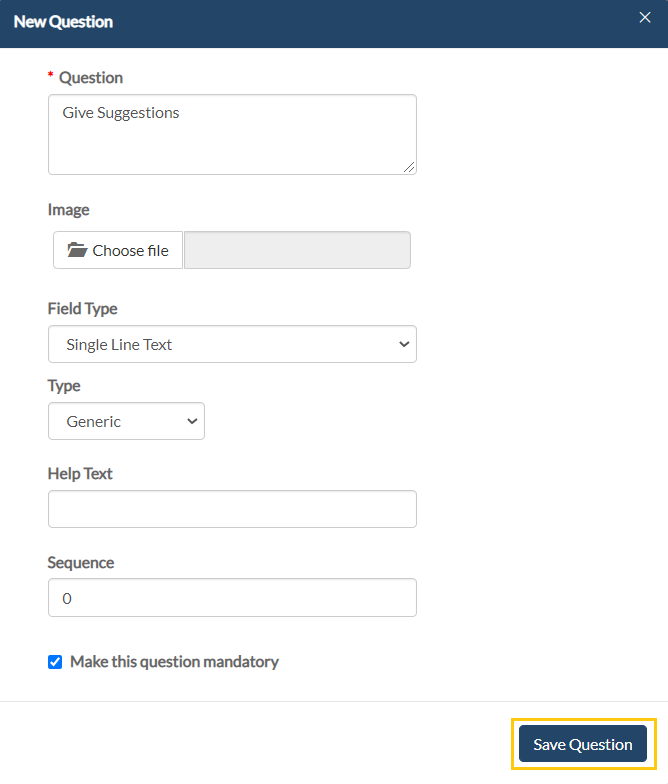
- Step 3: Create questions in each section by clicking on “New Question” > Fill Details > “Save Question”.Options: “Field Type” - It is the type of field you want to add like Text area, Multiple choice, etc.
- “Type” - By default, the form is kept generic.
- “Help text” - In case you want to clarify something for whoever fills the survey.
- “Sequence” - Sequence will define the position of the sections. By default questions are arranged in the order they are created.
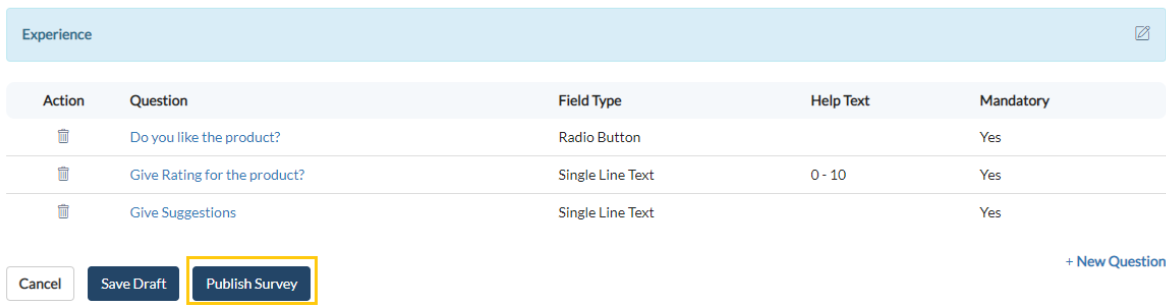
- Step 4: Click on “Publish Survey” in order to publish the survey.
- Step 5: Assigning Surveys. a) If survey availability is Open, anybody can access it from the Public Surveys link.

- b) For others, click on “Add Assignment” in order to create a new assignment. c) Assign the survey to the user and then click on “Save Assignment”.

- d) Download the response of the assignees as a spreadsheet from the option “Download Response as Excel”.


