
Setup of Custom Badges and how to use them in Feedbacks
ClayHR provides the ability to upload the custom badges and use them while giving feedbacks.
Prerequisites:
The user must have the “Setup menu access permission’ to create a new badge.
Following are the steps to upload the custom badges in the setup menu and using them in the feedbacks.
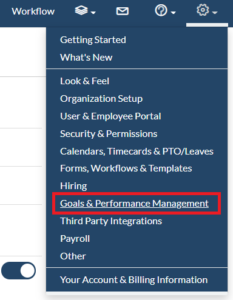
- Navigate to the “Goals and Performance Management” under the “Setup Menu” on the top-right corner of the application.
- Click on the “Badges” link to navigate to the badges page.
- Click on the “Define a New Badge” button to navigate to the New Badge page.

- Fill out the details of the new badge.
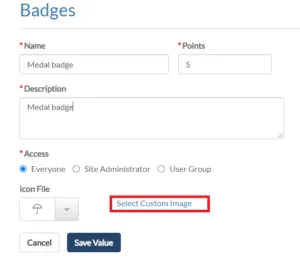
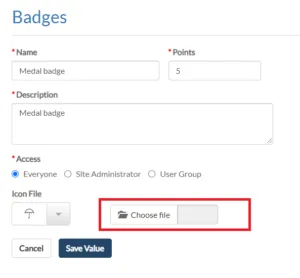
- Click on the “Select Custom Image” link and choose any image from your system. We support .jpg, .jpeg, .png formats with file size up to 2MB.
- The preview of the image will appear on the right side of the page.

- Click on the “Save Value” button to save the badge.
- Now, this custom badge is available to be selected on the Give Feedback page from the badge icon list.
- This badge will be visible on the user feedback page, after sending the feedback to the user.


