
How to Create and Configure an Analytics Dashboard
ClayHR gives you the flexibility to create and configure your dashboard exactly the way you want. You can arrange widgets, choose the information that matters most to you, and create a personalized view that fits your workflow.
Watch a Quick Video Tutorial
Create a New Dashboard
Here are the steps to create a new dashboard:
- Hover over the “Analytics” menu icon on the left menu and select “Dashboards”. You will be redirected to your last viewed dashboard.
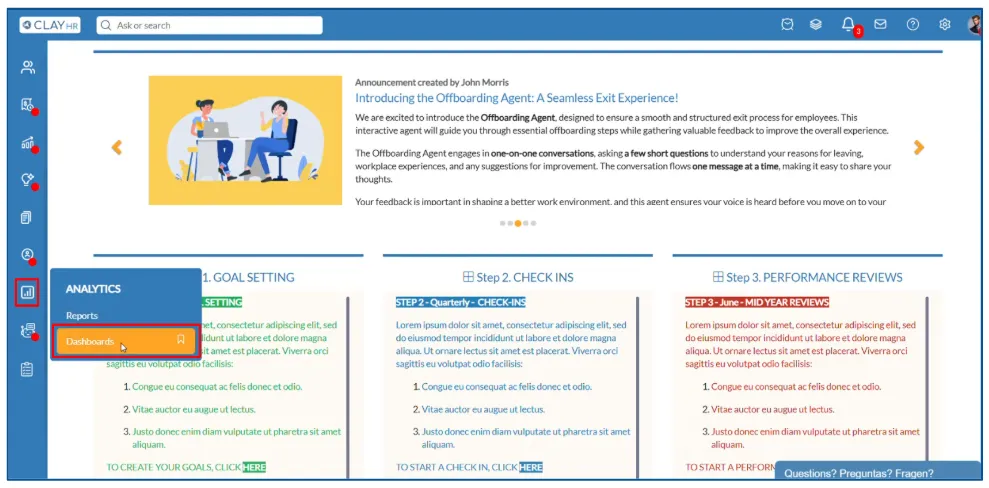
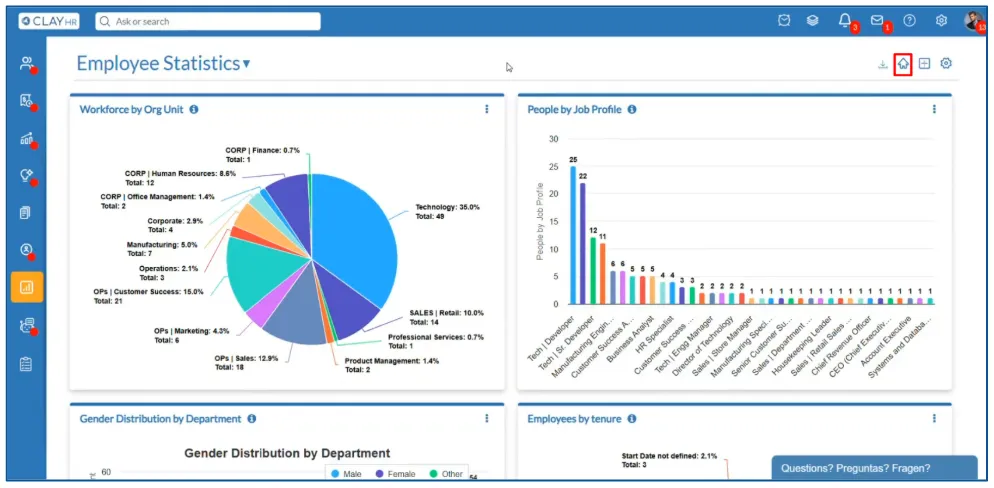
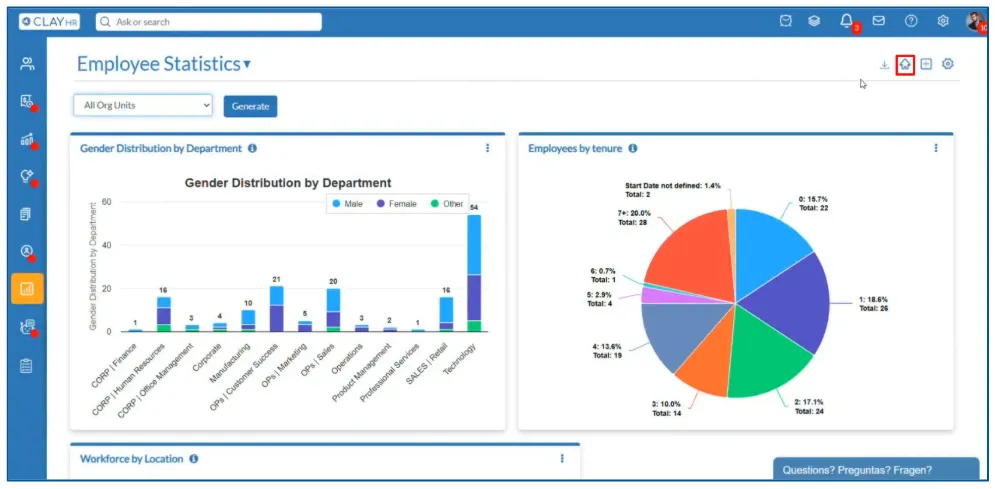
- On the dashboard view page, click on the “Dashboard Home” icon. You will be redirected to the dashboard home page.
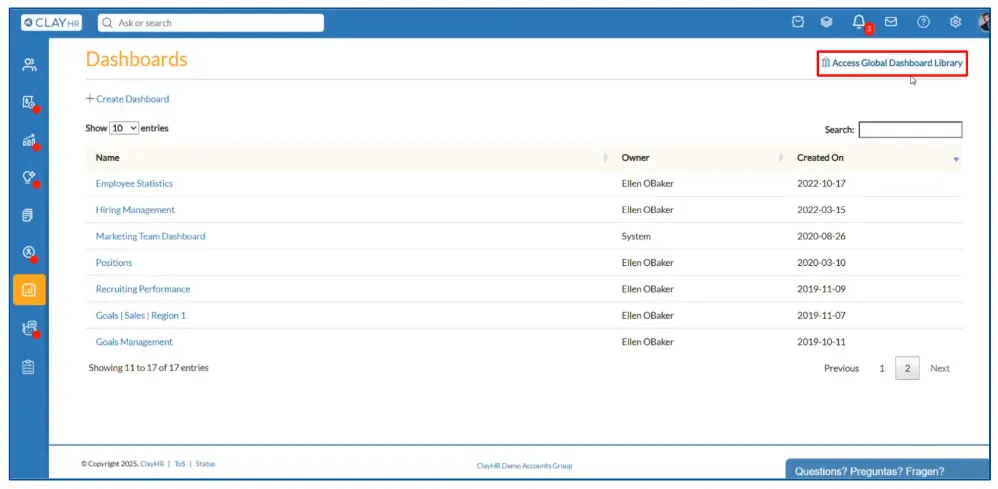
- After reaching the dashboard home page, click on “+ Create Dashboard”. The new dashboard modal will open up.
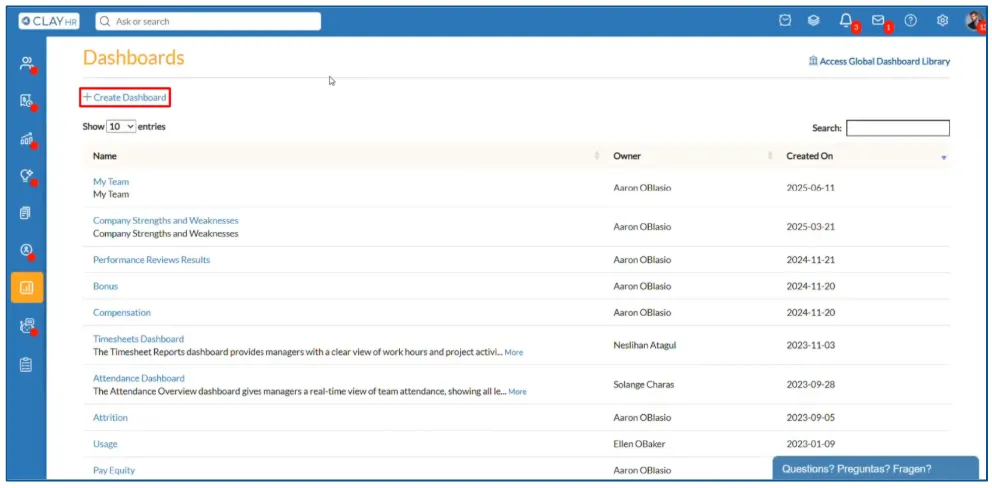
- Type in the name and description of the dashboard. After you are done, click on the “Add Dashboard” button.

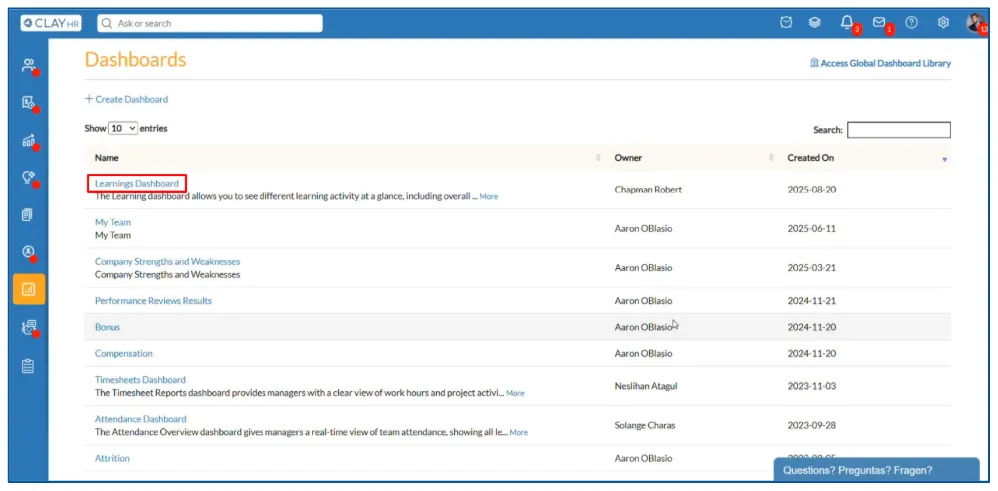
The dashboard will be created successfully.
Note: If you haven’t viewed any dashboard, you will be redirected to the dashboard home page on selecting the “Dashboards” option from the “Analytics” menu in the left menu.
Add a Widget
You can add many different types of widgets in your dashboard as you see fit.
Here are the steps to add a widget in your dashboard:
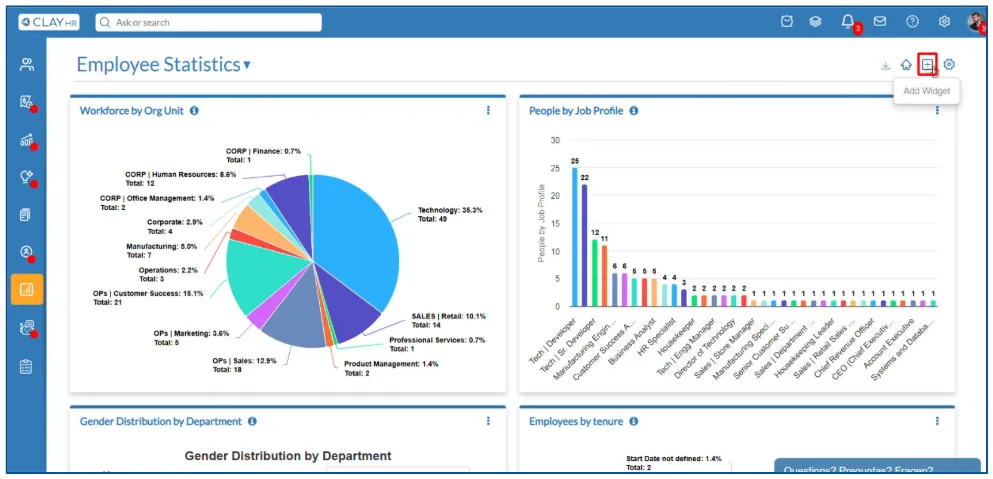
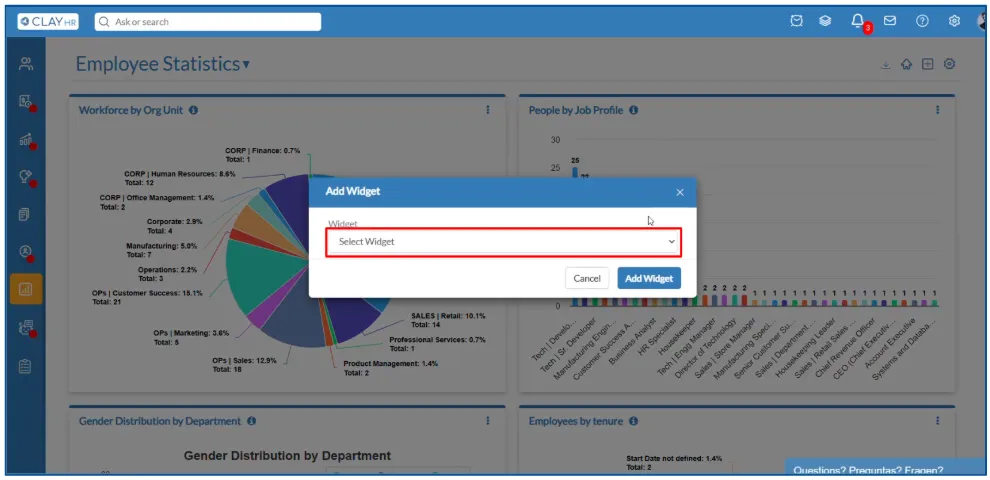
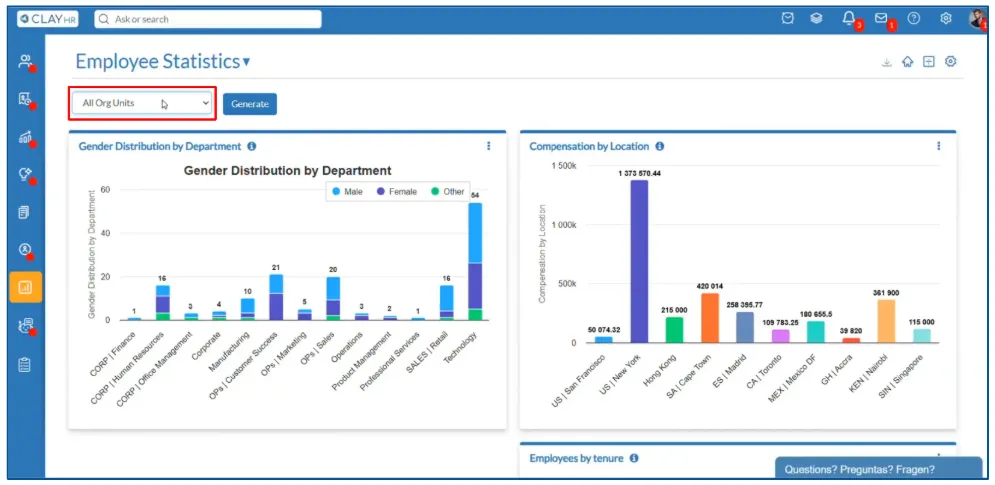
- On the dashboard view page, click on the “Add Widget” icon at the top right side of the page. The “Add Widget” modal will appear.
- Select the type of widget you want to add from the dropdown menu. If you want to add a report, select the “Analytics” option.
- Search for the report you want to add and select it from the dropdown menu.
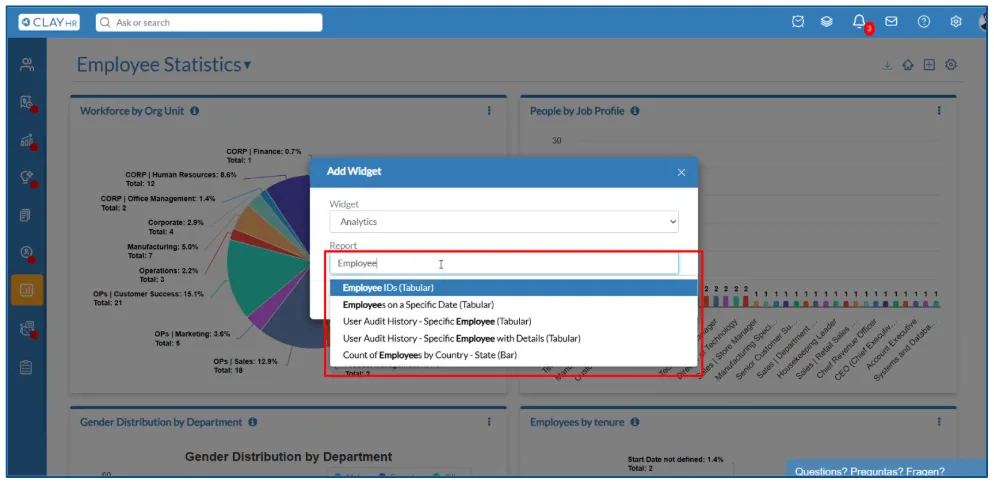
- Click on the “Add Widget”button.
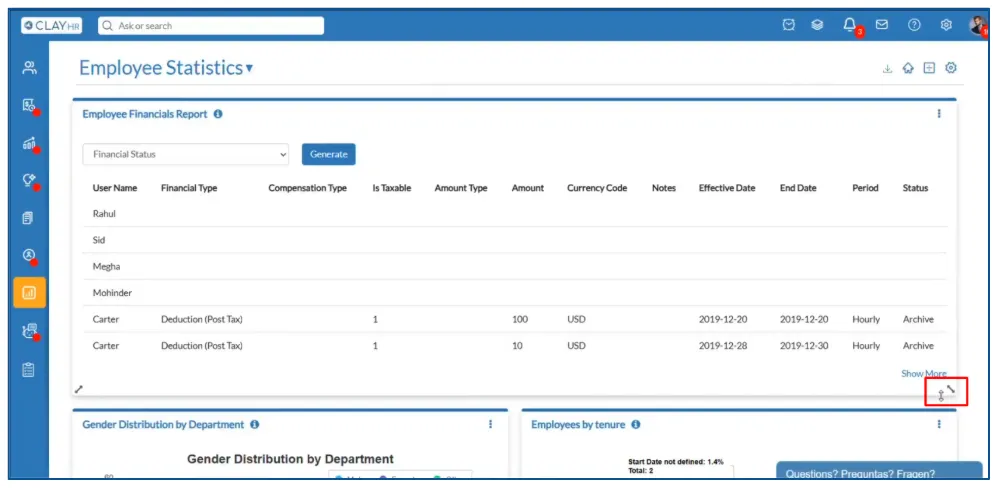
The widget will be added to the dashboard successfully.

Resize and Drag a Widget
Users can set the size and position of each widget according to their needs. To resize a widget, simply click and hold a corner or side of the widget and set its width and height according to the requirements.
To change the position of a widget, click and hold the widget. Then just drag and drop it wherever you want it to be.
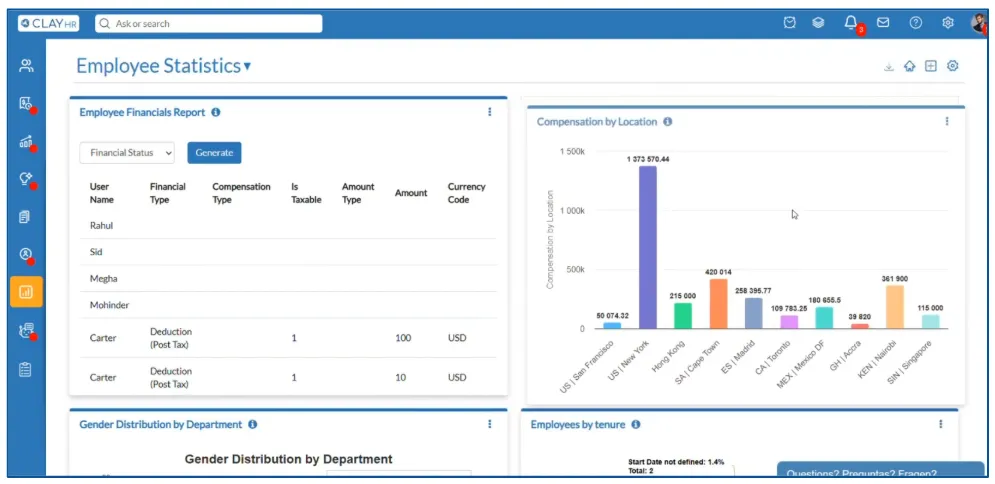
Remove a Widget
To remove a widget from a dashboard, follow the given steps below:
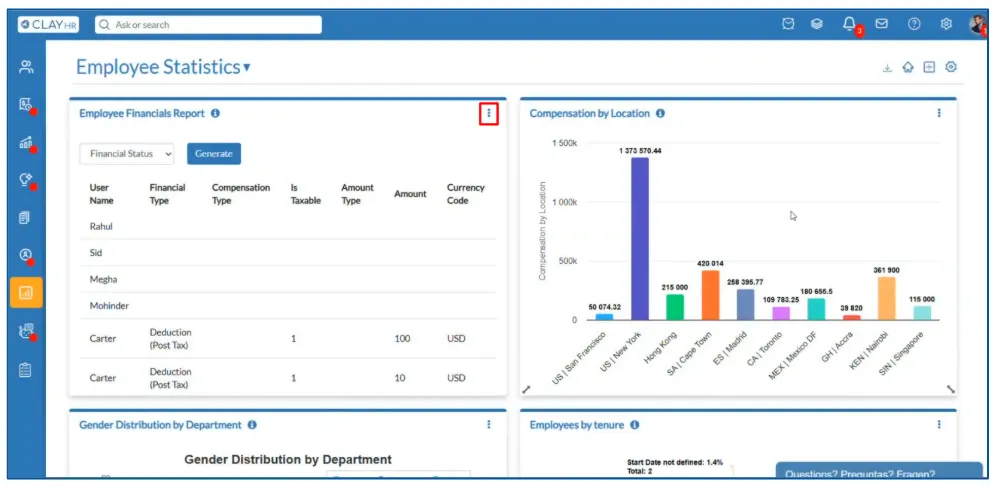
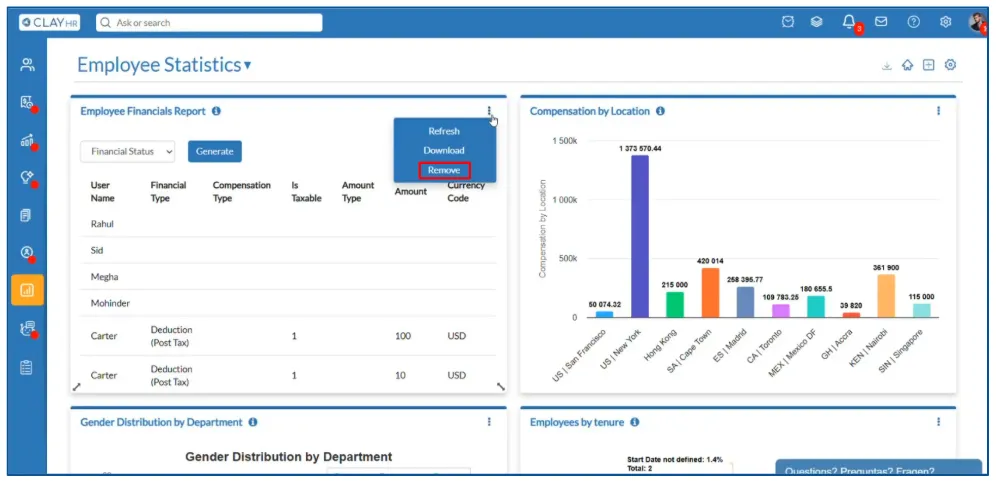
- Click on the three dots icon at the top right side of the widget. A dropdown menu will open up.
- Select the “Remove” option. A confirmation modal will appear.
- Click on the “Delete Widget” button.
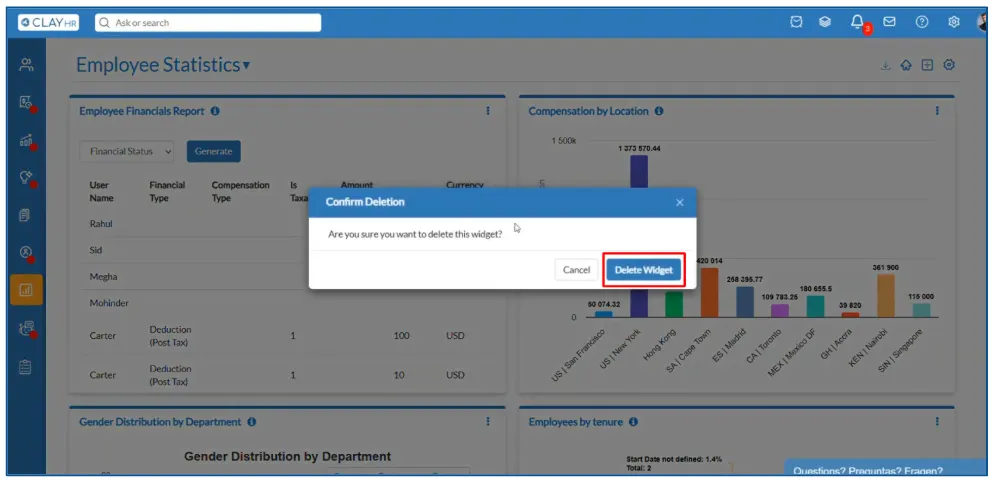
The widget will be removed from the dashboard successfully.
Give Access to a User or User Group
In order to provide access of a dashboard to a user or user group, follow the given steps below:
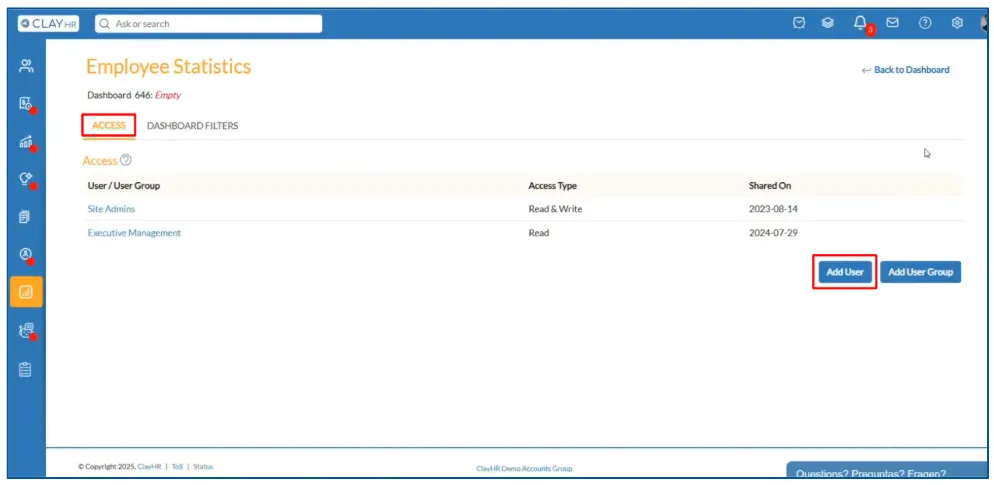
- Click on the “Manage Dashboards” icon at the top right side of the page. You will be redirected to the dashboard edit page.

- Once you are on the dashboard edit page, click on the “Add User” button in the “Access” tab. The “Add User” modal will appear.
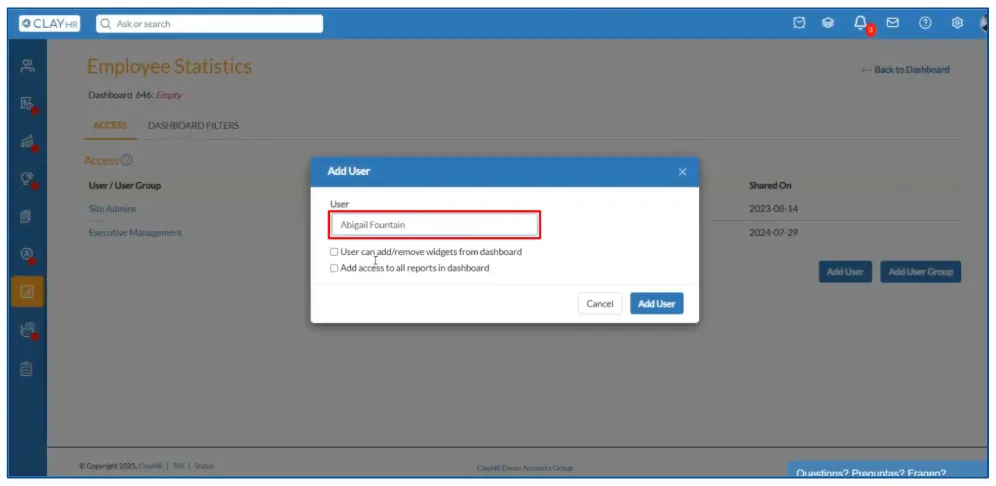
- Search for the user you want to provide access to and select it from the dropdown menu.
- Click on the “Add User” button.
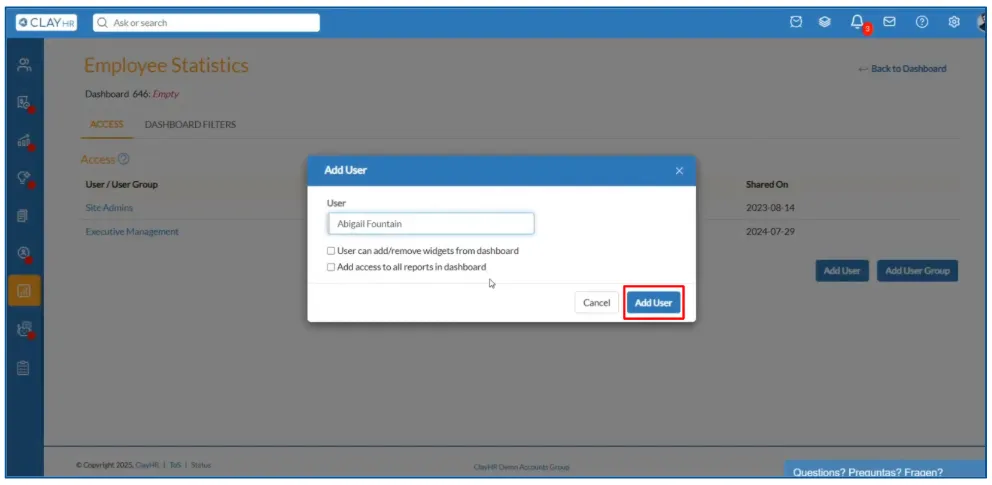
The user will be provided access to the dashboard. Similarly, a user group can also be provided with access to the dashboard.

Add Filters in a Dashboard
Here are the steps to add filters in a dashboard:
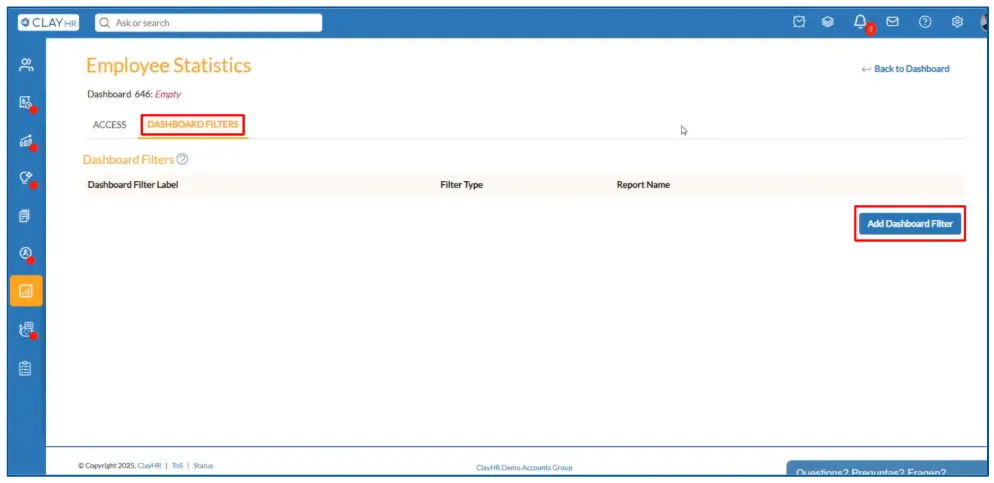
- Click on the “Add Dashboard Filter” button in the “Dashboard Filters” tab on the dashboard edit page. The “Dashboard Filter” modal will appear.
- Select the filters that you want to add in your dashboard.
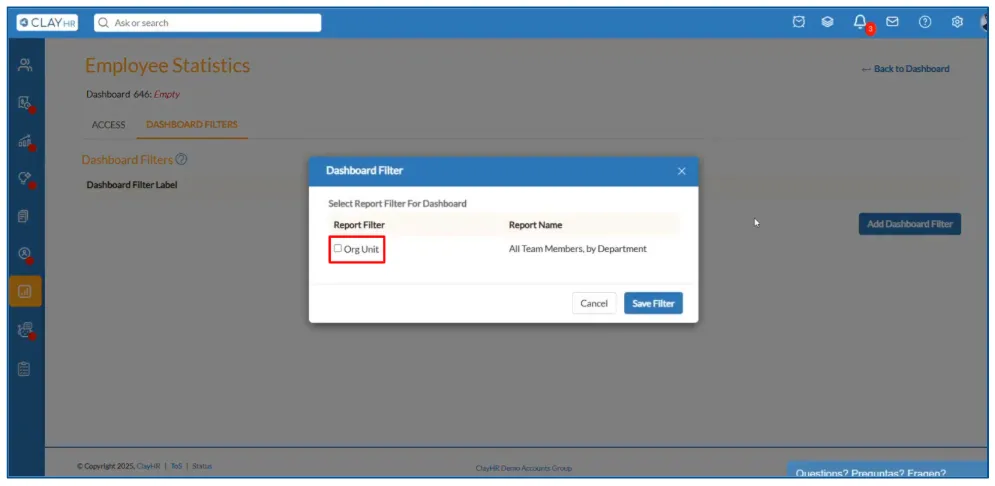
- Click on the “Save Filter” button.

The filter will be added successfully in the dashboard.
Note: Only those filters can be added in the dashboard which are already part of a report widget in the same dashboard.
Import a Dashboard from Global Dashboard Library
Here are the steps to import a dashboard from the global dashboard library:
- On the dashboard view page, click on the “Dashboard Home” icon. You will be redirected to the dashboard home page.
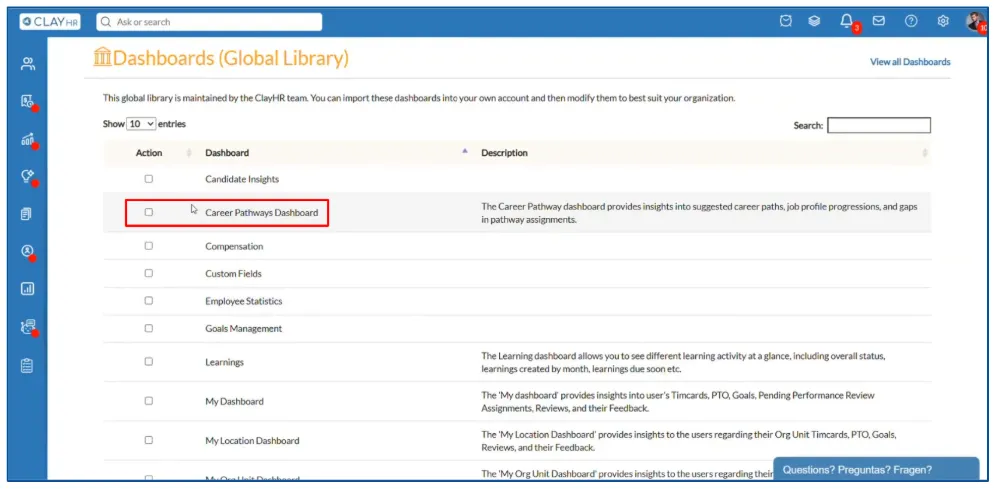
- Once you are on the dashboard home page, click on “Global Dashboard Library”. The global dashboard library home page will open up.
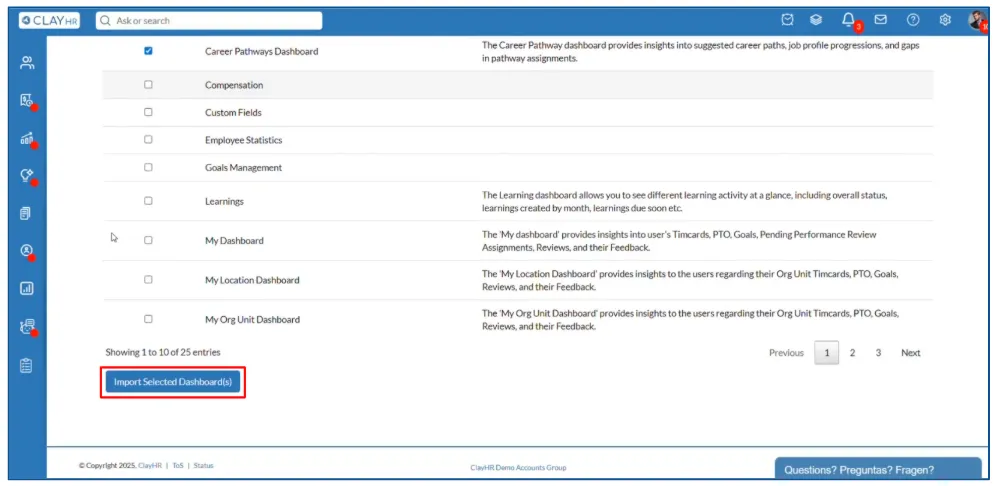
- Select the dashboard you want to import. You can import multiple dashboards at once.
- Click on the “Import Selected Dashboard(s)” button. You will be redirected to the dashboard home page.
The selected dashboard will be imported successfully.

Note: Only site admins are allowed to access the “Global Dashboard Library” section.


.webp)
