
What are Funnel Automations?
Funnel Automations in ClayHR
Funnel Automations in ClayHR enable you to streamline candidate communication and automate actions as candidates move through different stages of your recruitment funnel.
These automations help improve the candidate experience, reduce manual workload for HR teams, and enhance overall recruitment efficiency.
What Are Funnel Automations?
Funnel Automations allow you to trigger predefined actions—such as sending emails or text messages, workflows, integrations and more—whenever a candidate’s status changes within a funnel.
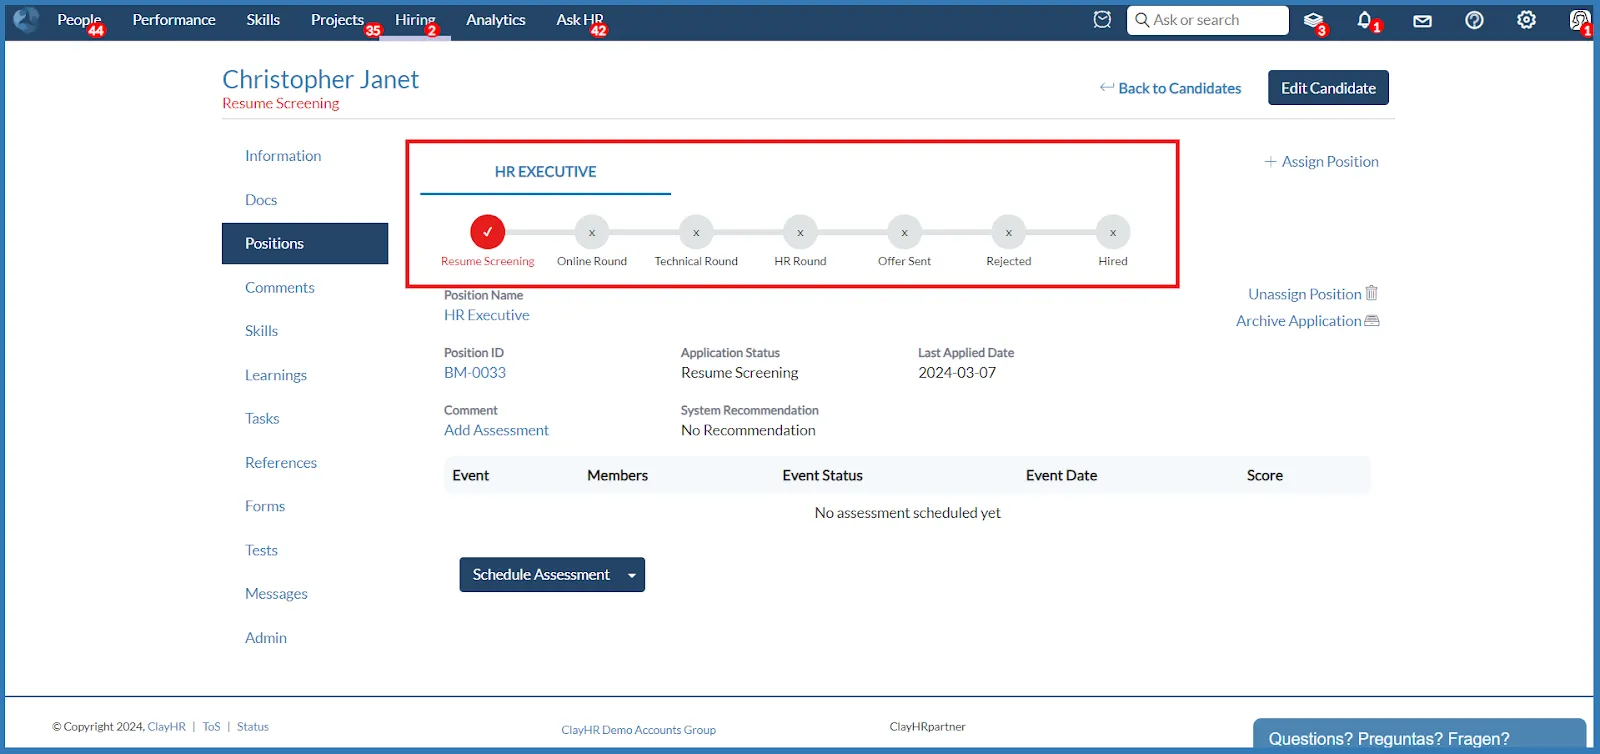
For example, when a candidate moves to the Interview Scheduled stage, an automated email confirmation can be sent instantly.
You can configure various types of automations, including:
- Automatic Email Notifications – Send personalized emails to candidates, hiring managers, or other stakeholders.
- Workflow Triggers – Automatically launch a workflow when a candidate reaches a specific stage (for example, background check or reference verification workflows).
- Integration Triggers – Initiate actions through connected systems .
- Creation of User Records – Automatically create a user record in ClayHR for selected candidates who progress to a certain stage.
- Other Custom Actions – Depending on your organization’s configuration, additional automation options may be available.
These flexible automation options allow organizations to tailor recruitment processes precisely to their operational and compliance needs.
How to Create a Funnel Automation
Follow the steps below to create or manage funnel automations:
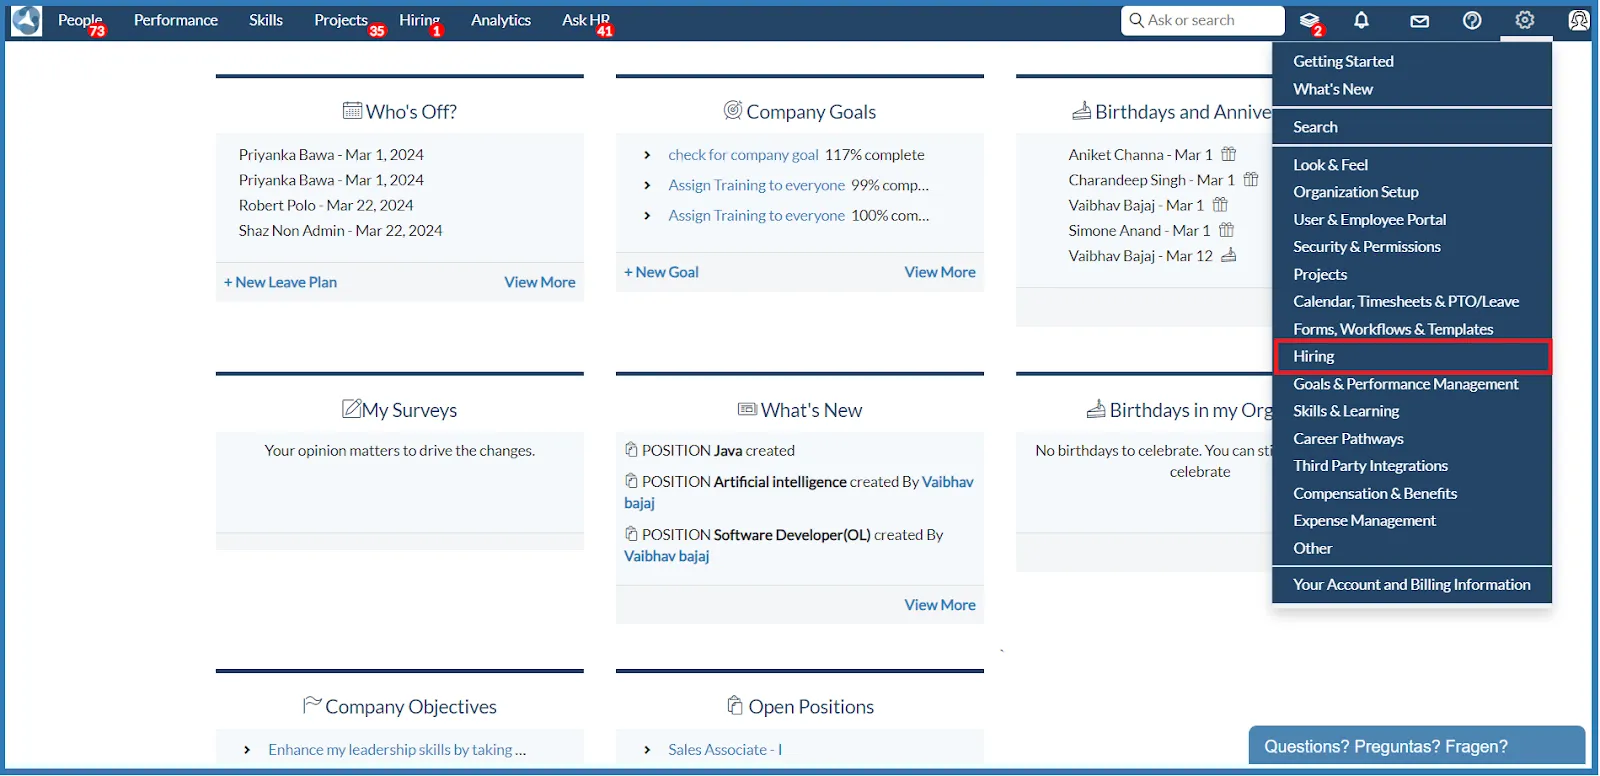
- Navigate to Hiring Settings
- Click the gear icon (⚙️) and select Hiring.
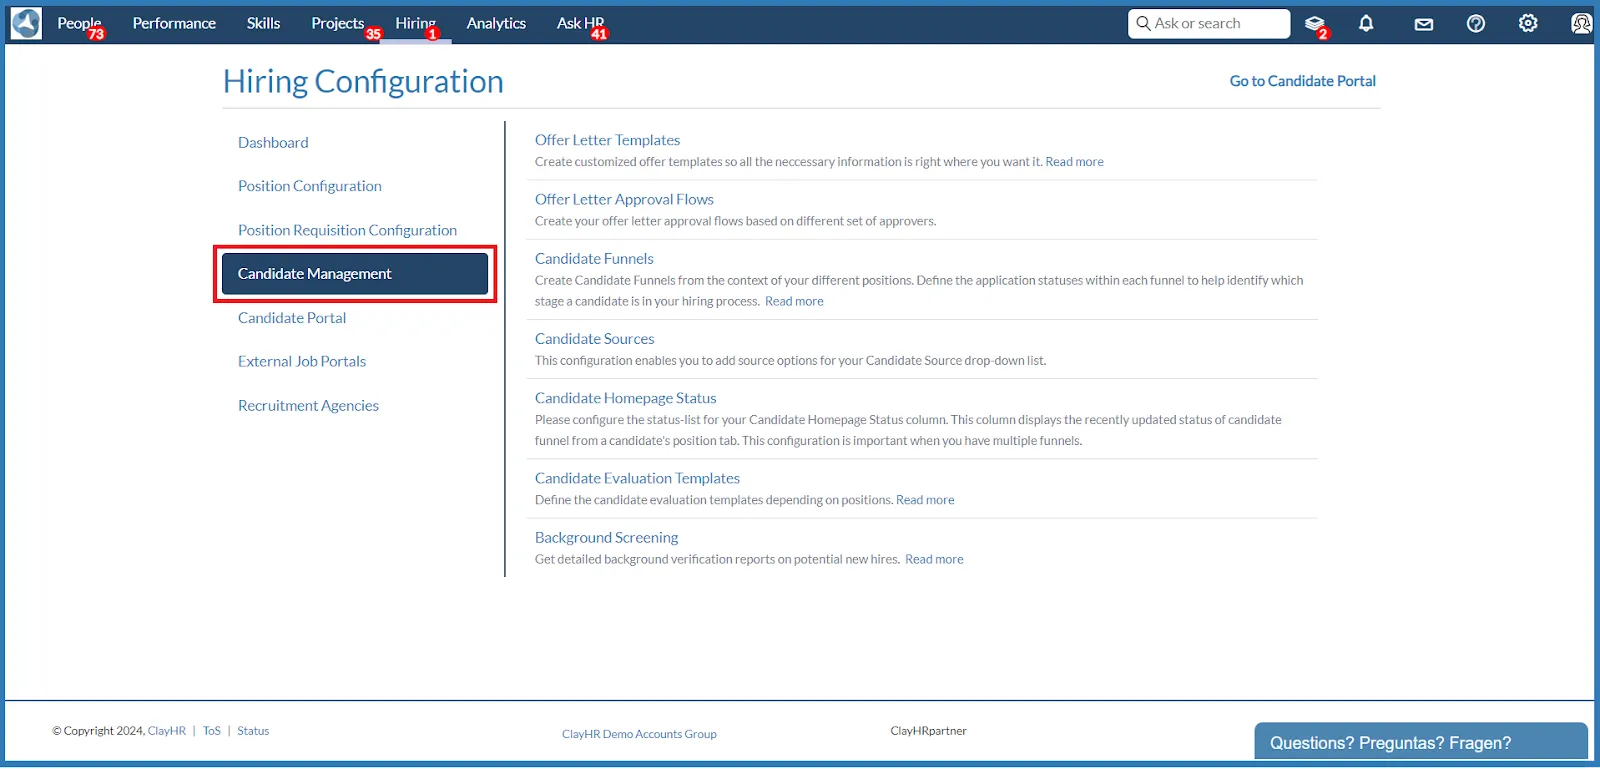
- Open Candidate Funnel
- Go to the Candidate Management tab.
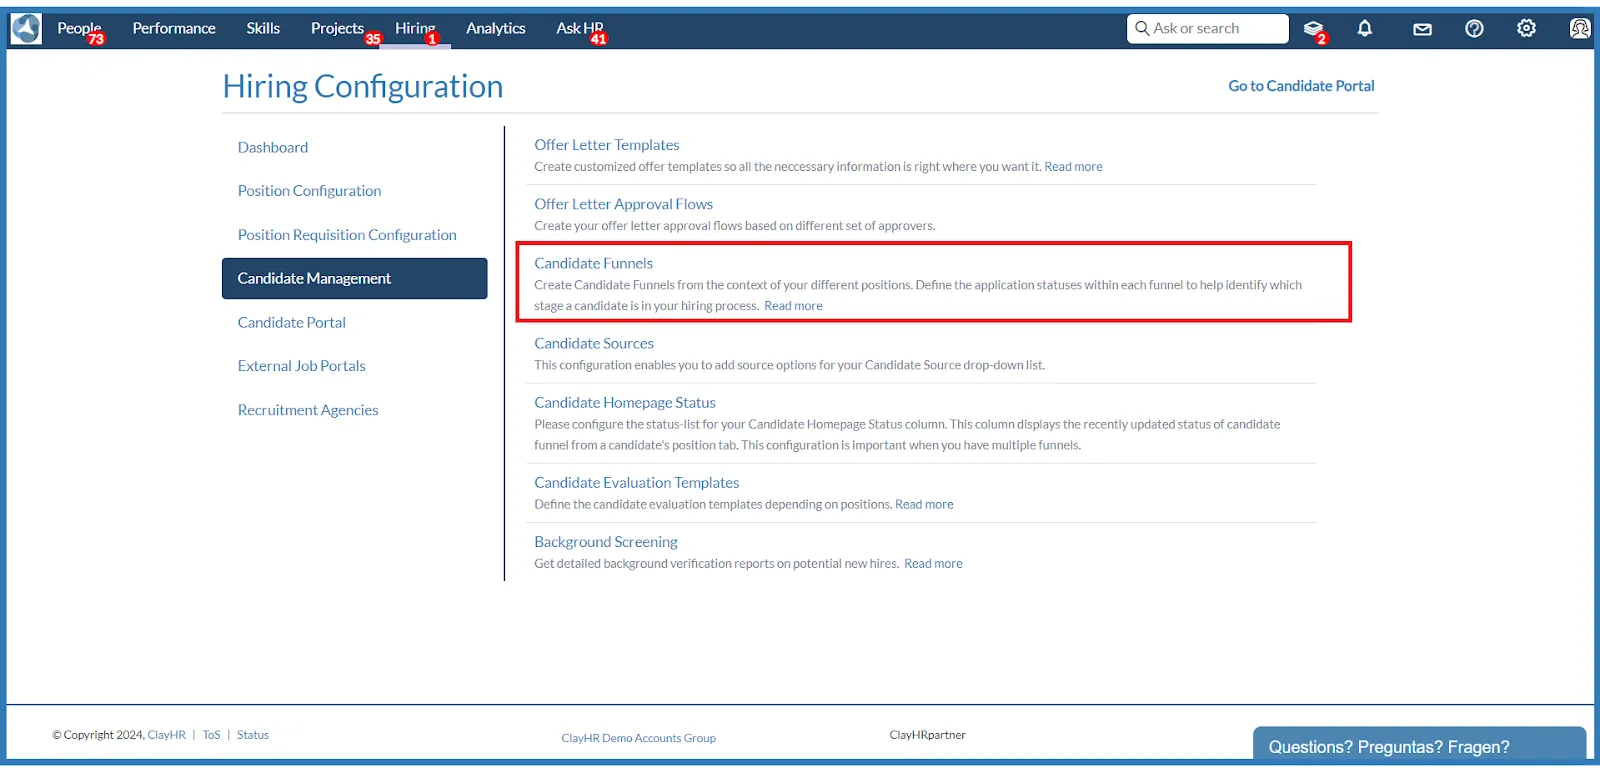
- Click Candidate Funnel to view your existing funnels.
- Select a Funnel
- On the homepage, open the funnel you want to configure.
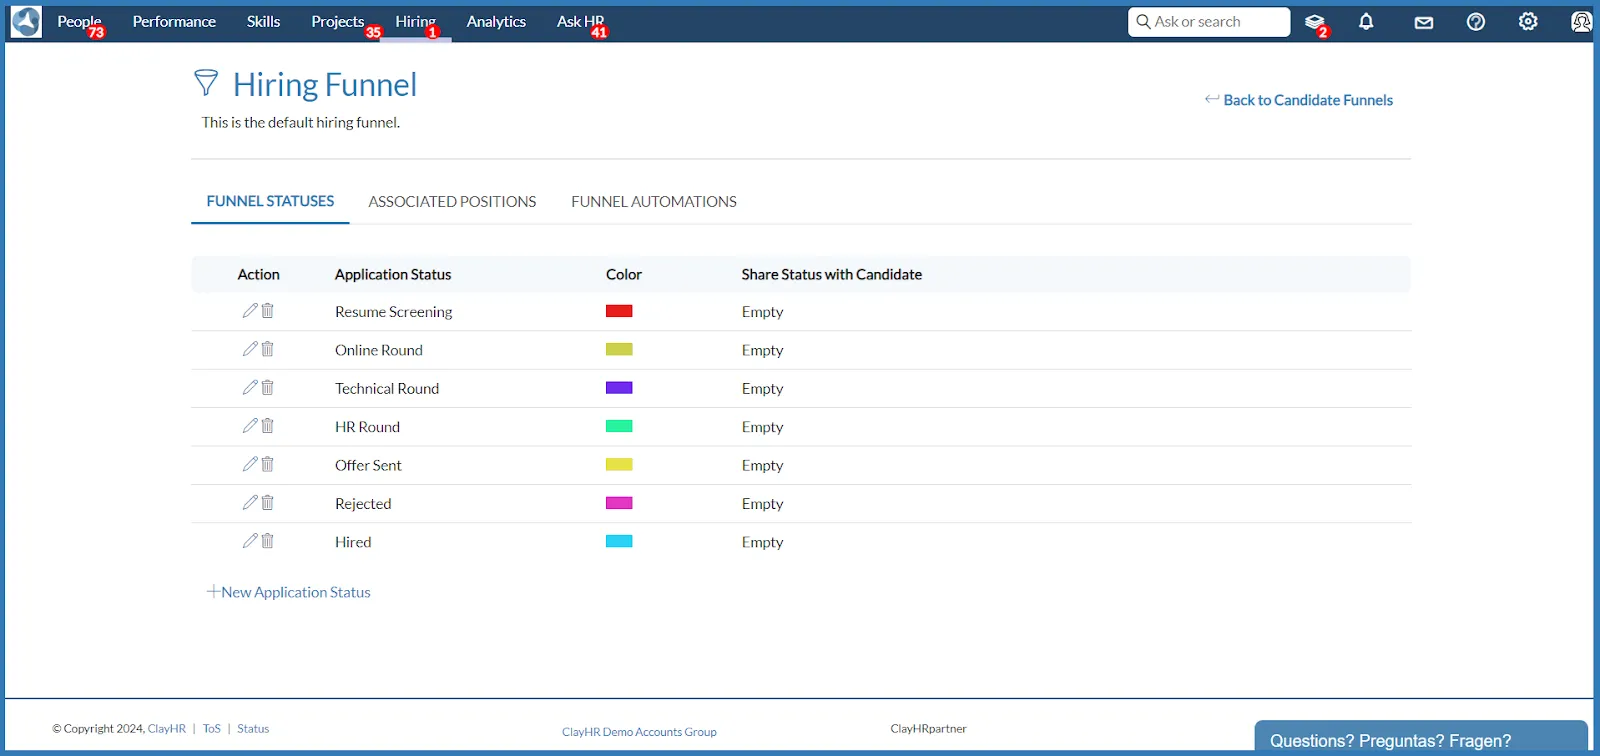
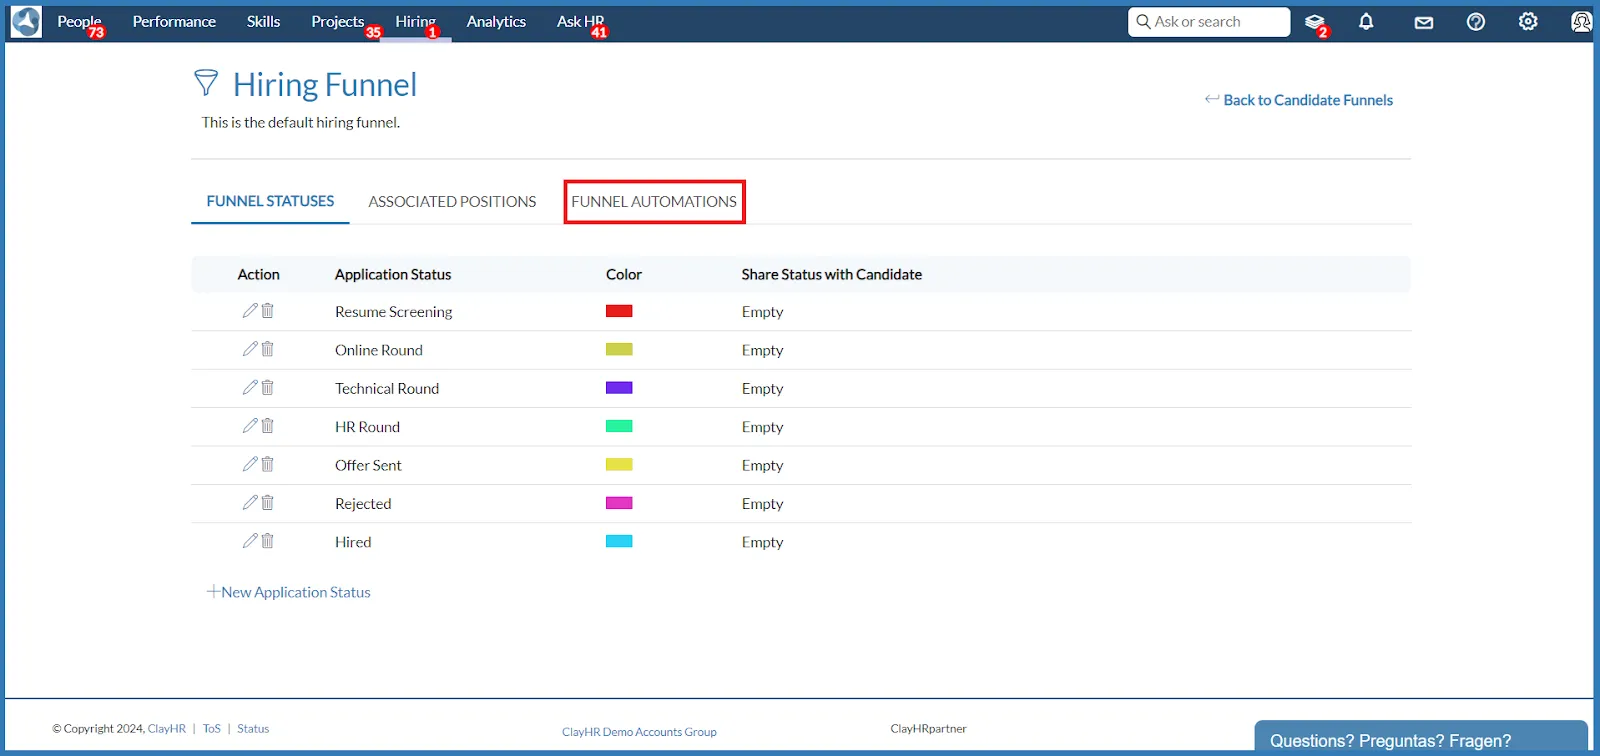
- Access Funnel Automations
- In the funnel view page, click the Funnel Automations tab.
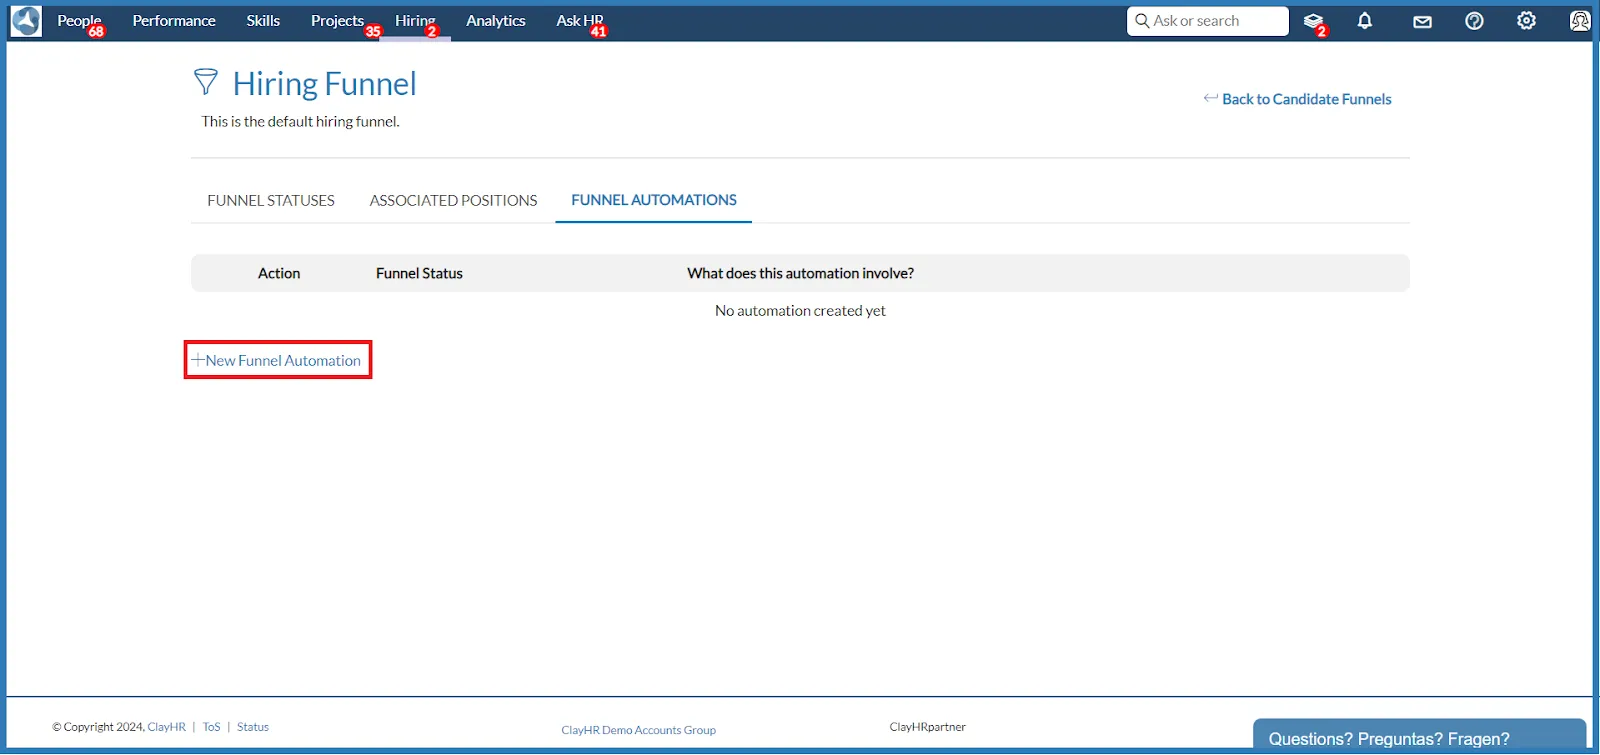
- Add a New Automation
- Click New Automation.
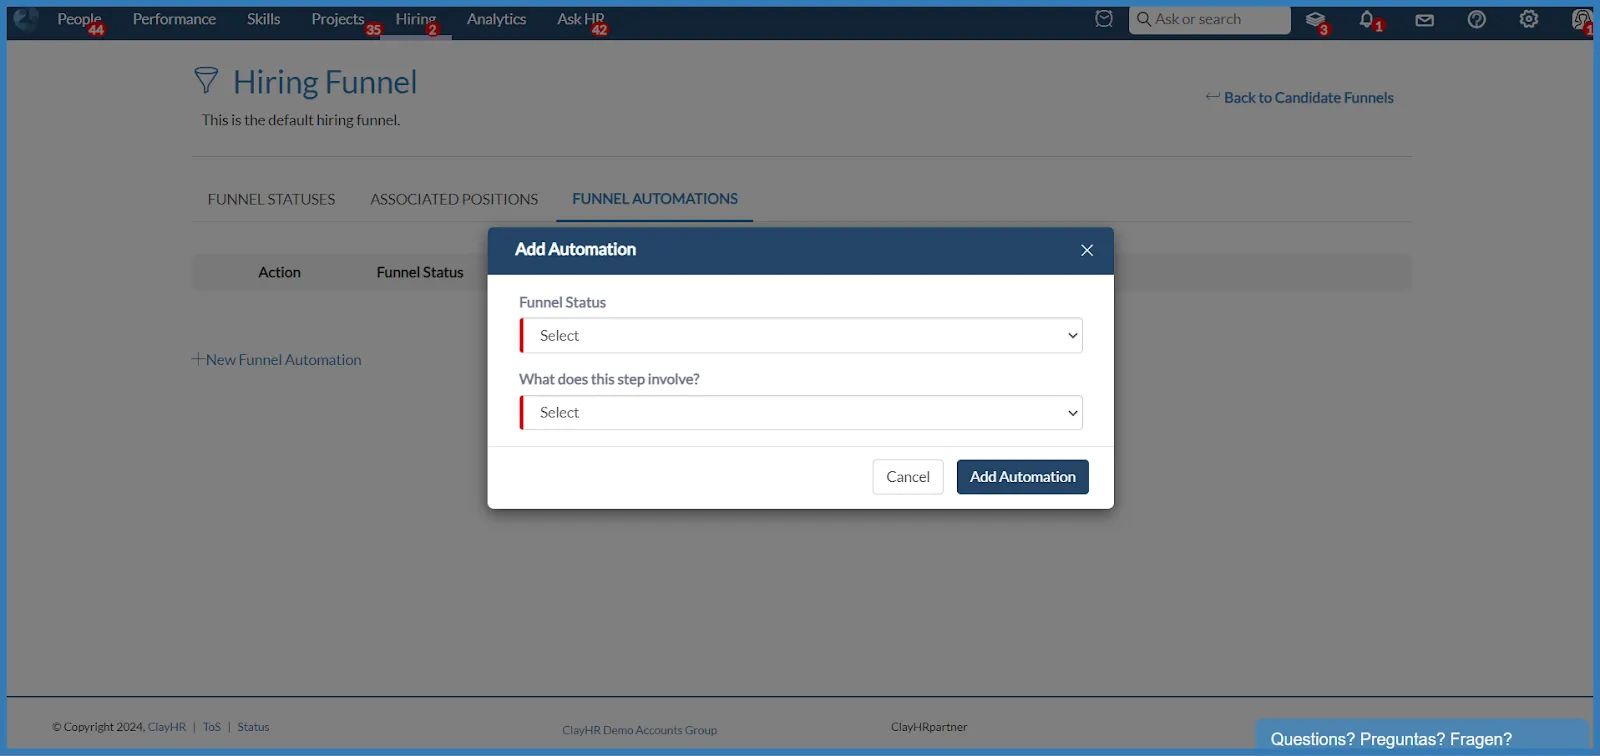
- Choose the Funnel Status where the automation should apply.
- Select the “What does this step involve?” option, if applicable.
- Select an Email Template or Action
- Choose the email template, workflow, or other automation action to be triggered when a candidate reaches the selected funnel status.
- Save the Automation
- Click Add Automation.
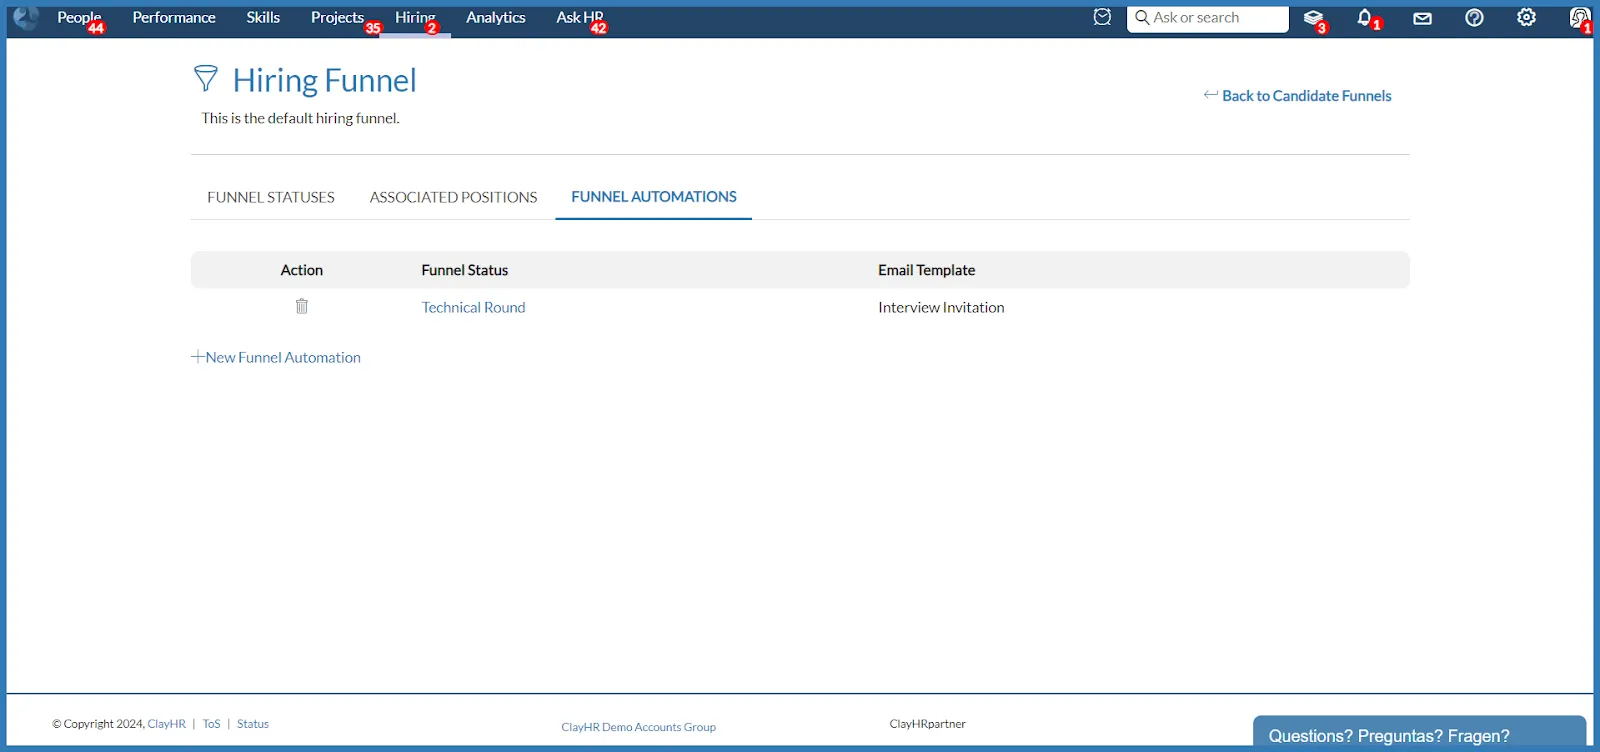
Your new automation will now be active for that funnel step.
- Click Add Automation.
Managing Existing Automations
- To Update: Click an existing automation, modify the details, and save your changes.
- To Delete: Click the delete icon under the Action column.
How Funnel Automations Work in Practice
- Automated actions are triggered when arriving at a new funnel stage.
Automations that belong to a stage will only trigger when a candidate is moved into that stage.
There are no “exit” automations — meaning that when a candidate leaves a funnel stage, no automated action is triggered. - Automations are not retroactive.
Adding new automations to an existing funnel will not trigger them for candidates who are already in that stage. - Skipped stages do not trigger automations.
Only the automations associated with the newly selected stage are triggered.
If you move a candidate across multiple stages at once and still want automations from skipped stages to send, move the candidate one stage at a time.
This ensures consistent and timely communication with candidates—without manual intervention or accidental triggering.
Best Practices for Using Funnel Automations
To get the most value from your funnel automations, keep the following tips in mind:
- Personalize Your Templates
Use placeholders like candidate names, position titles, and company branding to make messages feel personalized and authentic. - Align Messaging with Funnel Stages
Ensure the tone and content of each message match the candidate’s stage in the hiring process (e.g., warm and encouraging early on, clear and concise during offer stages). - Test Before Activating
Send test emails to yourself or a team member to verify that templates, variables, and timing work as intended. - Review and Update Regularly
Periodically review your automations to reflect any changes in your hiring process, templates, or tone of communication. - Use Clear Funnel Naming Conventions
Consistent funnel and stage names make it easier to identify and manage automations across multiple positions.
How to Create Funnel Automation
- Go to the “Gear Icon” and select “Hiring”.
- Select the “Candidate Management” tab.
- Click on “Candidate Funnel.”
- On the homepage, open any funnel.

- On the funnel view page, click on the “Funnel Automations” tab.
- Click on “New Automation” to add an automation.
- Select the “Funnel Status” and “What does this step involve?” option. Automation can be applied to any status that has been added to the funnel.
- After selecting the above, now select the email template to be sent as per the chosen funnel status.

- Click on “Add Automation”. New automation will be added successfully.
- Trigger the automations by moving candidates along their selection funnel stages


.webp)
