
How to group Custom Fields in sections
Custom Field Groups in ClayHR allow you to organize multiple custom fields into logical, reusable sections that streamline data entry and improve the user experience. Groups—also known as Custom Sections—help you structure information in meaningful blocks, such as “Work Eligibility,” “Demographic Details,” or “Bonus Eligibility,” and display them exactly where they are needed across the system (Employee Records, Performance Reviews, Candidate Profiles, etc.).
IN THIS ARTICLE:
- Creating a New Custom Field Group
- Adding Custom Fields to a Group
- Ordering Custom Fields within Custom Field Groups
1. Creating a New Custom Field Group
To add a new group:
- Click New Custom Field Group at the top of the page.
- A pop-up window titled Custom Field Group will appear.
- Complete the required fields:
- Name – The label for your section (e.g., “Certifications,” “Compliance Requirements,” “Equipment Details”).
- Location – Select where the group should appear:
- Employee Record
- Candidates
- Performance Reviews
- Job Profiles
- Or any other module where custom fields are supported
- Sequence – Determines the order in which the group appears relative to other groups within the same location.
- Click Save Custom Field Group.
Your new group will now appear in the list and is ready for custom fields to be added.
2. Adding Custom Fields to a Group
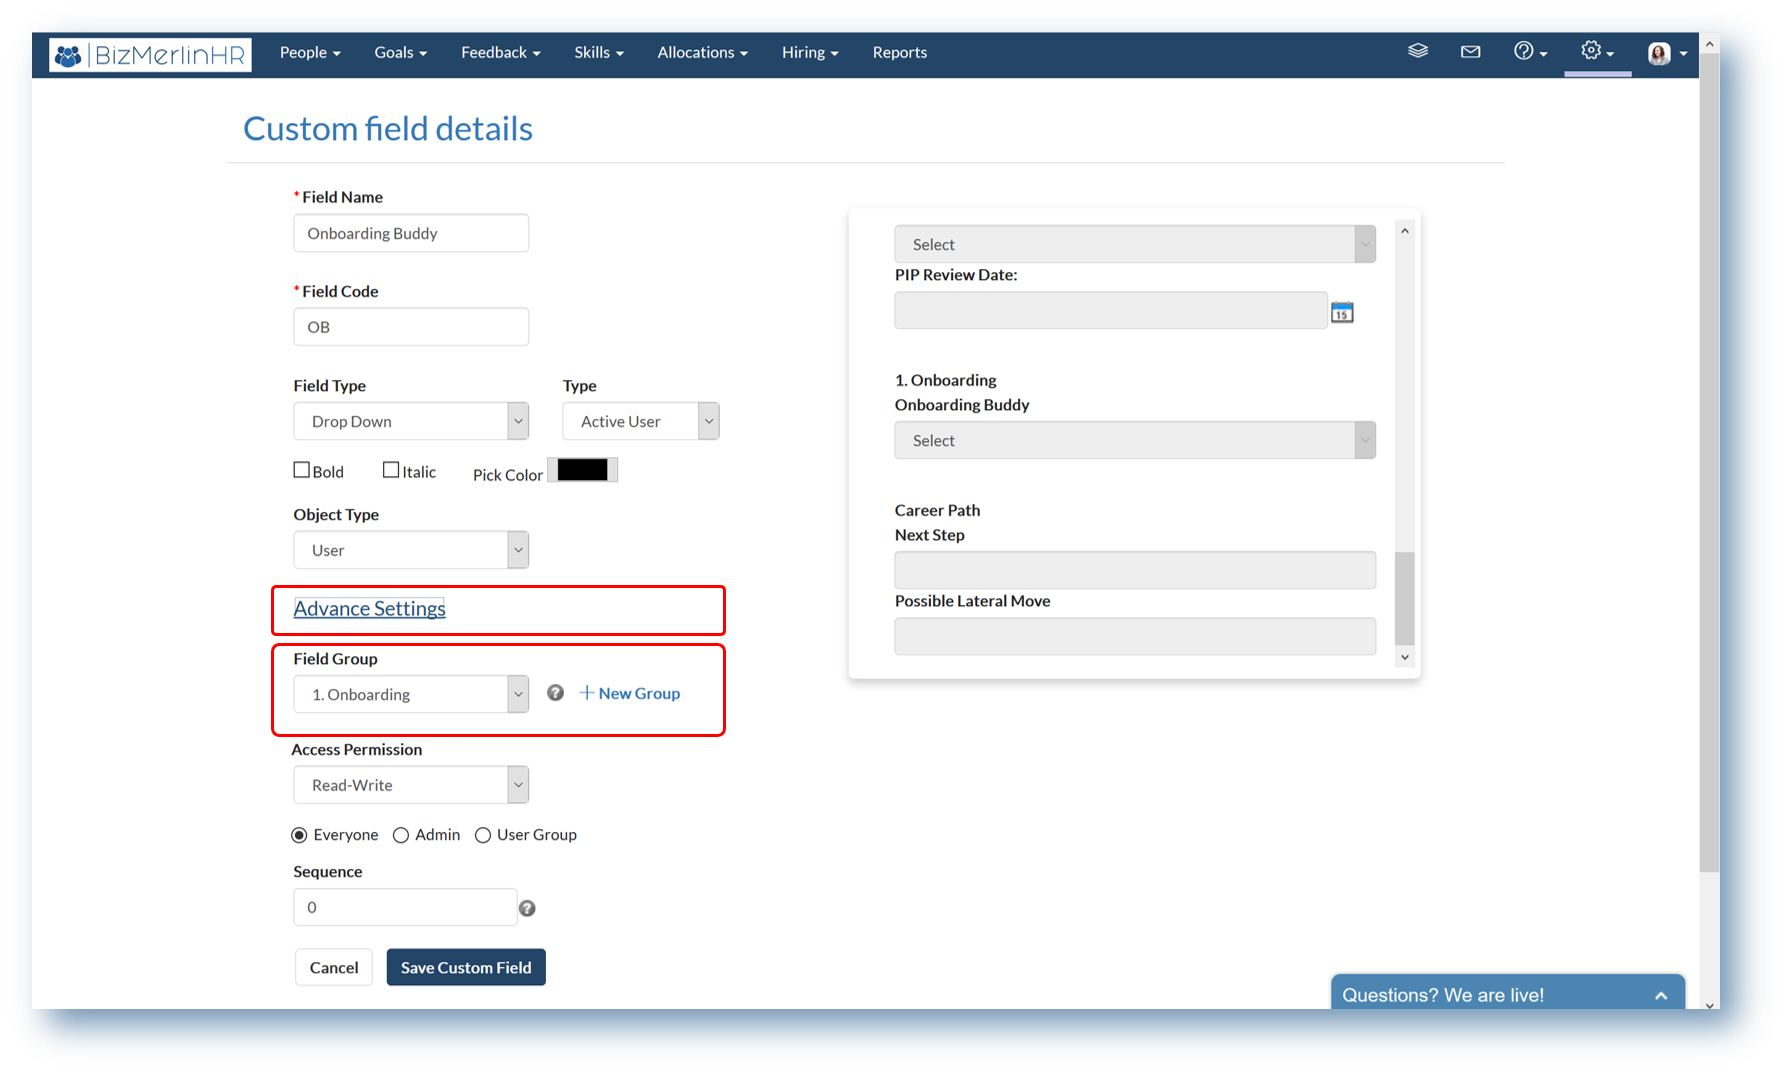
To assign an existing Custom Field to a Custom Field Group:
- Go to Settings → Custom Fields
- Select an existing Custom Field and click on the Edit pencil icon
- Navigate down and click on the Advanced Settings section
- Choose the appropriate Custom Field Section in the dropdown menu or Create a new Custom Field Group with the "+" icon right there
- Save the custom field.
Once assigned, the field will automatically appear within that group and follow its configured sequence and display rules. You cannot add fields directly from the Custom Field Groups page—groups serve as containers, but fields must be explicitly placed into them during individual field setup.
3. Ordering Custom Fields within Custom Field Groups
You can reorder fields inside a Custom Field Group directly from the group’s detail page:
- Navigate to Custom Field Groups and open the desired group.
- Locate the list of fields assigned to the group.
- Use the drag-and-drop handle next to each field to move it up or down.
- Release the field in the desired position—the sequence updates automatically.
This lets you control the exact order in which fields appear to users within that section.


.webp)
